| December
30, 2006
A lot has been written about what tools you need to complete an RV.
There are some sites out there that include lists of tools a particular
builder has has found useful. Probably the best tool list I have
seen is on Dan Checkoway's
Tool page. Heck, that is probably the best RV page I have ever
seen.
The idea of my page is not to list specific
tools but only list those tools that I consider a must. Heck, I'm
not even going to list the make or model of the tools I use. I'm
just going to list the tools I think you will want/need as you progress.
There is no significance to the number, it is just the sequence in which I
thought of them.
Tool #1: Shop Vacuum
The
first tool you should buy is a good, quite shop vacuum aka wet-dry vac.
You have no idea how handy these things are. Mine died half way through
the empennage and the replacement vacuum is so quite that I no longer have
to wear hearing protection just to use it. The down side of this new
vacuum is there is no blow hole to use to unstop a plugged hose. The
maker of my vacuum changed the exit hole to work as a muffler; thus, no
round exhaust hole.
Tool #2: Bench Sander
I
actually had a visitor ask me if he should buy a bench sander before he
started his project. It turns out he has a bench grinder and wanted
to use that. Let me start out by saying that you should not use a
bench grinder with aluminum. The aluminum will plug up the wheel in
short order and I've heard the heat they build up once the wheel is
clogged with aluminum may cause it to explode. That may be an old
wives tail but I don't want to be the person to prove it is true.
Heck, I'm sure there are even grinding wheels that will work just fine
with aluminum but I use my bench grinder for shaping steal parts and
sharpening my lawnmower blades.
A
bench sander is invaluable in shaping / fabricating the various parts required in
RV construction!
I have
a combination belt and disk sander I bought at the local hardware store.
It cost around $99 and is well worth the money. The disk sander is
great for rough shaping and the belt sander is used for finish sanding
before the parts go on the deburring wheel.
One
thing to consider, don't sand steal and aluminum parts with the same
belt/disk as you will push little bits of steal into the aluminum parts
that follow. This will set up a corrosion situation you don't want
to deal with down the road.
Tool #3: Band Saw
The
band saw is an outstanding tool for metal working! Mine is a cheep
14" tri-wheel saw that I bought for $10 at a garage sale. When
cutting thick stock (wood or aluminum) it is not very accurate but
it works fine for RV part fabrication.
The
saw I have is belt driven with three speed settings, just like my drill
press. I have the saw turning at the slowest setting and use 18 TPI
by 1/4" saw blades. Would I like a better saw? Sure I would,
but until this thing dies, I'm not spending the money.
Tool #4: Drill Press
12",
bench top drill press I bought from my local hardware store and it works fine.
Would like a a bigger one? Sure I would , but until this thing dies,
I'm not spending the money.
I use
the drill press and a 3M deburring wheel as my primary deburring tool.
This works much better than putting the deburring wheel in a bench grinder
because the access to the wheel is better. (No comment the safety
aspect of using a big spinning tool and hand feeding it big, long pieces
of aluminum.)
Tool #5: Air Hose Swivel
Get
one of these swivels for the tool end of your air hose. It makes it
easier to hold your air tools steady because the air hose just
drops down at the end of the tool rather than sticking way out the back of
the tool and getting in your way.
Tool #6: Drawing/Drafting Table
You
have got to have some place to put all those big drawings from Van's.
I built mine out of Oak and plan on moving it upstairs when the -9 is
finished. See the Things to
Consider page for a picture.
Tool #7: Work Table
Build
a good, stable work table and it will make working on your project much
easier. The six legged table I built uses a 4x8 foot sheet of 5/8"
(or is it 3/4?) thick particle board for the top. That sheet is rabbitted (inlayed) into a 2x4 frame. There are 2x4 studs 12" on
center under the top and the legs are braced in two directions. You
can dance on this thing if you want to and it won't move.
The
best part is the table top. Particle board will hold clecos so you
can match drill and cleco parts right to the table as you work. When
the work surface starts to look like an artillery practice field, just
lift it out and put a new sheet down. Note, I didn't mention
anything about screwing or gluing the top in place, did I?
Tool #8: Drill Rite
Every
once in a while you come across a tool that just simply works as
advertised and the Drill Rite drill guide from Easter Technology
Corporation is one of those tools. It is used for drilling holes in
the RV control tubes and is highly recommended! See the Things to
Consider page for a picture.
Tool #9: Sears Craftsman Bit Wrench set
What's
that you say? Sears has been really good about releasing new tools
under the Craftsman name and this is one of those. These
Bit Wrenches hold screw driver, Torx, Alan key bits, etc., are small,
and shaped just right for getting into tight spots. Even better
since I've started replacing the 8-32 machine screws with 8-32 Alan head
cap screws. Note, the set does not come with the Alan bits, they can
be purchased separately.
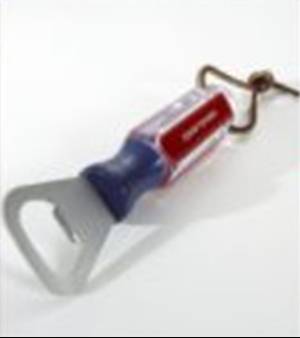
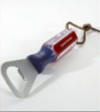
Tool #10: Sears Craftsman Bottle Opener
How in
the world did I get through my project without one of these gems?
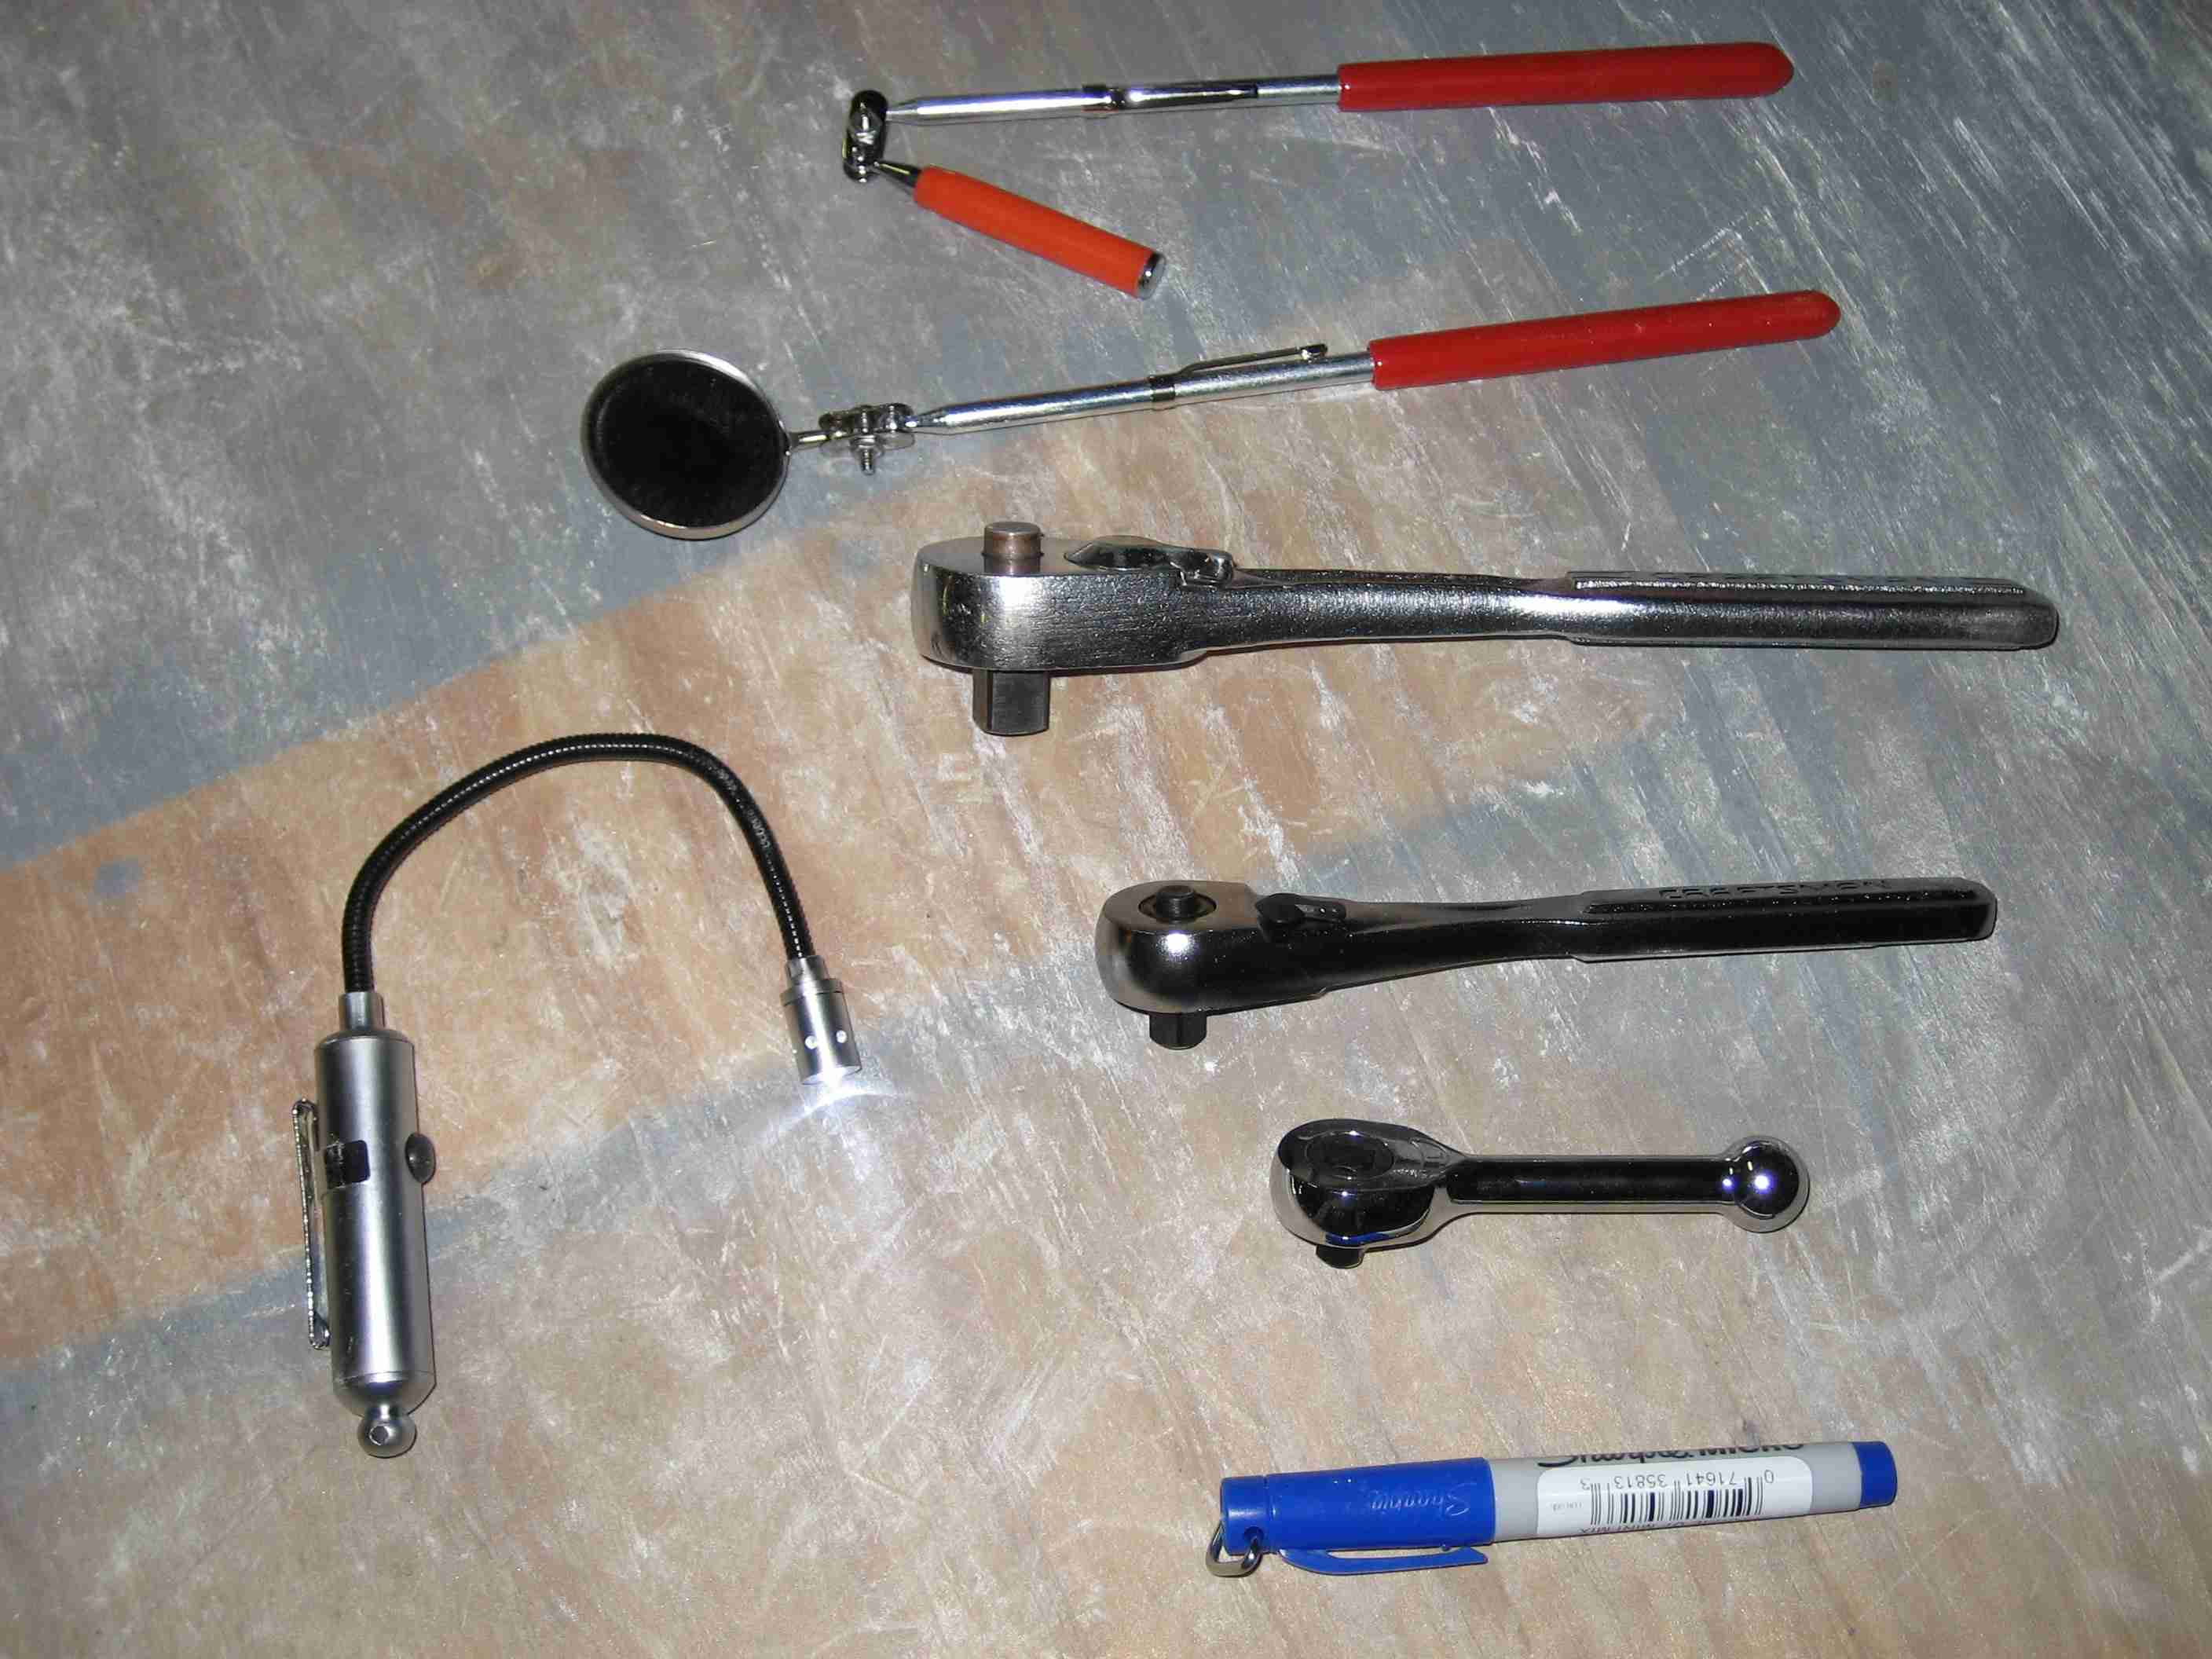
Tool #11: Stocking Stuffer Tools from
Northern Tool
My
wife spoiled me this year (2006) at Christmas time. For stocking
stuffers she
 apparently
spent a good deal of time at Northern Tool. It seems everything she
picked up I was able to use within one or two working sessions.
Pictured here is the miniature magnet on a stick, miniature mirror,
miniature LED flash light, miniature Sharpie, and a miniature 1/4" socket
drive. Included in this picture are a Craftsman 3/8" and 1/4"
ratchet drive for scale. Awesome tools and awesome wife! apparently
spent a good deal of time at Northern Tool. It seems everything she
picked up I was able to use within one or two working sessions.
Pictured here is the miniature magnet on a stick, miniature mirror,
miniature LED flash light, miniature Sharpie, and a miniature 1/4" socket
drive. Included in this picture are a Craftsman 3/8" and 1/4"
ratchet drive for scale. Awesome tools and awesome wife!
\
Tool #12: Sears ratcheting bit drivers
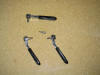 These
bit drivers from Sears are just perfect for inserting and removing screws
from tight spaces. The set is less than $20 and when the Sears site
comes back up, I'll post the part number. They take standard bits
but do not come with a hex bit for cap screws. Not a big problem,
unless you are using 8-32 cap screws all over the place. These
bit drivers from Sears are just perfect for inserting and removing screws
from tight spaces. The set is less than $20 and when the Sears site
comes back up, I'll post the part number. They take standard bits
but do not come with a hex bit for cap screws. Not a big problem,
unless you are using 8-32 cap screws all over the place.
Tool #13: ???
There
are so many other tools in my shop that to list all of them would take
more time than I have and for you to read. What I
have found is that just when I think I have finally finished buying tools,
something comes up that requires another special tool. It has been
my experience that it is better to spend the money to buy (or borrow) the
tool required, and perform the task at hand. This is usually much
cheaper and a LOT less frustrating than trying to use the wrong tool and
messing up a part or two.
|