Bill's Aircraft Factory
First
Flight
Trips
Horizontal
Stabilizer
Vertical
Stabilizer
Elevator
Trim Tab
Rudder
Wings &
Fuel Tank
Ailerons
Flaps
Fuselage
Page 1
Page 2
Page 3
Page 4
Engine & FWF
Page 1
Page 2
Page 3
Instrument Panel
Electrical System
Building in the Basement and Moving to the Airport
Dynon Autopilot
Installation
Things to Consider
Tools
Products
Tell me again
Helpful Links
Plane Pictures
FAQ's
E-mail:
bill (at)
repucci (dot) com
|
|
Flap construction
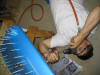
Caution - Man running (with) power tools
| |
 E
The Flaps are built much like the ailerons, just longer. A LOT
longer and that means more holes to drill, deburr, dimple, and rivet.
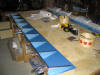
This is the right flap assembled for the first time.
(6/8/04) E
The Flaps are built much like the ailerons, just longer. A LOT
longer and that means more holes to drill, deburr, dimple, and rivet.
This is the right flap assembled for the first time.
(6/8/04)
|
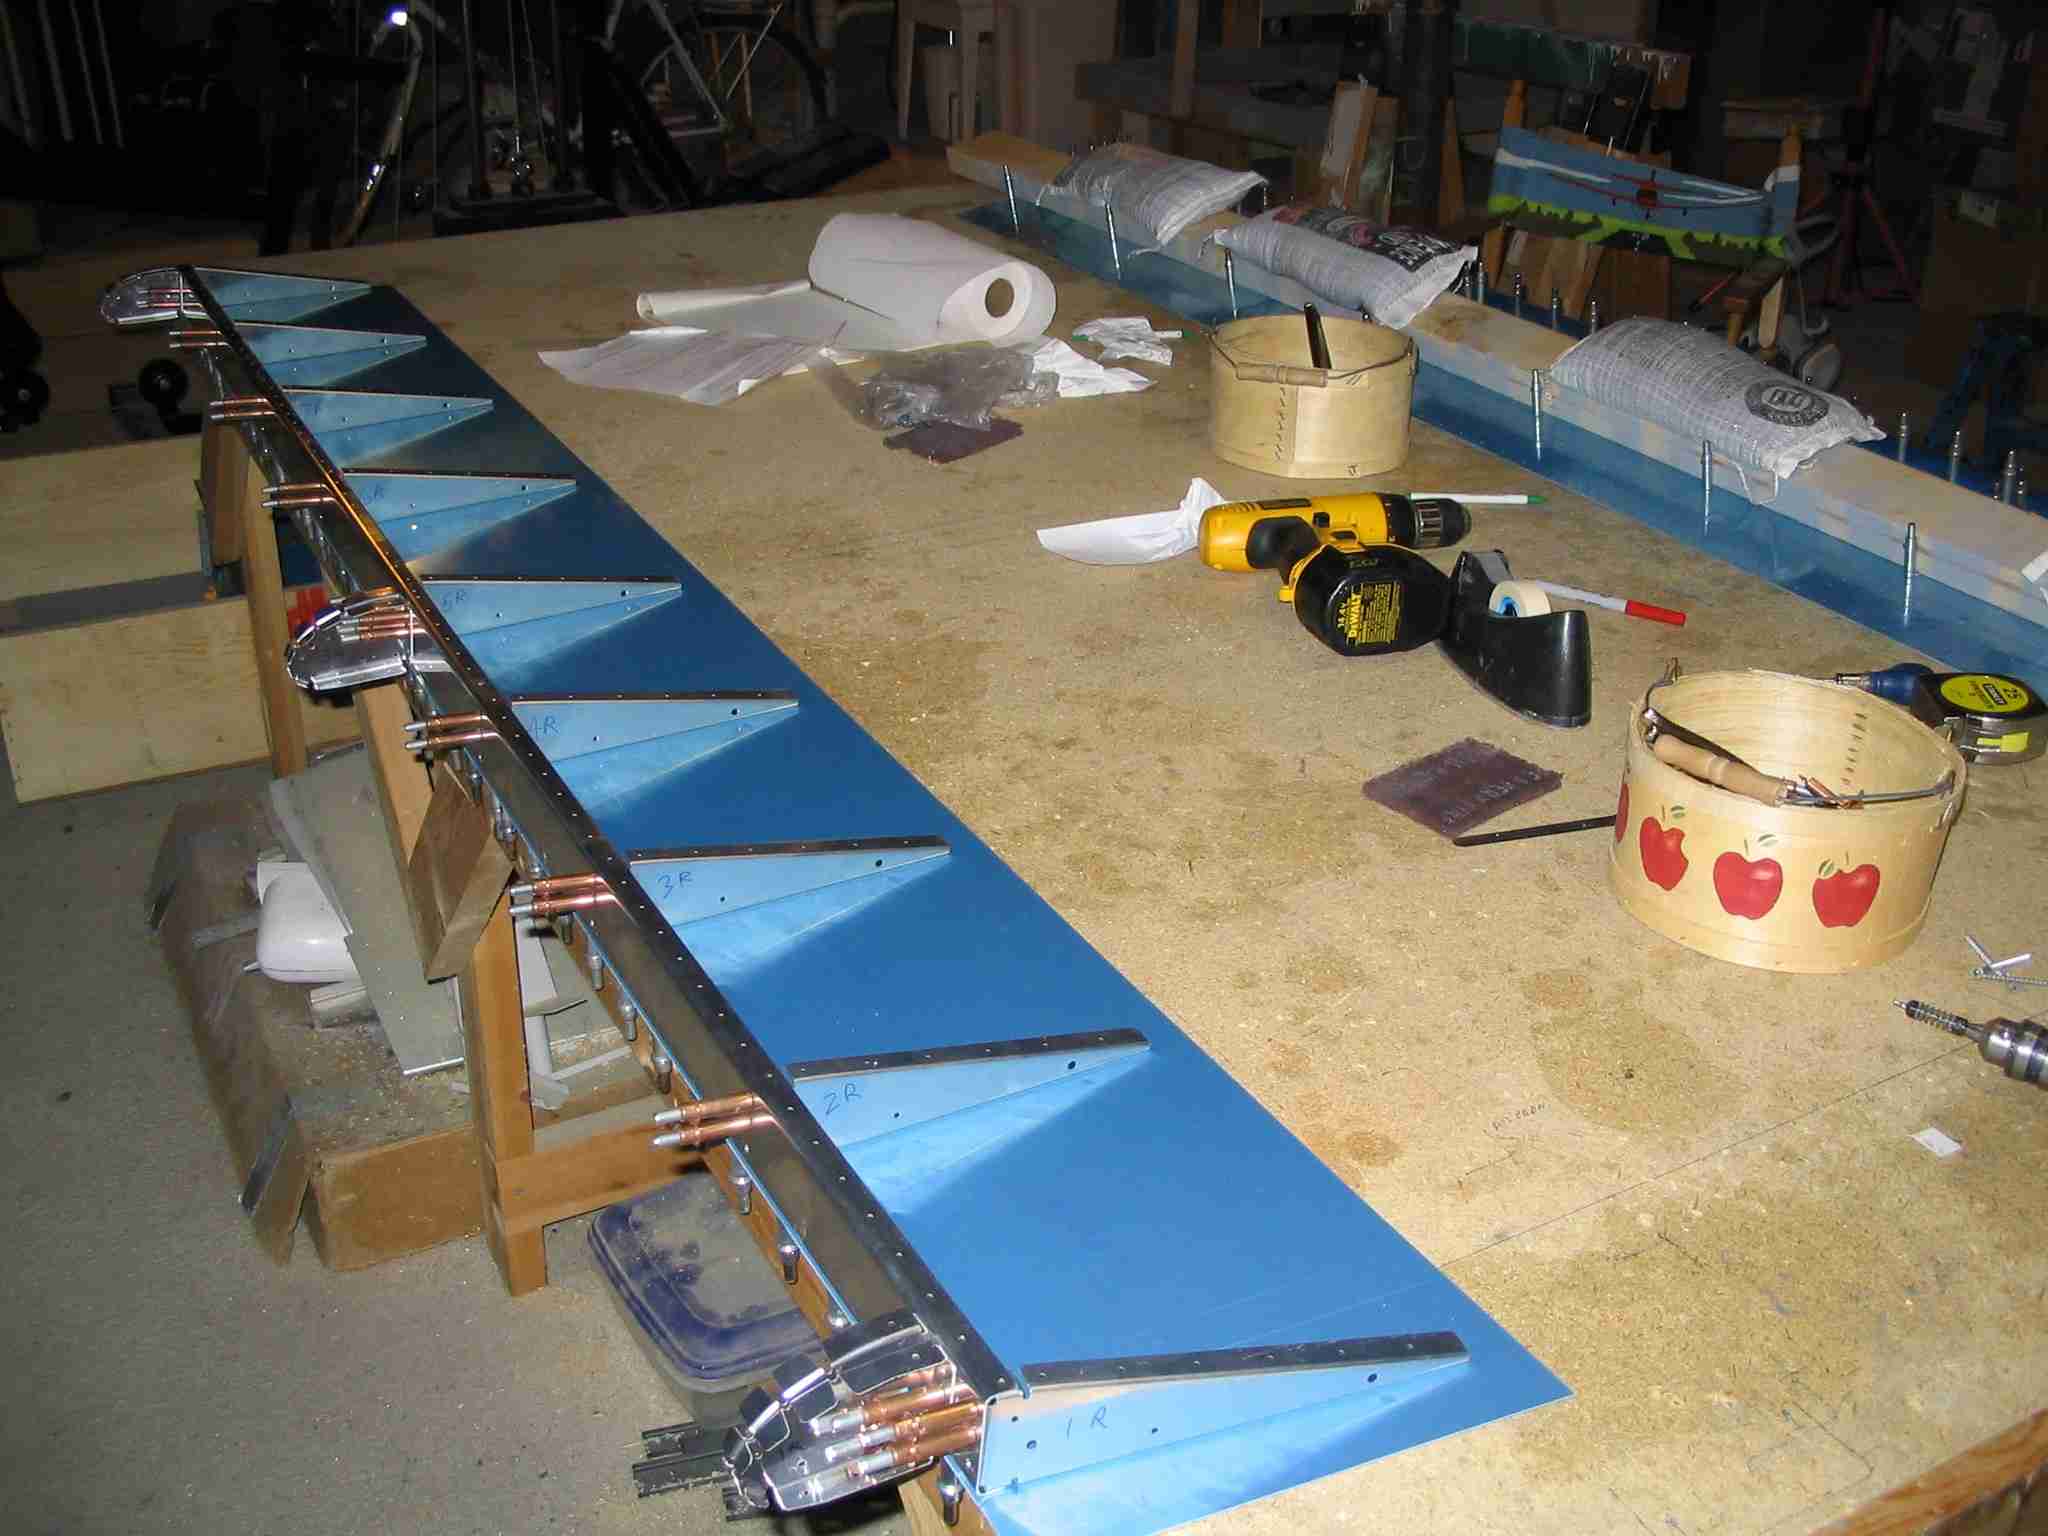
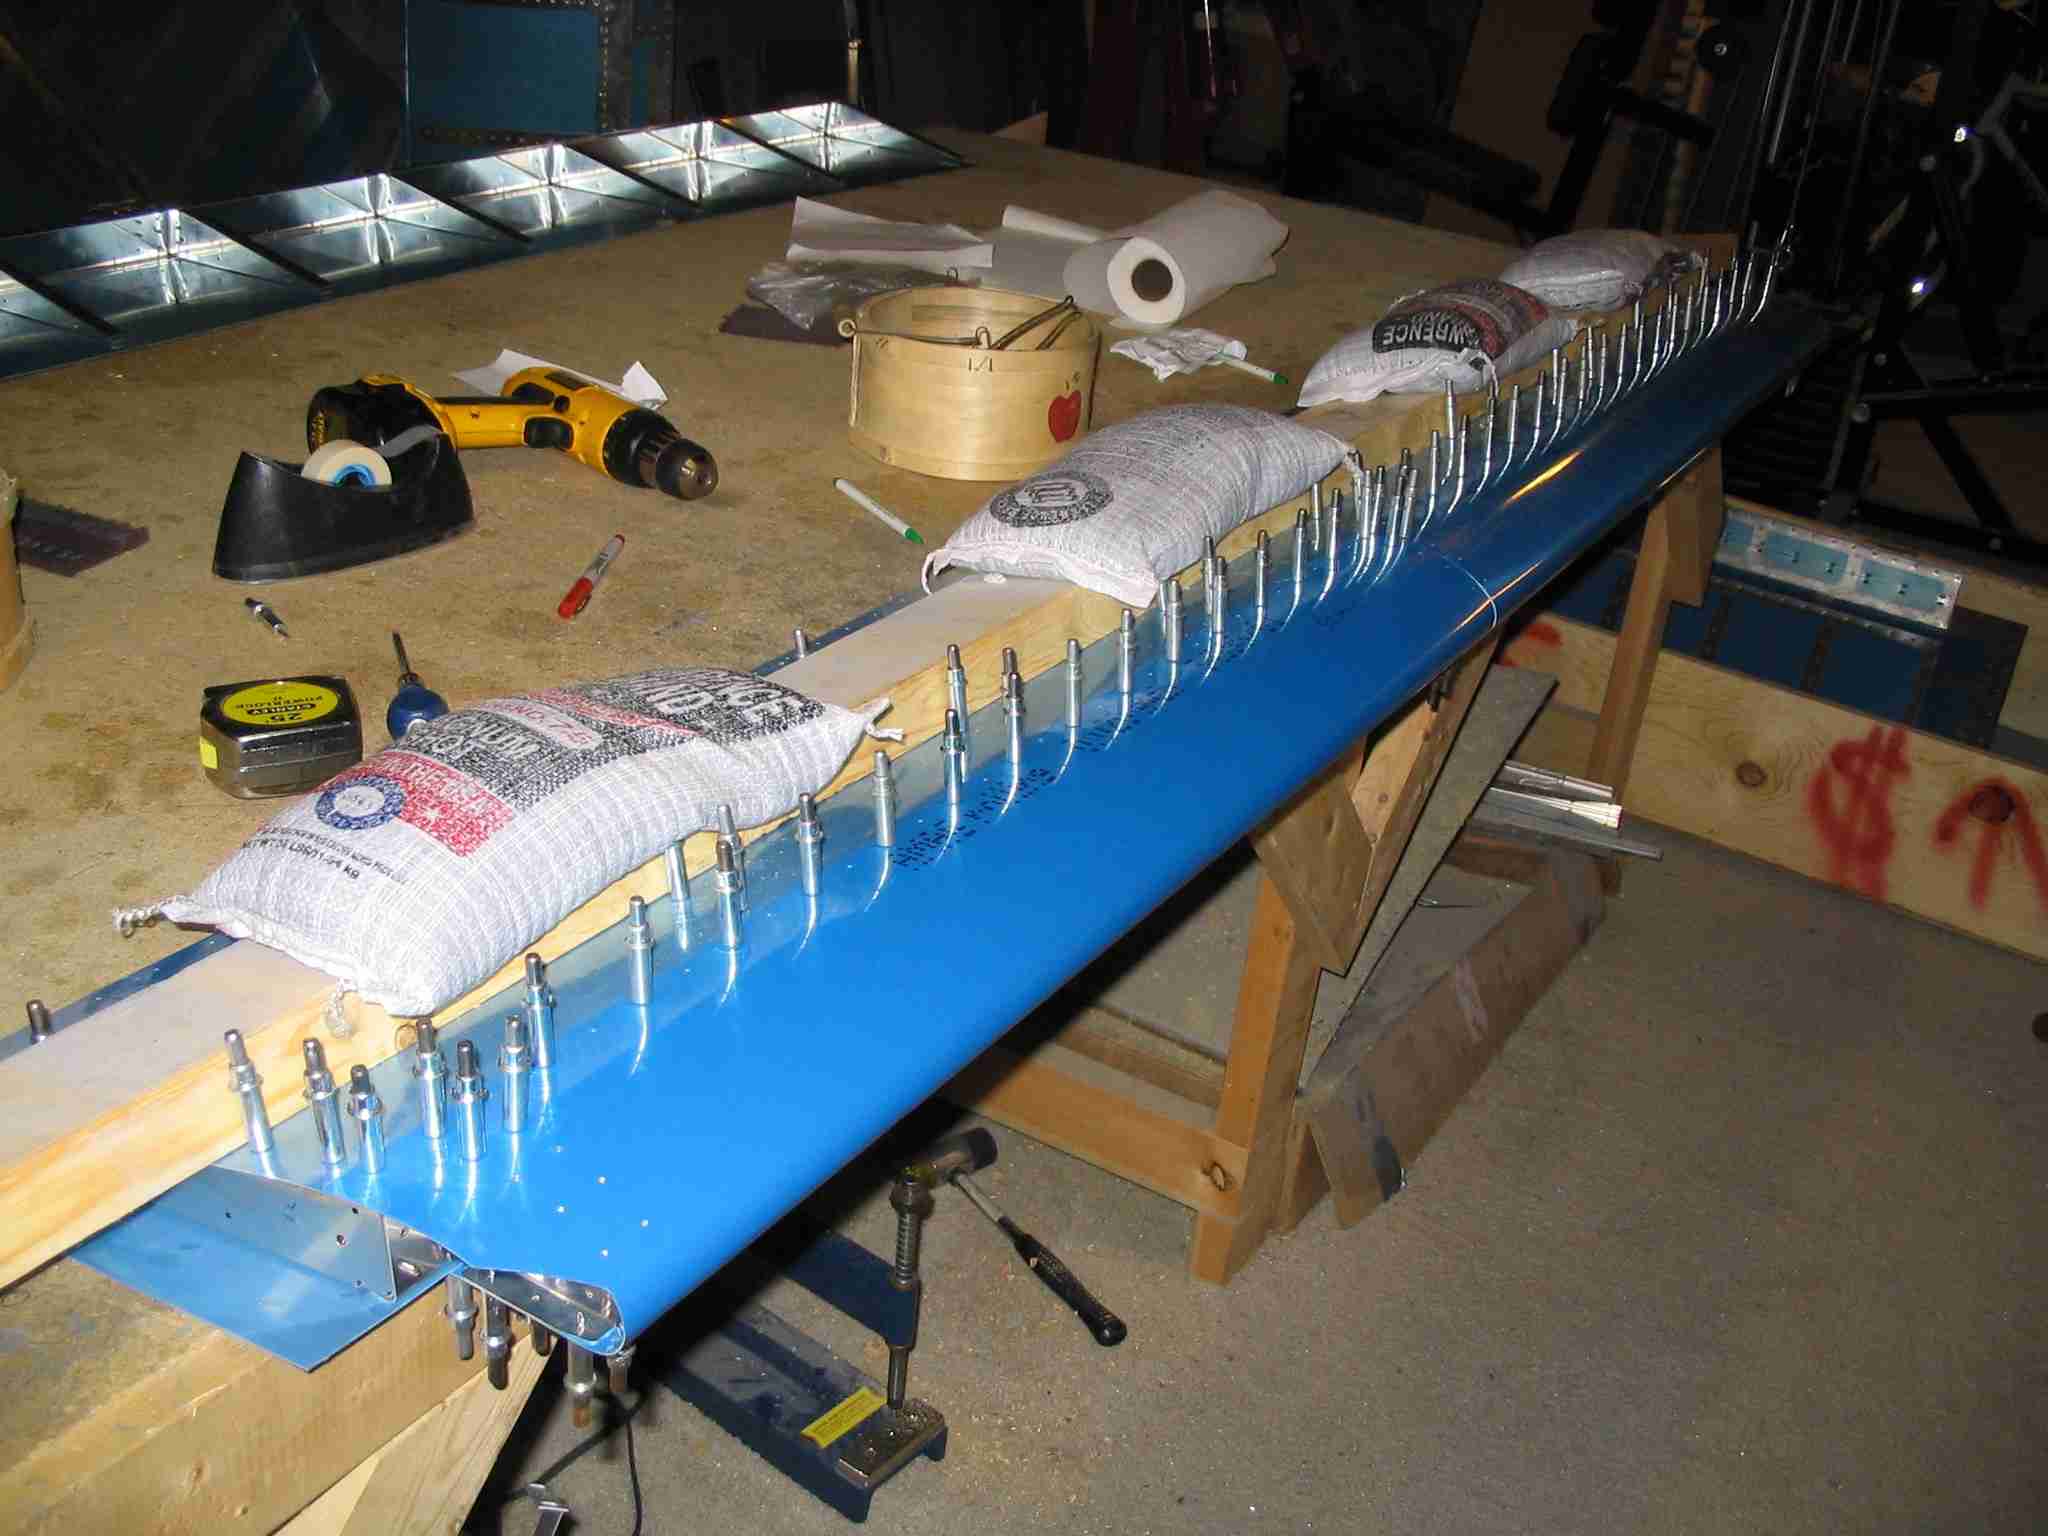
 F
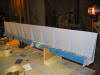
Here is the left lap all weighted down for match drilling. The
white bags on top of the 2x4's are 25 lb bags of double 00 buck shot.
(6/8/04) F
Here is the left lap all weighted down for match drilling. The
white bags on top of the 2x4's are 25 lb bags of double 00 buck shot.
(6/8/04)
|
| |
 E
Here is the bottom of the left flap w/o the bottom skin. As you will
see in the next picture, riveting the bottom skins in place is a pain.
(7/17/04) E
Here is the bottom of the left flap w/o the bottom skin. As you will
see in the next picture, riveting the bottom skins in place is a pain.
(7/17/04) |
| |
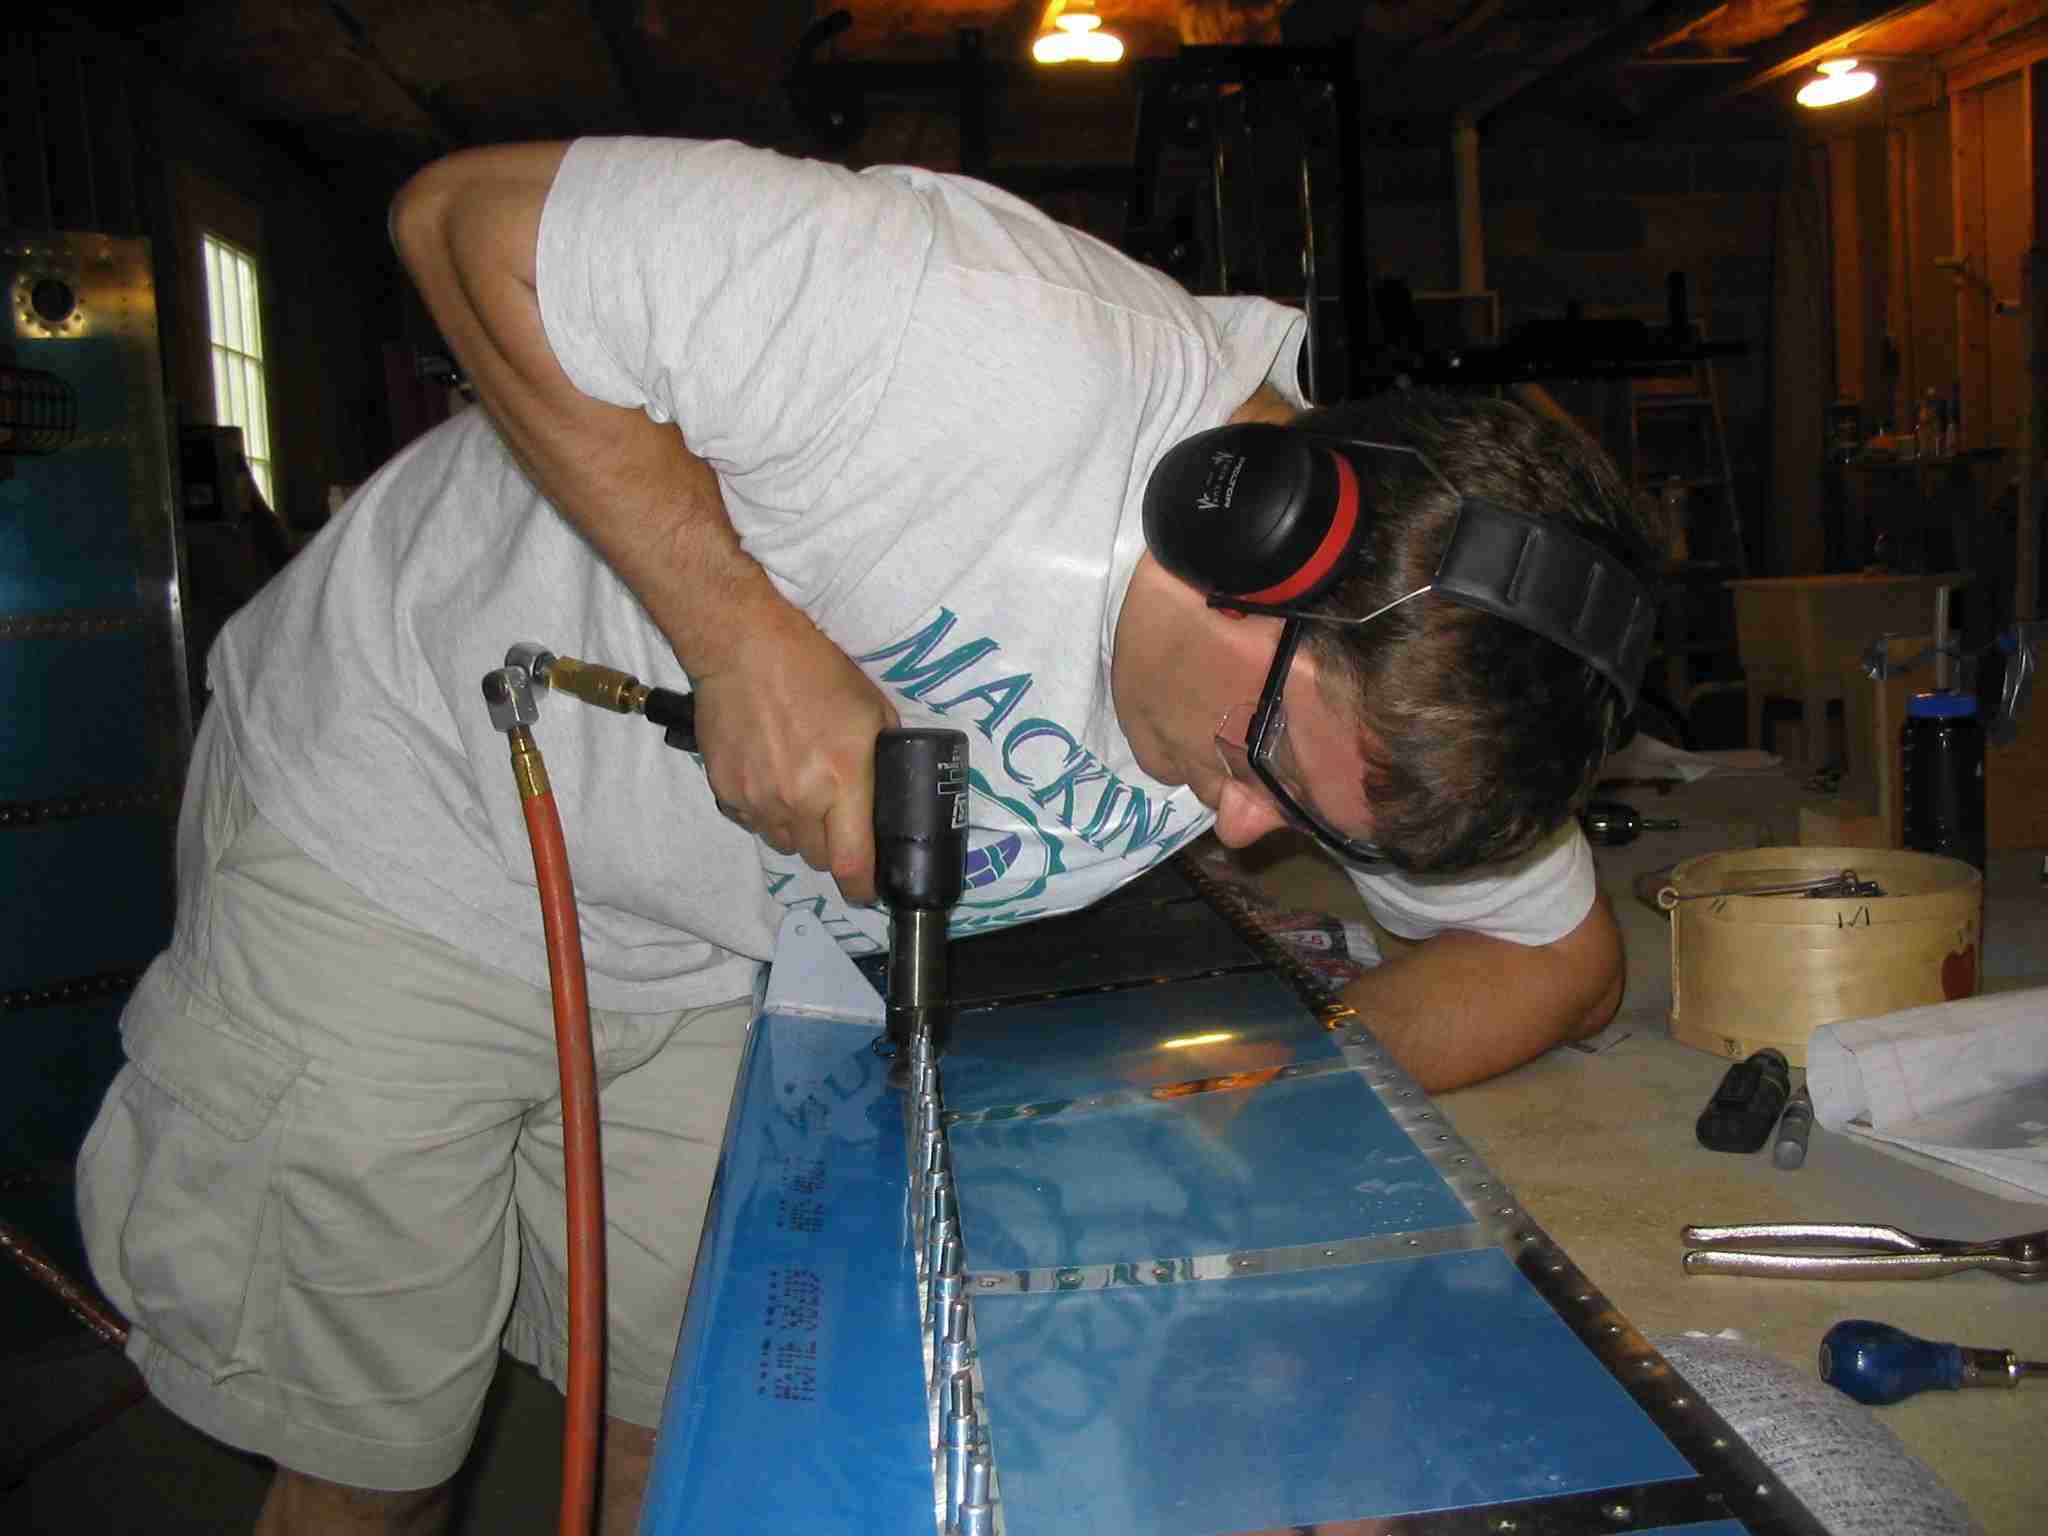
 F
Driving the rivets that attach the bottom skin to the bottom of the flap
spar is a pain because you have to reach in with the bucking bar and can't
see what you are doing. Aviation blind rivets, otherwise known as
pull or pop-rivets are used to attach the bottom skins to the ribs.
These are used here because with the top skin on you can't get a bucking
bar in there to use driven rivets. (7/17/04) F
Driving the rivets that attach the bottom skin to the bottom of the flap
spar is a pain because you have to reach in with the bucking bar and can't
see what you are doing. Aviation blind rivets, otherwise known as
pull or pop-rivets are used to attach the bottom skins to the ribs.
These are used here because with the top skin on you can't get a bucking
bar in there to use driven rivets. (7/17/04) |
| |
|
 E
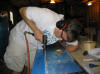
Once again, you have to lay on the floor to do some match drilling.
This is the right flap. (6/13/04)f E
Once again, you have to lay on the floor to do some match drilling.
This is the right flap. (6/13/04)f |
|
| |
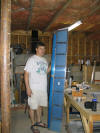 F
Did I mention the RV-9 has a lot of flap? Here I am with the newly
completed left flap. (7/17/04) F
Did I mention the RV-9 has a lot of flap? Here I am with the newly
completed left flap. (7/17/04) |
| |
|
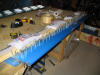
As of 7/24/04, both flaps are complete and waiting for me to
finish the rest of the airplane. The good news is that
the trailing edges on both are as straight as the ailerons,
which is VERY straight. For those other RV builders out
there, I did not glue the wedge in place. I squeezed the
rivets using a flush rivet set that had an angle ground into
both sides to match the trailing edge. This worked very
well. For details, check out the aileron page. |
|


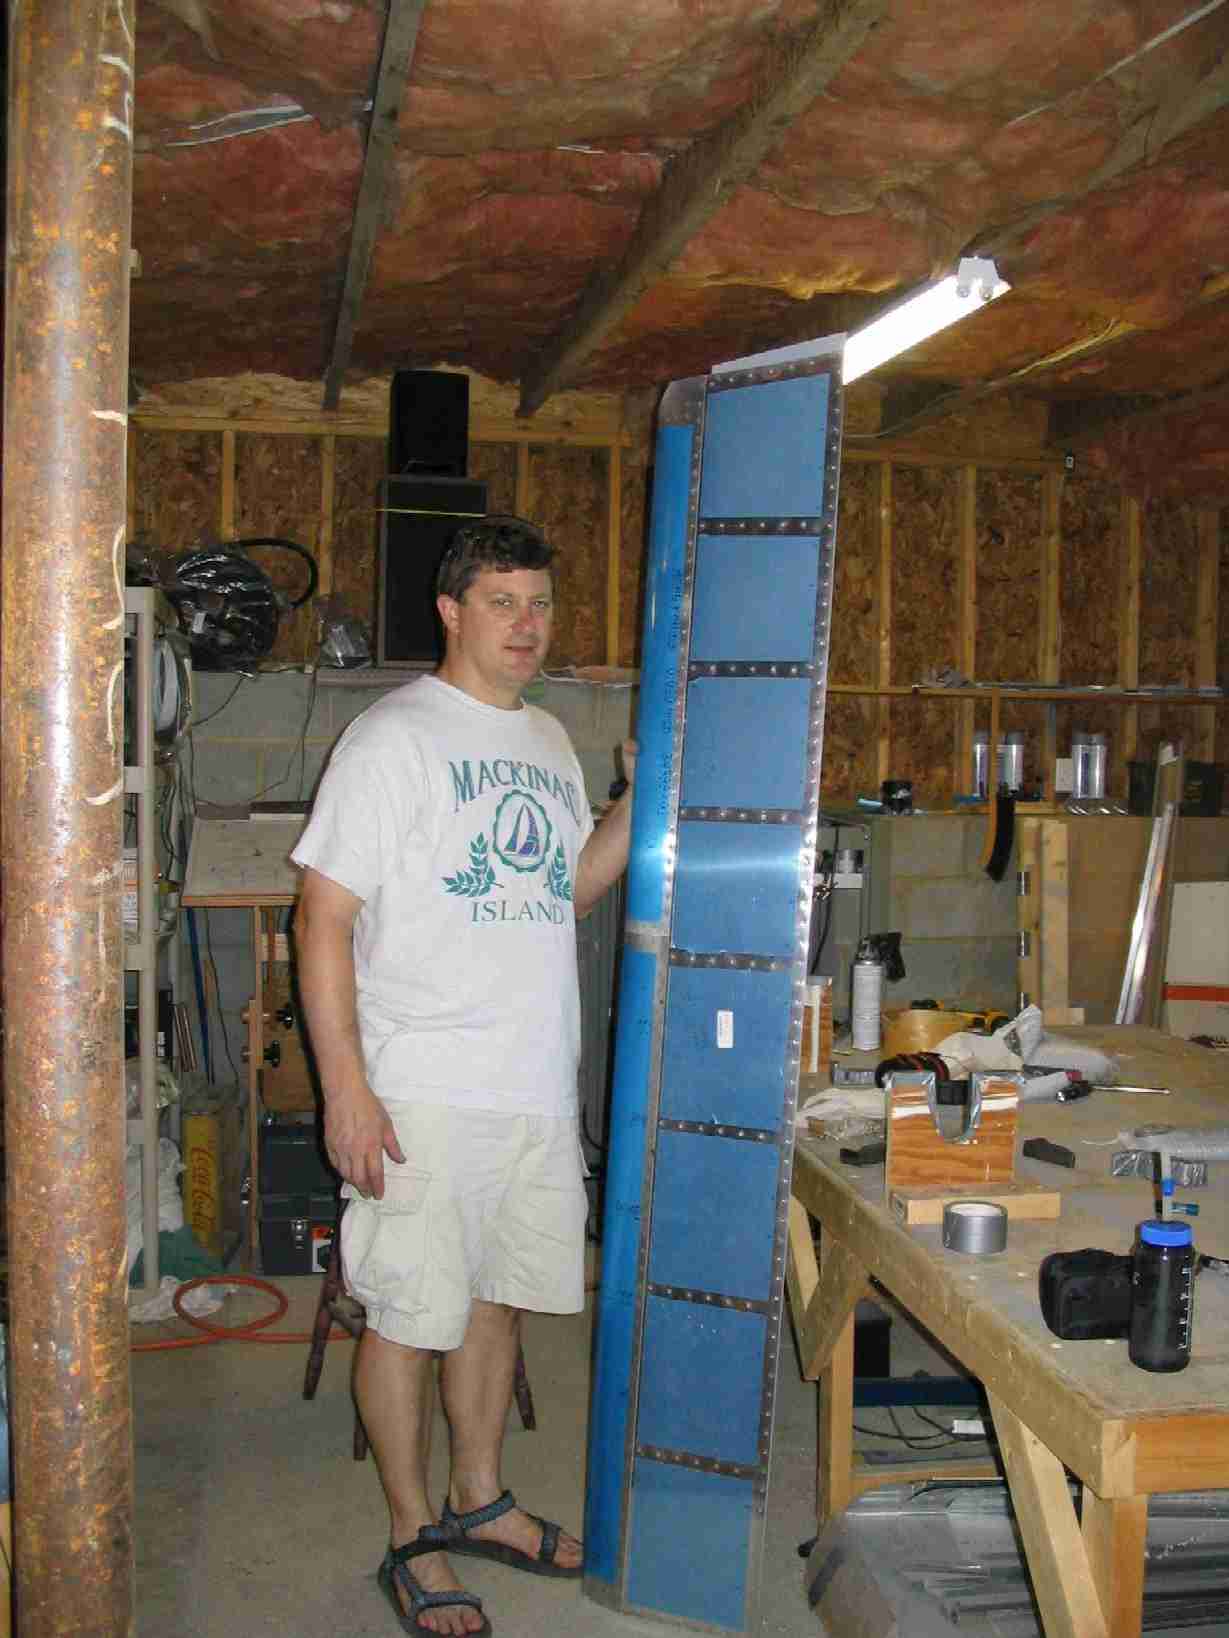 F
Did I mention the RV-9 has a lot of flap? Here I am with the newly
completed left flap. (7/17/04)
F
Did I mention the RV-9 has a lot of flap? Here I am with the newly
completed left flap. (7/17/04)