Bill's Aircraft Factory
First
Flight
Trips
Horizontal
Stabilizer
Vertical
Stabilizer
Elevator
Trim Tab
Rudder
Wings &
Fuel Tank
Ailerons
Flaps
Fuselage
Page 1
Page 2
Page 3
Page 4
Engine & FWF
Page 1
Page 2
Page 3
Instrument Panel
Electrical System
Electrical System
Building in the Basement and Moving to the Airport
Dynon Autopilot
Installation
Things to Consider
Tools
Products
Tell me again
Helpful Links
Plane Pictures
FAQ's
E-mail:
bill (at)
repucci (dot) com
|
|
Rudder construction
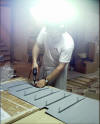
Caution - Man running (with) power tools
| |
 E
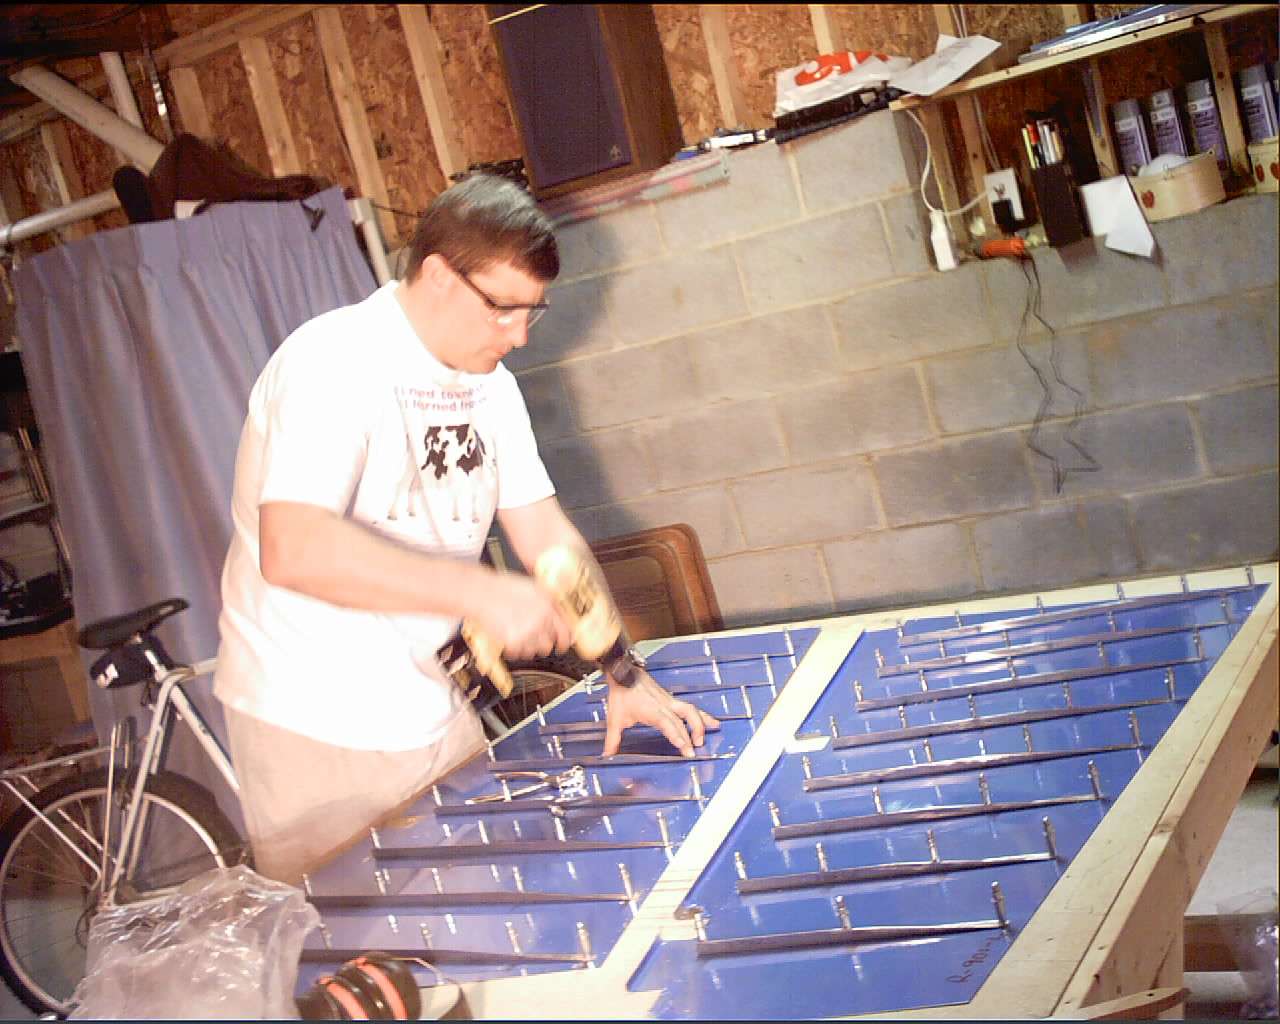
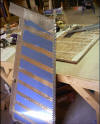
Here I am match drilling the stiffeners to the rudder skins. (5/31/03) E
Here I am match drilling the stiffeners to the rudder skins. (5/31/03)
|
| |
 F
After much prep work, the stiffeners are "back riveted" to the rudder
skins. There is a steal plate inset into the plywood. The rivet gun
pushes against this plate which forms the "shop head" on the rivet when
hit by the rivet gun. You can see the plate in the next picture.
(6/1/03) F
After much prep work, the stiffeners are "back riveted" to the rudder
skins. There is a steal plate inset into the plywood. The rivet gun
pushes against this plate which forms the "shop head" on the rivet when
hit by the rivet gun. You can see the plate in the next picture.
(6/1/03)
|
|
|
 E
The rudder is all ready to have its trailing edge riveted. As on the
elevator page, riveting these trailing edges
is one of the most difficult part to building the airplane. If you are
not careful riveting it together you will warp the trailing edge. I
bought an extra set of dies for my rivet squeezer and ground a small angle
on the face of each so they matched the trailing edge of the rudder. I
then partially squeezed every other rivet, removed the clecos and
partially squeezed the remaining rivets. In addition, I didn't rivet them
in sequence. I would partially squeeze the middle one then do one one
either end, then one in between the middle and an end one, etc. until I
was finished. Once that was done, I went back and finished squeezing each
of them in the same order I partially squeezed them. Yes, it took some
time but it was worth it. (7/10/03) E
The rudder is all ready to have its trailing edge riveted. As on the
elevator page, riveting these trailing edges
is one of the most difficult part to building the airplane. If you are
not careful riveting it together you will warp the trailing edge. I
bought an extra set of dies for my rivet squeezer and ground a small angle
on the face of each so they matched the trailing edge of the rudder. I
then partially squeezed every other rivet, removed the clecos and
partially squeezed the remaining rivets. In addition, I didn't rivet them
in sequence. I would partially squeeze the middle one then do one one
either end, then one in between the middle and an end one, etc. until I
was finished. Once that was done, I went back and finished squeezing each
of them in the same order I partially squeezed them. Yes, it took some
time but it was worth it. (7/10/03) |
|
|
|
 F
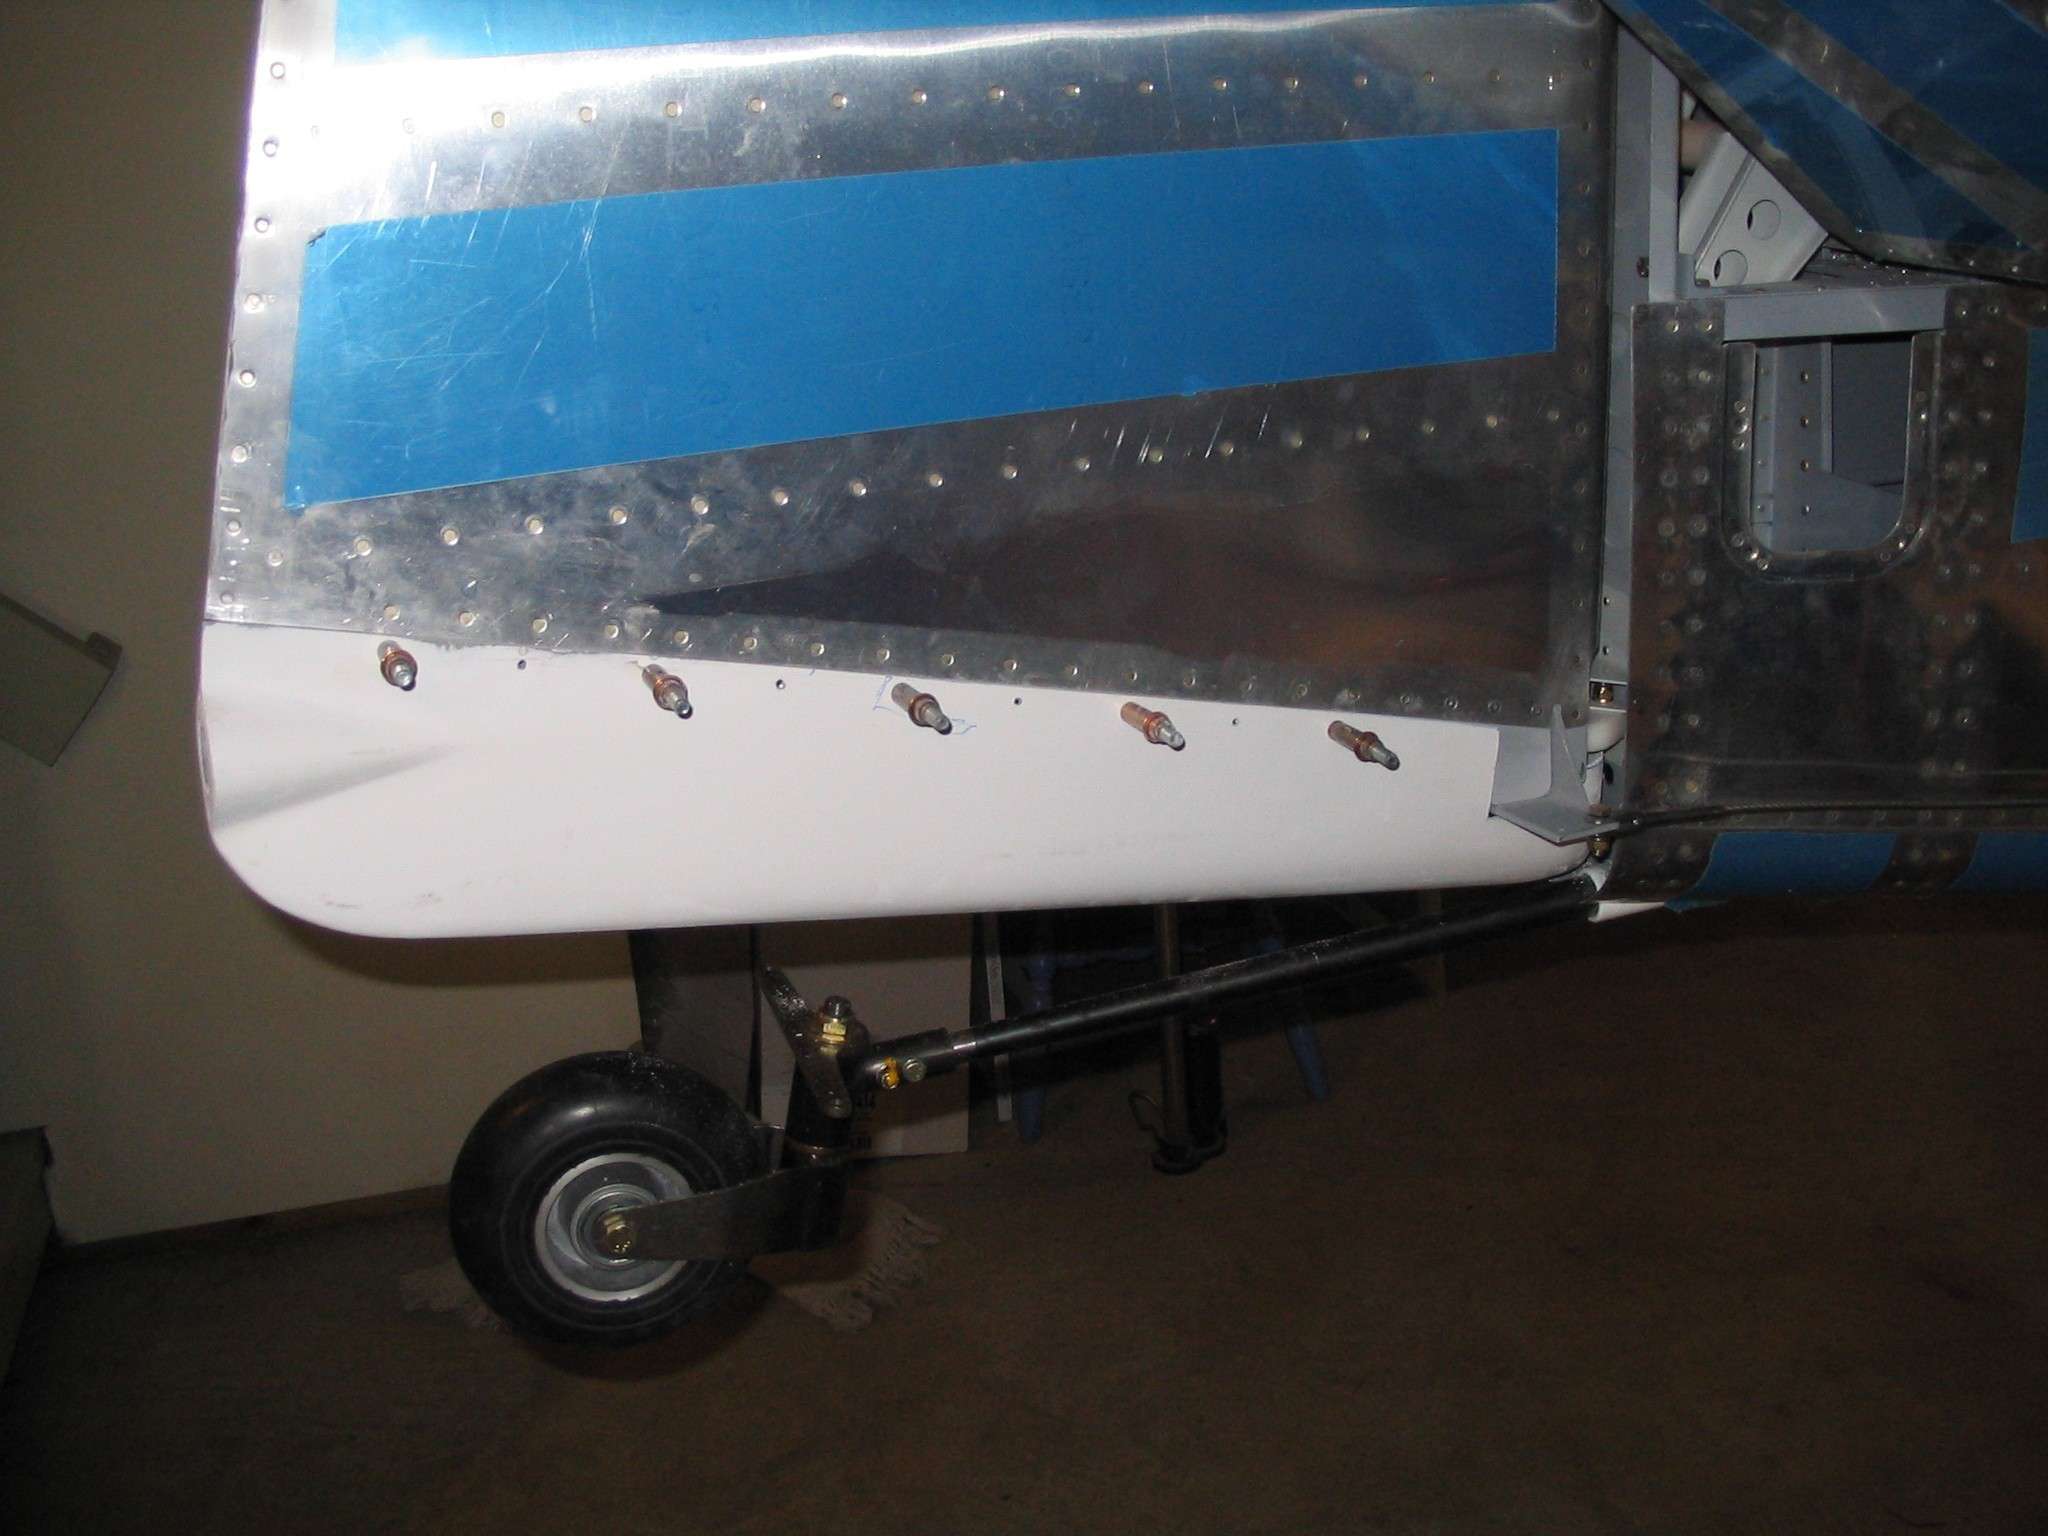
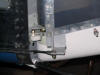
Building one of the few taildragger RV-9's has some drawbacks. One
of which is the limited instructions regarding putting the small wheel on
the aft end. The instructions tell you to fit the rudder bottom,
which I dutifully did and then realized the thing would interfere with the
tail wheel spring. In checking around I found that a number of RV-7
and the few RV-9 builders resolved this issue in one of two ways.
For those who like working with fiber glass they cut the bottom fairing
off and reshaped it to avoid the spring. Builders like me that don't
know enough about fiber glass to love or hate it just simply tapered the
thing so it is shorter at the forward end. In this picture I show it clecoed in place. My original thought was to plate nut it so I could
have access to the tail light but that may change. (5/26/06) F
Building one of the few taildragger RV-9's has some drawbacks. One
of which is the limited instructions regarding putting the small wheel on
the aft end. The instructions tell you to fit the rudder bottom,
which I dutifully did and then realized the thing would interfere with the
tail wheel spring. In checking around I found that a number of RV-7
and the few RV-9 builders resolved this issue in one of two ways.
For those who like working with fiber glass they cut the bottom fairing
off and reshaped it to avoid the spring. Builders like me that don't
know enough about fiber glass to love or hate it just simply tapered the
thing so it is shorter at the forward end. In this picture I show it clecoed in place. My original thought was to plate nut it so I could
have access to the tail light but that may change. (5/26/06) |
|
|
 E
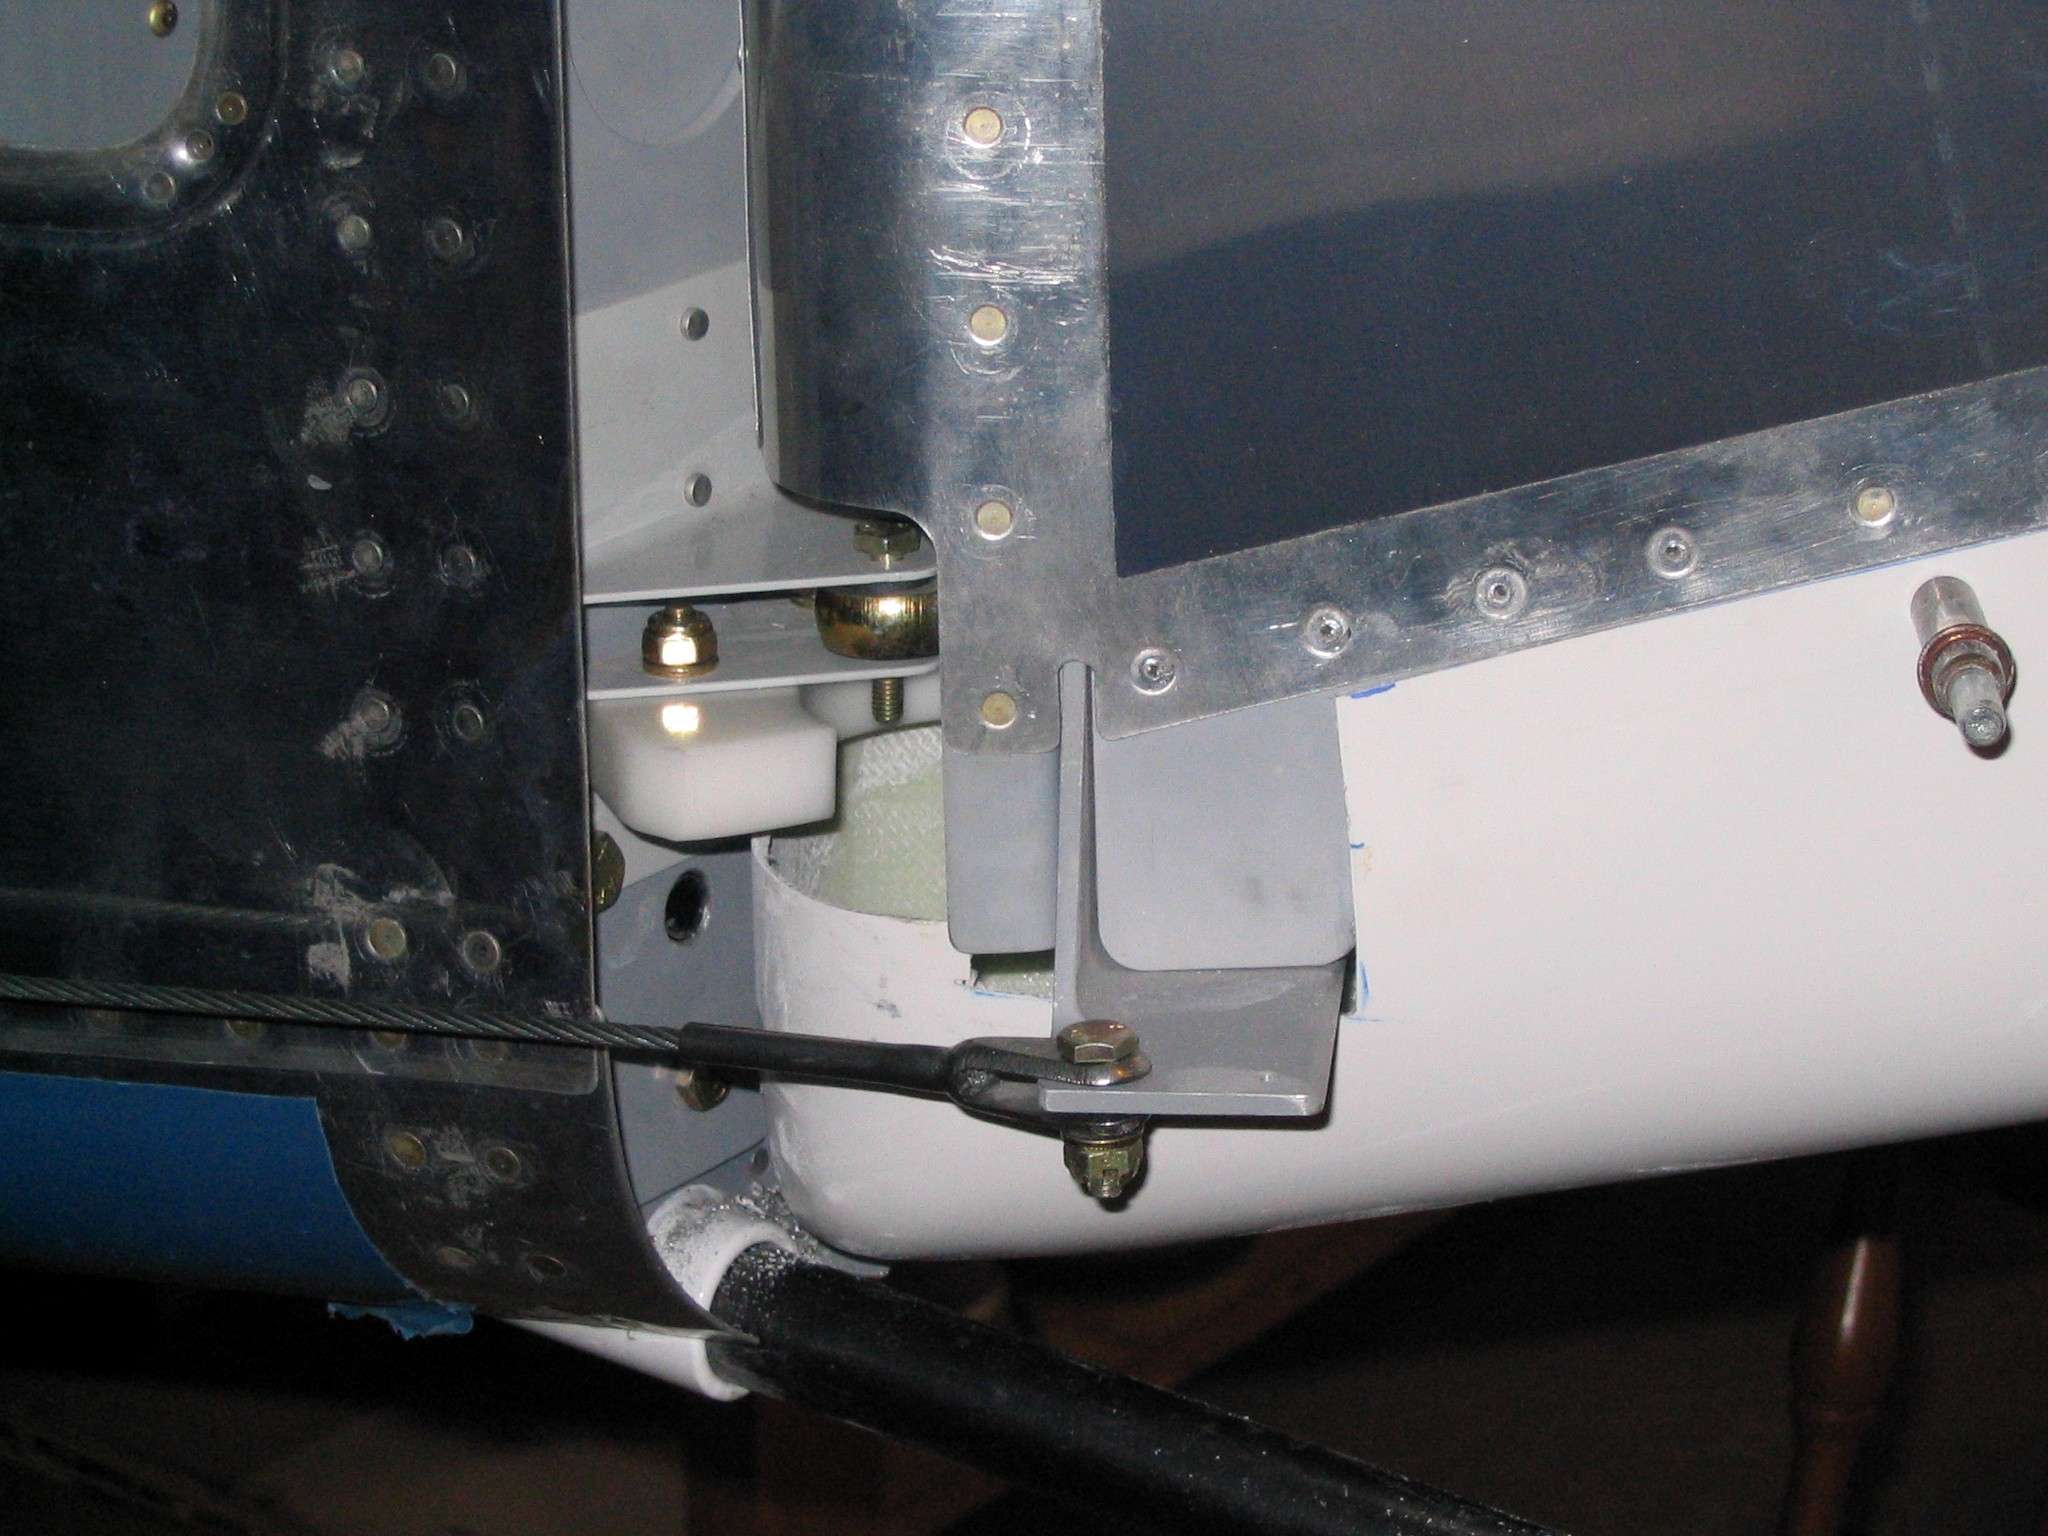
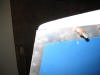
Rather than install external rudder gust stops, I bought one made of
Delrin from Jeff Bordelon. Jeff has a lot of great ideas and
his web site
is recommended reading. (4/26/06) E
Rather than install external rudder gust stops, I bought one made of
Delrin from Jeff Bordelon. Jeff has a lot of great ideas and
his web site
is recommended reading. (4/26/06) |
|
|
|
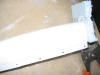
  F
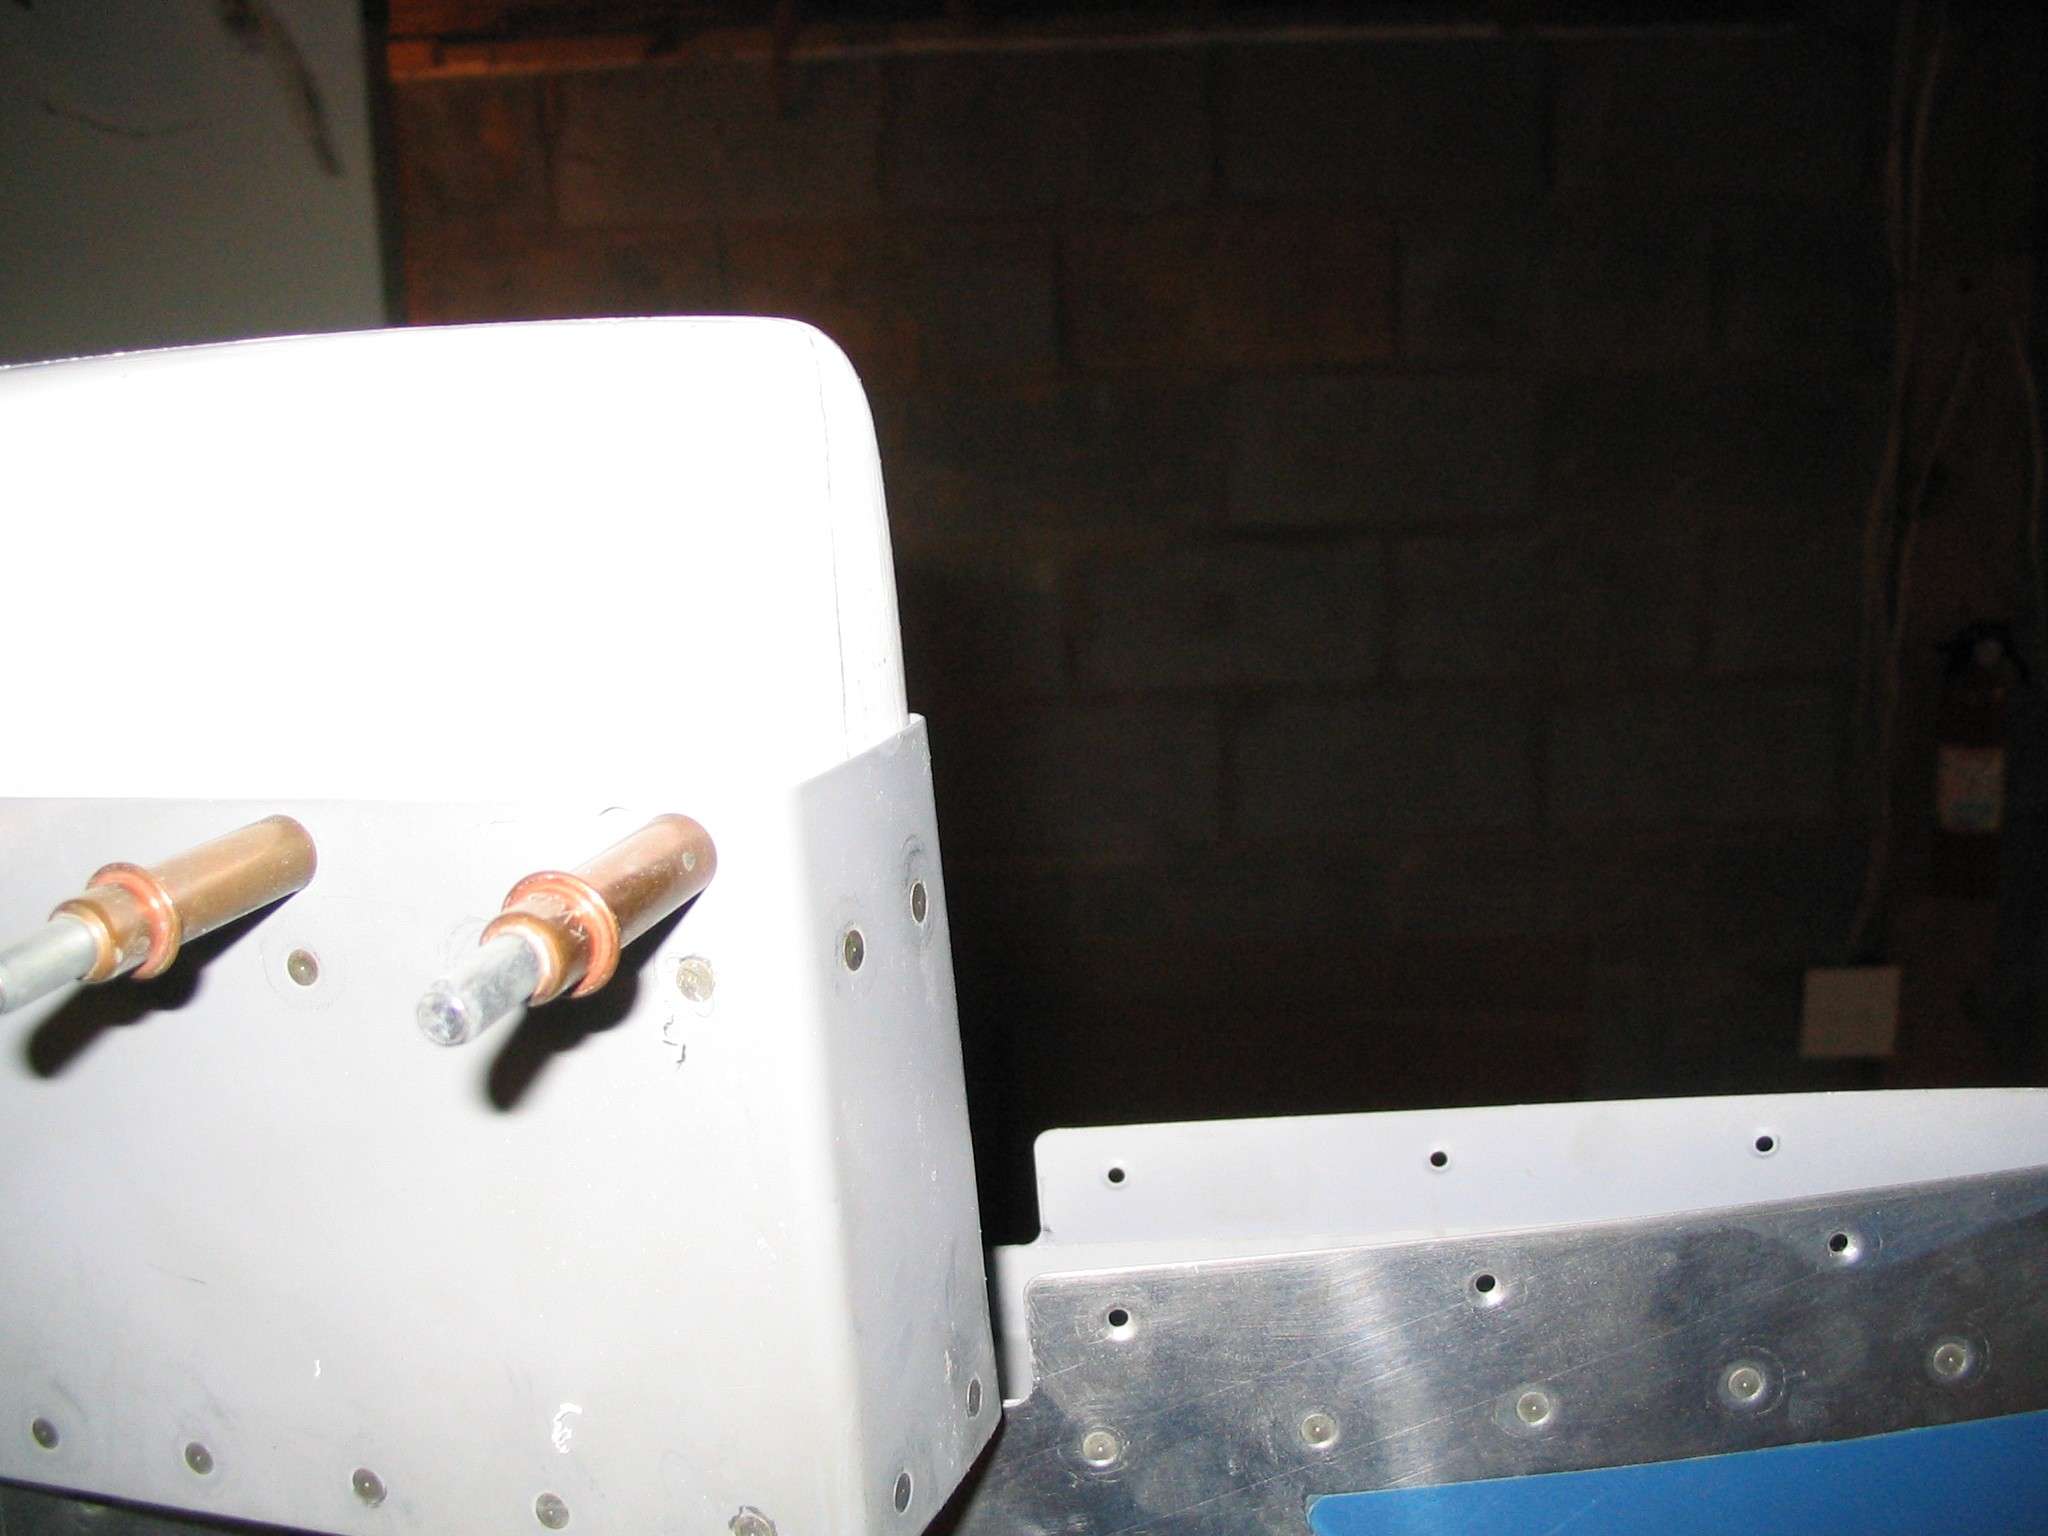
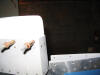
When fitting the elevator and rudder caps I found they were just a bit to
short, say about an 1/8" or so. In the case of the rudder cap. I fit
it as best I could, knowing I can build it up as needed. (6/24/06) F
When fitting the elevator and rudder caps I found they were just a bit to
short, say about an 1/8" or so. In the case of the rudder cap. I fit
it as best I could, knowing I can build it up as needed. (6/24/06) |
|
|
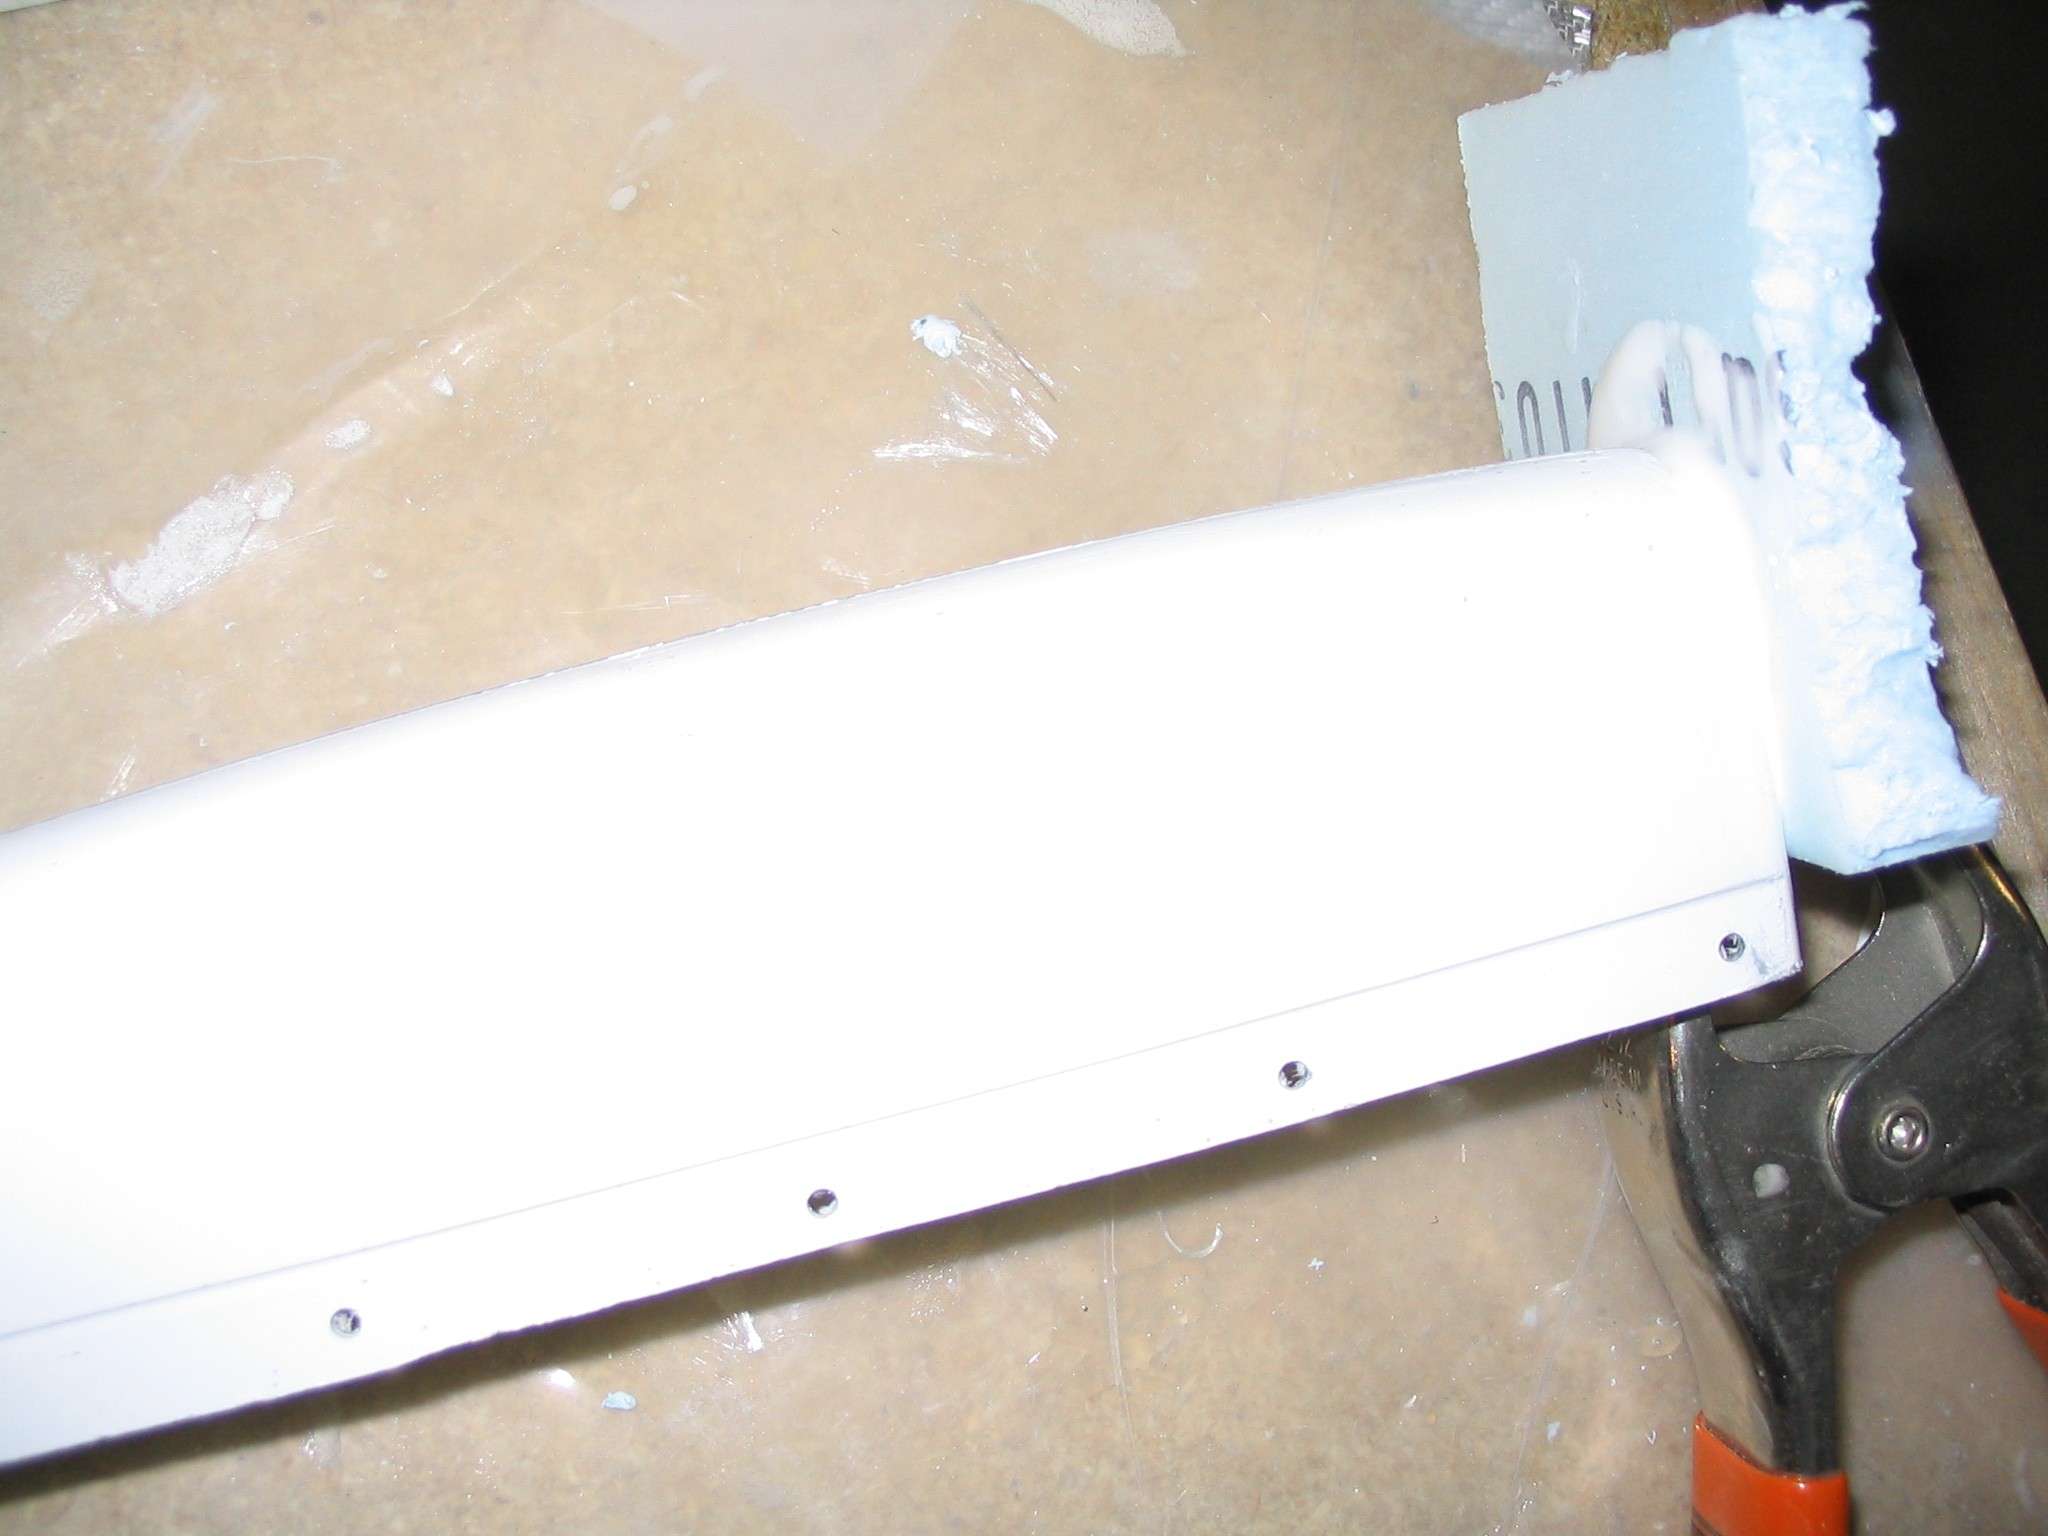
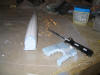
 E
Building up the rudder tip is straightforward. The trick is to go to
your local hardware store and purchase one sheet of blue Dow Styrofoam,
cut a small section of it to match the tip, scuff sand the jelcoat off the
end of the rudder cap, epoxy the Styrofoam on the end. Don't worry
about the excess, this stuff sands easily. (6/24/06) E
Building up the rudder tip is straightforward. The trick is to go to
your local hardware store and purchase one sheet of blue Dow Styrofoam,
cut a small section of it to match the tip, scuff sand the jelcoat off the
end of the rudder cap, epoxy the Styrofoam on the end. Don't worry
about the excess, this stuff sands easily. (6/24/06) |
|
|
|
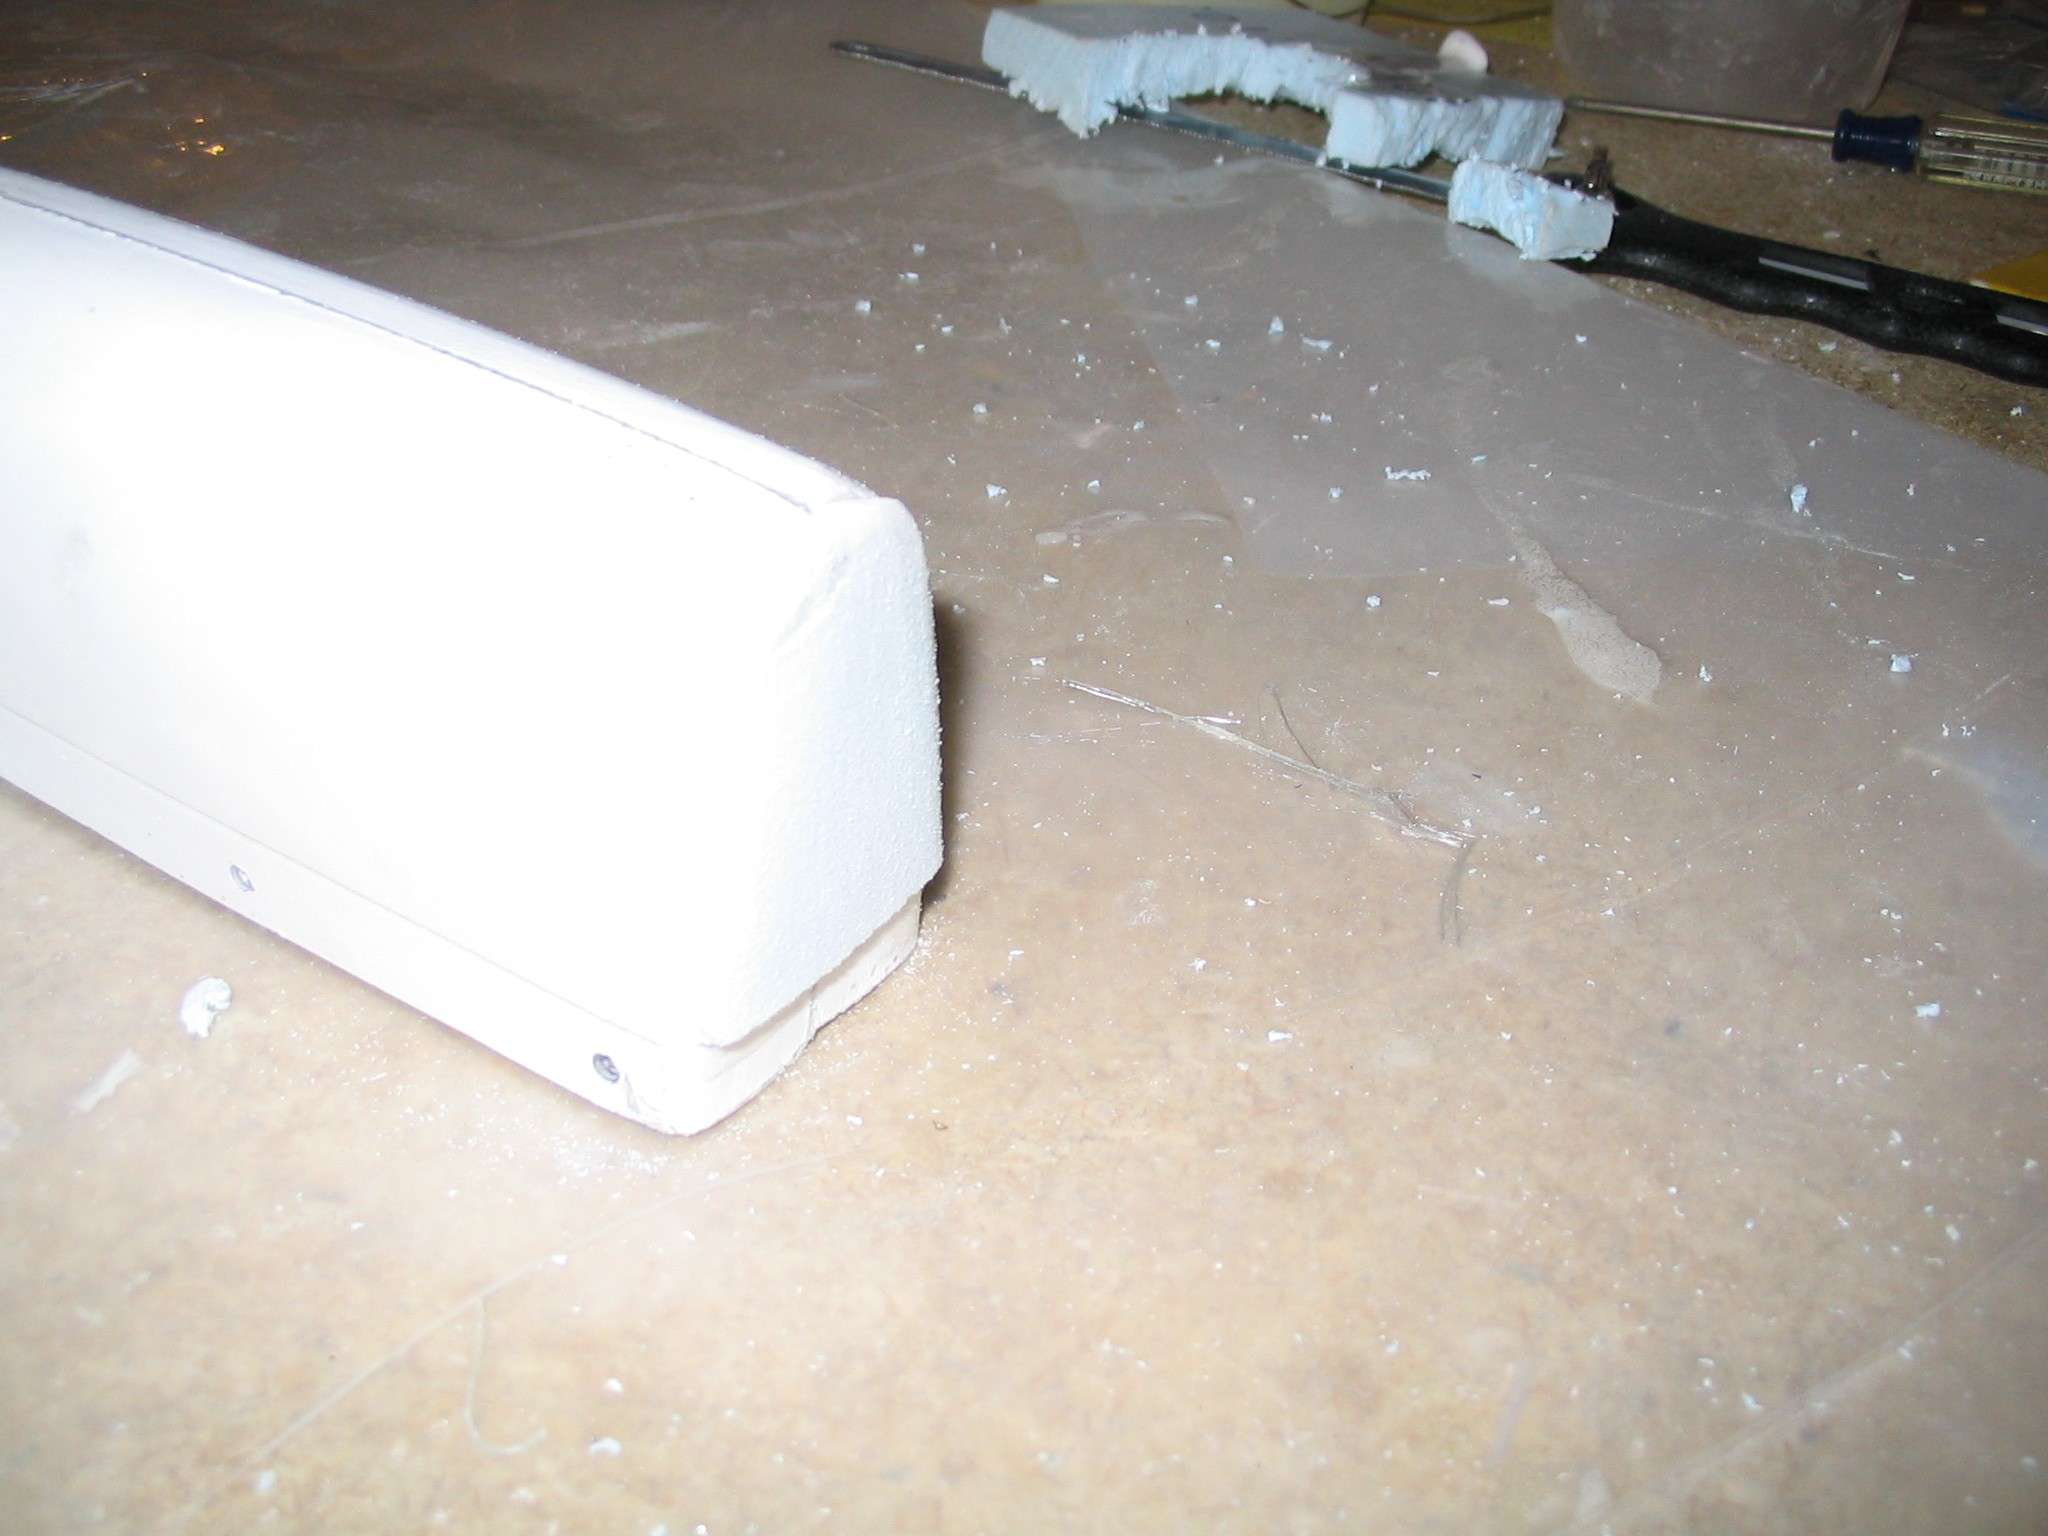
  F
Using a hacksaw blade, cut off any excess Styrofoam. Cleco the cap
back on the rudder and sand to fit. I timed myself and the sanding
portion took less than three minutes. Once shaped to size, there are
two options, either lay some glass over it or smear it with a mix of epoxy
and micro balloons. Since this is not a load bearing structure, I
just used the epoxy / micro balloon mix and sanded it down.
This process was repeated three or four times until I was happy with the
fit and finish. F
Using a hacksaw blade, cut off any excess Styrofoam. Cleco the cap
back on the rudder and sand to fit. I timed myself and the sanding
portion took less than three minutes. Once shaped to size, there are
two options, either lay some glass over it or smear it with a mix of epoxy
and micro balloons. Since this is not a load bearing structure, I
just used the epoxy / micro balloon mix and sanded it down.
This process was repeated three or four times until I was happy with the
fit and finish.
The same process was used on the
elevator caps. (6/24/06) |
|
|
|
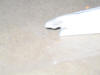 E
After the epoxy / micro balloon mix hardened it was sanded down and a
piece of fiberglass cloth was laid on the trailing edge to build it up.
When that hardened a layer of epoxy / micro balloons was smoothed over the
top. You guessed it, when that hardens it will be sanded smooth.
This process may take a few repetitions until it is completely smooth but
when finished you will never know it was built up. (6/26/06) E
After the epoxy / micro balloon mix hardened it was sanded down and a
piece of fiberglass cloth was laid on the trailing edge to build it up.
When that hardened a layer of epoxy / micro balloons was smoothed over the
top. You guessed it, when that hardens it will be sanded smooth.
This process may take a few repetitions until it is completely smooth but
when finished you will never know it was built up. (6/26/06)
|
| |