Bill's Aircraft Factory

First Flight

Trips

Horizontal Stabilizer

Vertical Stabilizer

Elevator

Trim Tab

Rudder

Wings & Fuel Tank

Ailerons

Flaps

Fuselage

  Page 1

  Page 2

  Page 3

  Page 4

Engine & FWF

  Page 1

  Page 2

  Page 3

Instrument Panel

Electrical System

Building in the Basement and Moving to the Airport

Dynon Autopilot Installation

Things to Consider

Tools

Products

Tell me again

Helpful Links

Plane Pictures

FAQ's

E-mail:

bill (at) repucci (dot) com

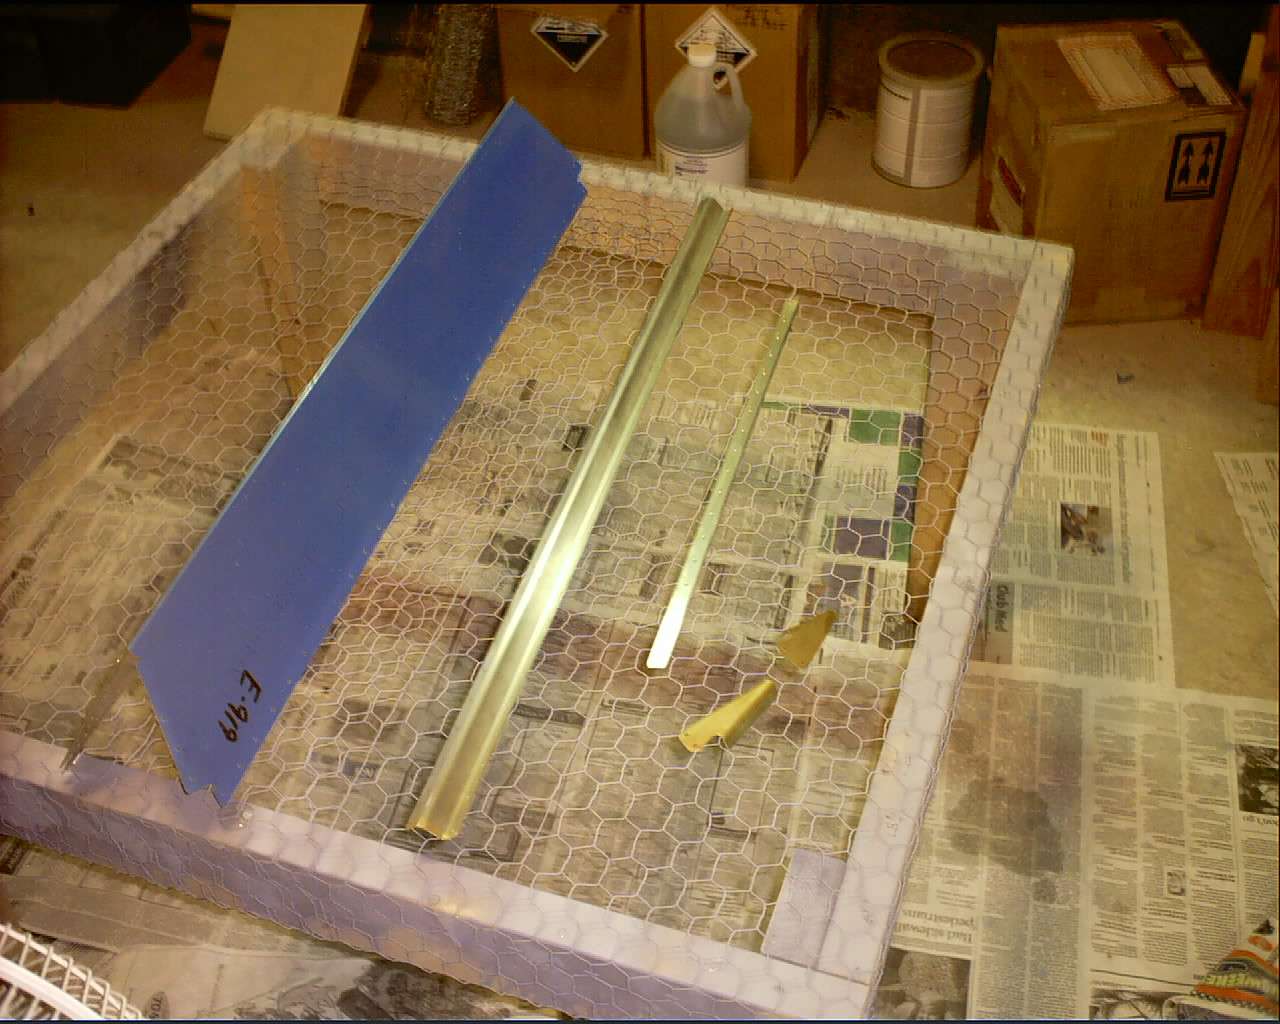
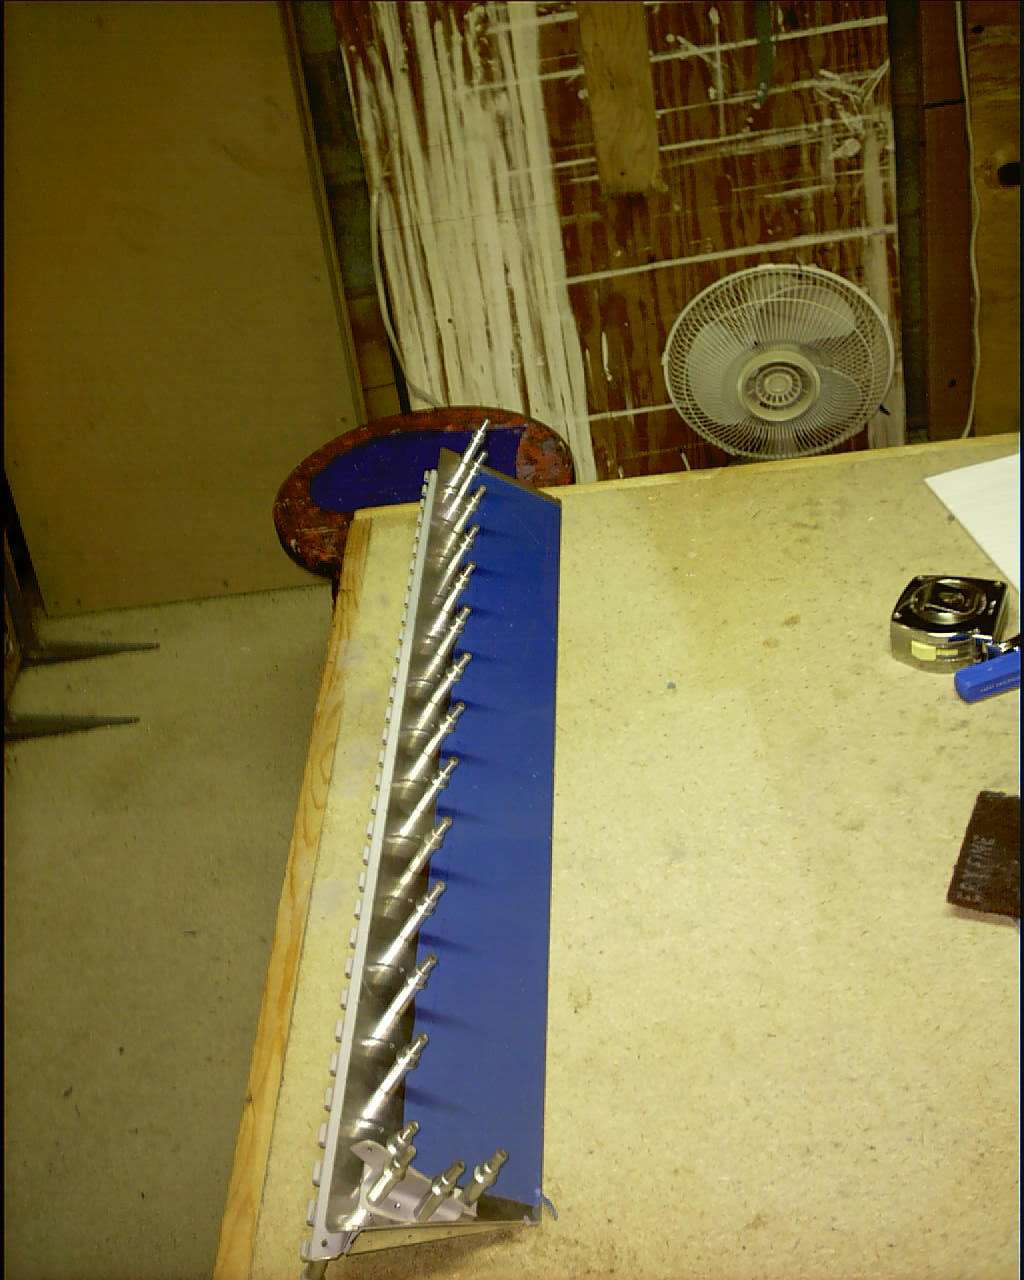
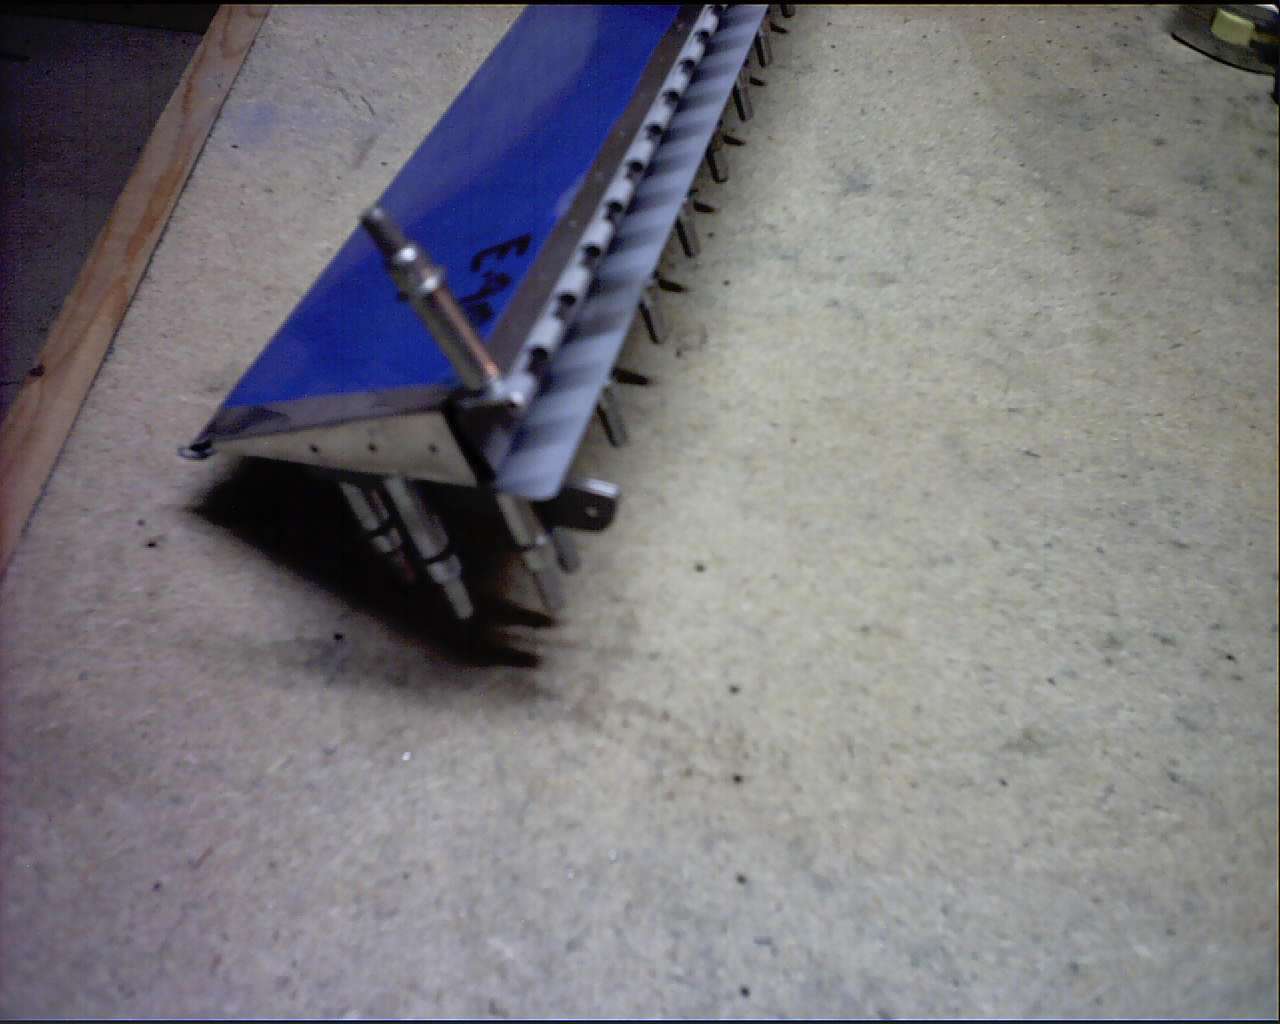
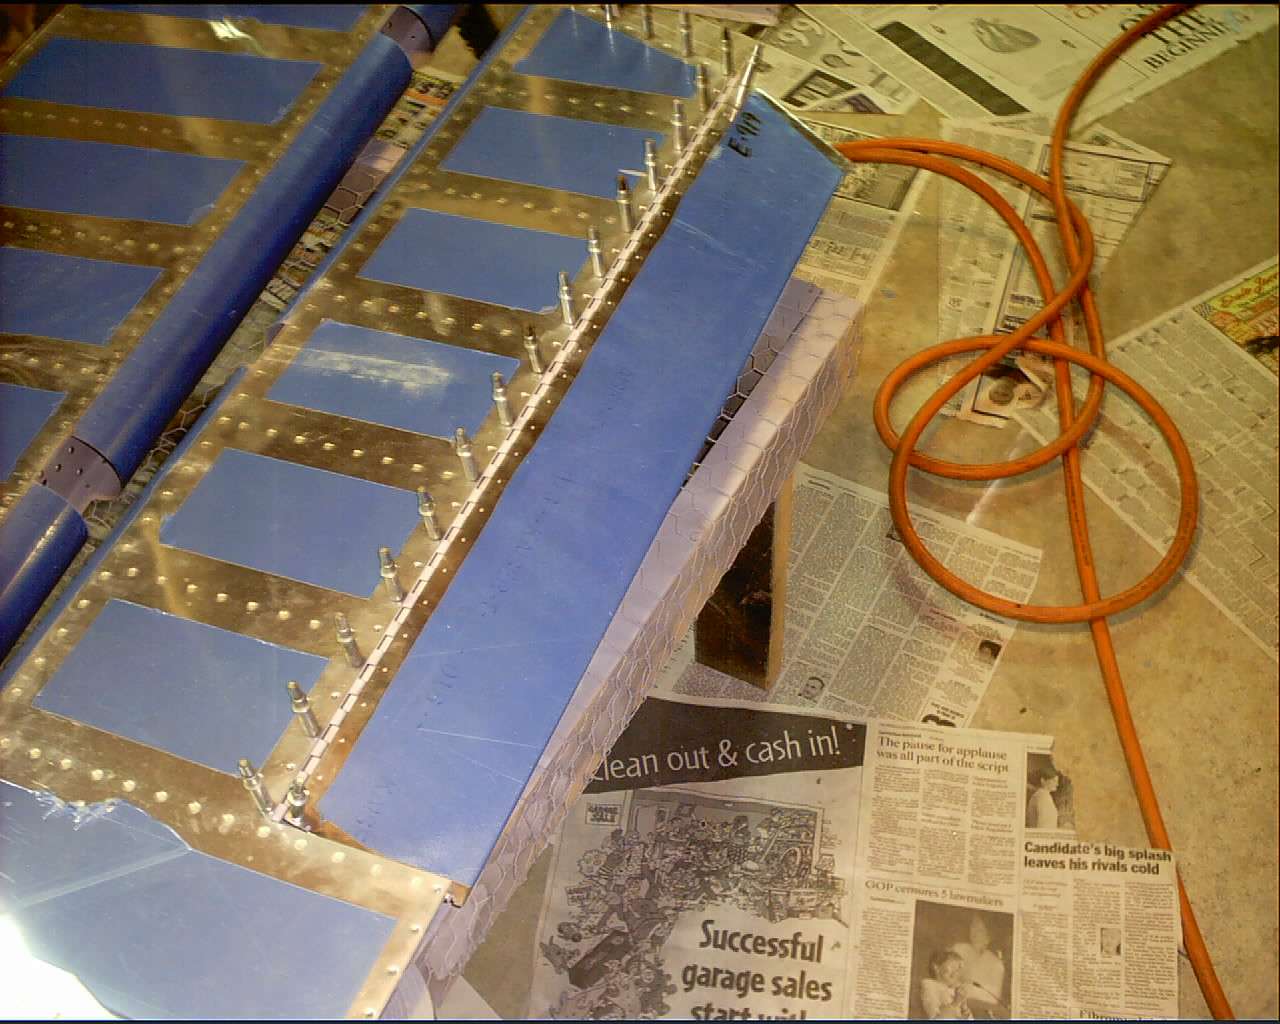
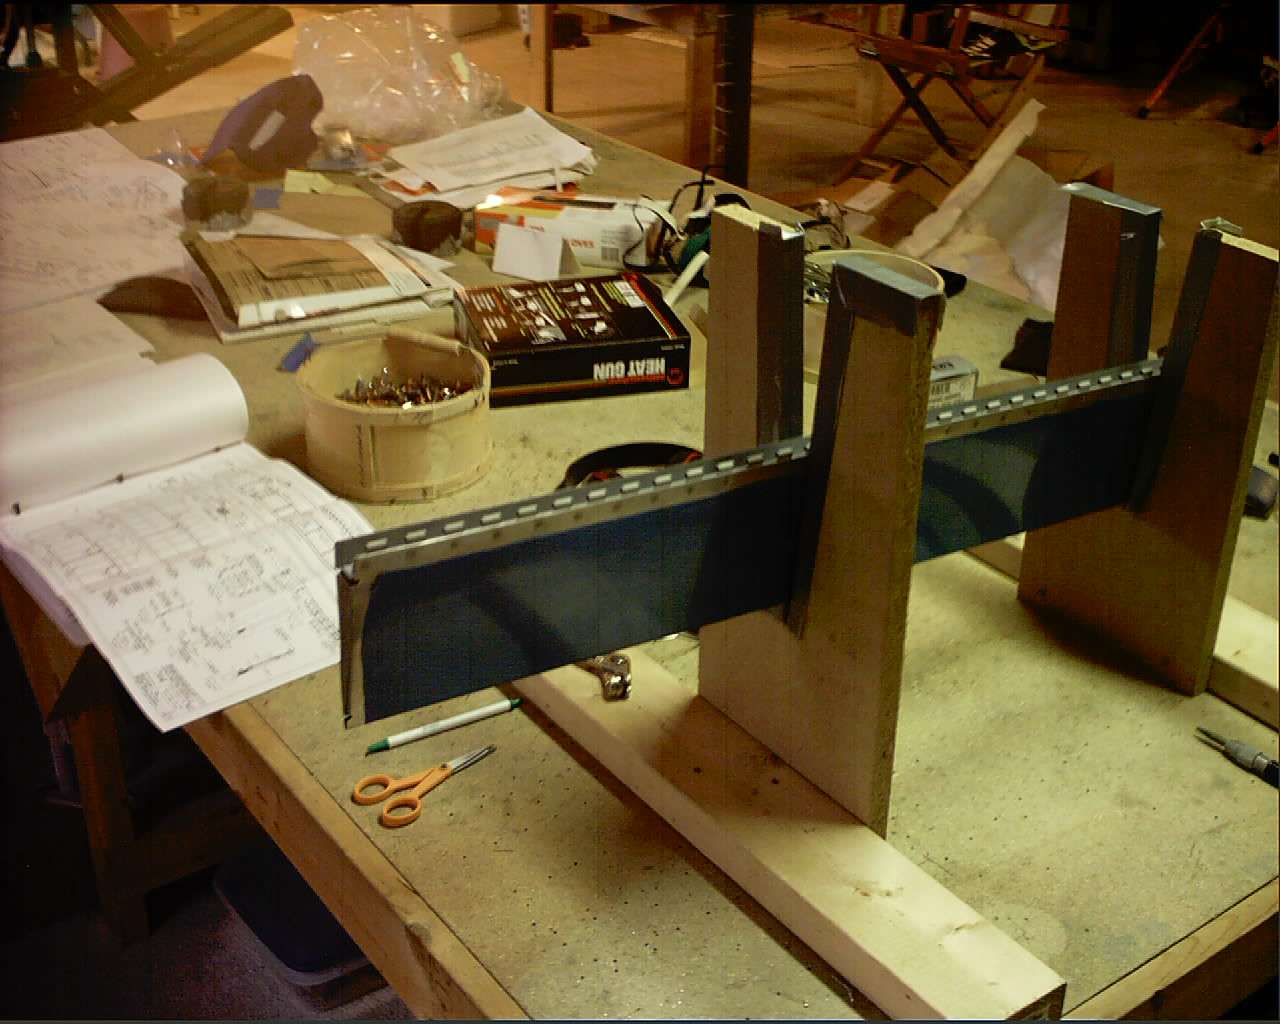
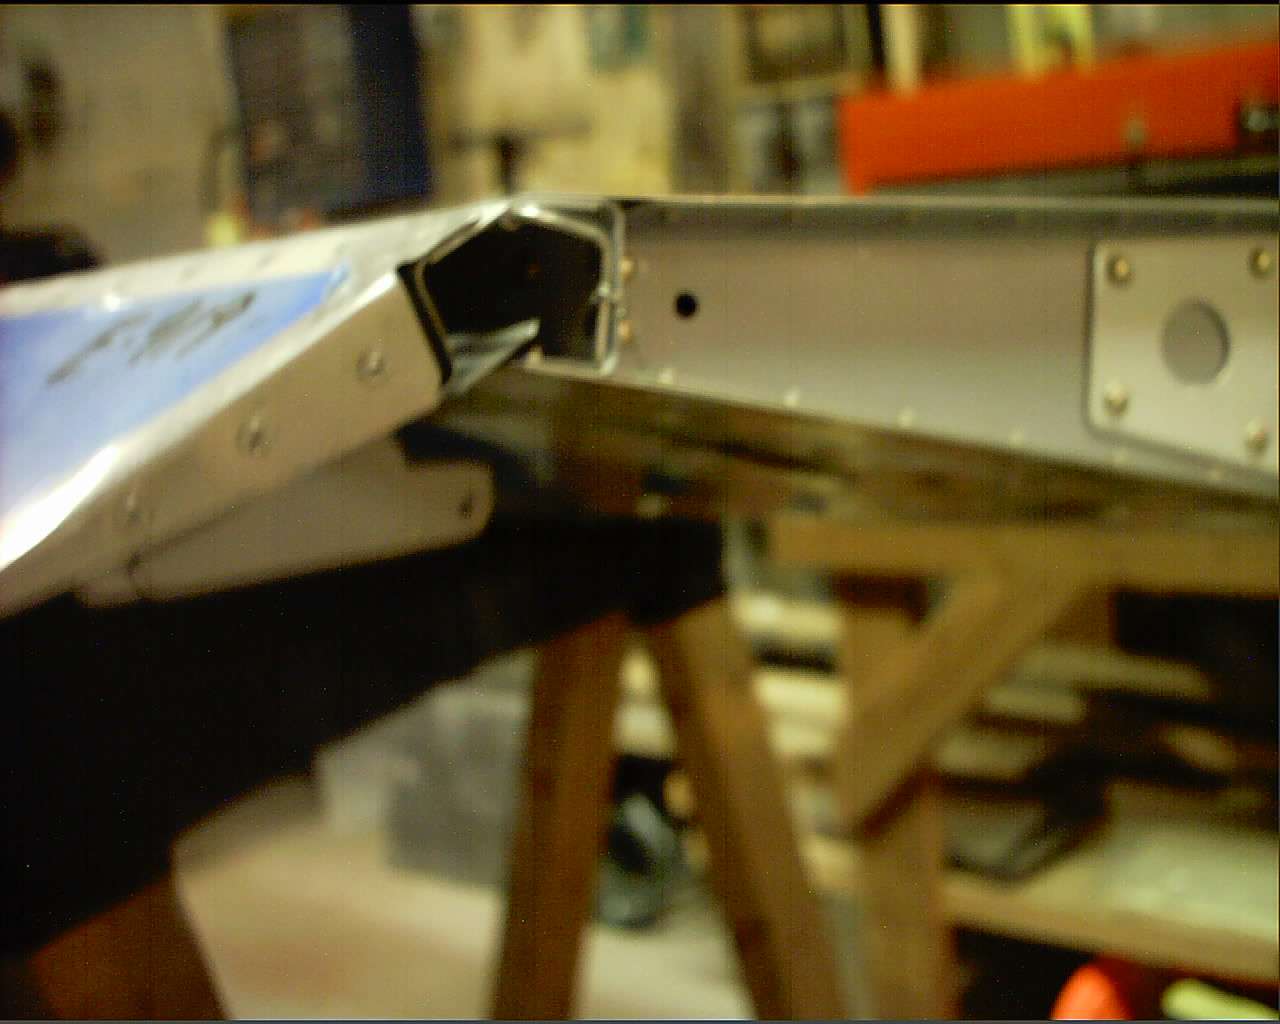
Trim Tab construction

Caution - Man running (with) power tools


ETrim tab parts all Alumiprepped and Alodined.    Next step is to prime them.  Sort of the belt, suspenders, and duct tape approach to corrosion protection.  (7/13/03)

(Note the painting table w/ chicken wire.  This keeps the spray paint from blowing back up at the parts.)


F Tab is test fitted and held together with clecos (temporary clamps).  The next step will be match drilling, deburring, then dimpling every hole prior to riveting.  (9/23/03)
 
E The tricky part of building the trim tab is bending the ends over cleanly for riveting.  I'm happy with the way mine turned out.  (9/23/03)
 
F Here it is being test fitted on the left elevator.  (9/23/03)
 
E Back in the cradle for final riveting.  (10/5/03)
 
F Will you just look at that fit!  The hinge is now riveted to the elevator and it looks like it will work fine.  (10/11/03)