 E
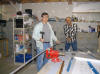
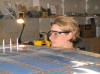
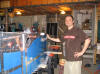
Here is Nora, pen in hand, ready to help inventory the parts.
I'm not sure she knows what she has gotten herself into.
(11/12/04) E
Here is Nora, pen in hand, ready to help inventory the parts.
I'm not sure she knows what she has gotten herself into.
(11/12/04) |
|
|
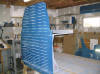
 F
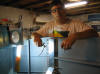
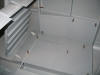
Van's sure does use a lot of shrink wrap and paper to protect
the parts and boy does it every work. Not a single part
was damaged in shipping. (11/12/04) F
Van's sure does use a lot of shrink wrap and paper to protect
the parts and boy does it every work. Not a single part
was damaged in shipping. (11/12/04) |
| |
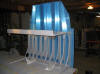
 E
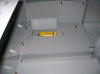
I think 1/2 the weight of the box is packing material. I
don't think the car will ever get back in the garage. Oh
well, at least I don't have to worry about hitting anything
when backing the car in with all that paper protecting the
wall. (11/12/04) E
I think 1/2 the weight of the box is packing material. I
don't think the car will ever get back in the garage. Oh
well, at least I don't have to worry about hitting anything
when backing the car in with all that paper protecting the
wall. (11/12/04) |
|
|
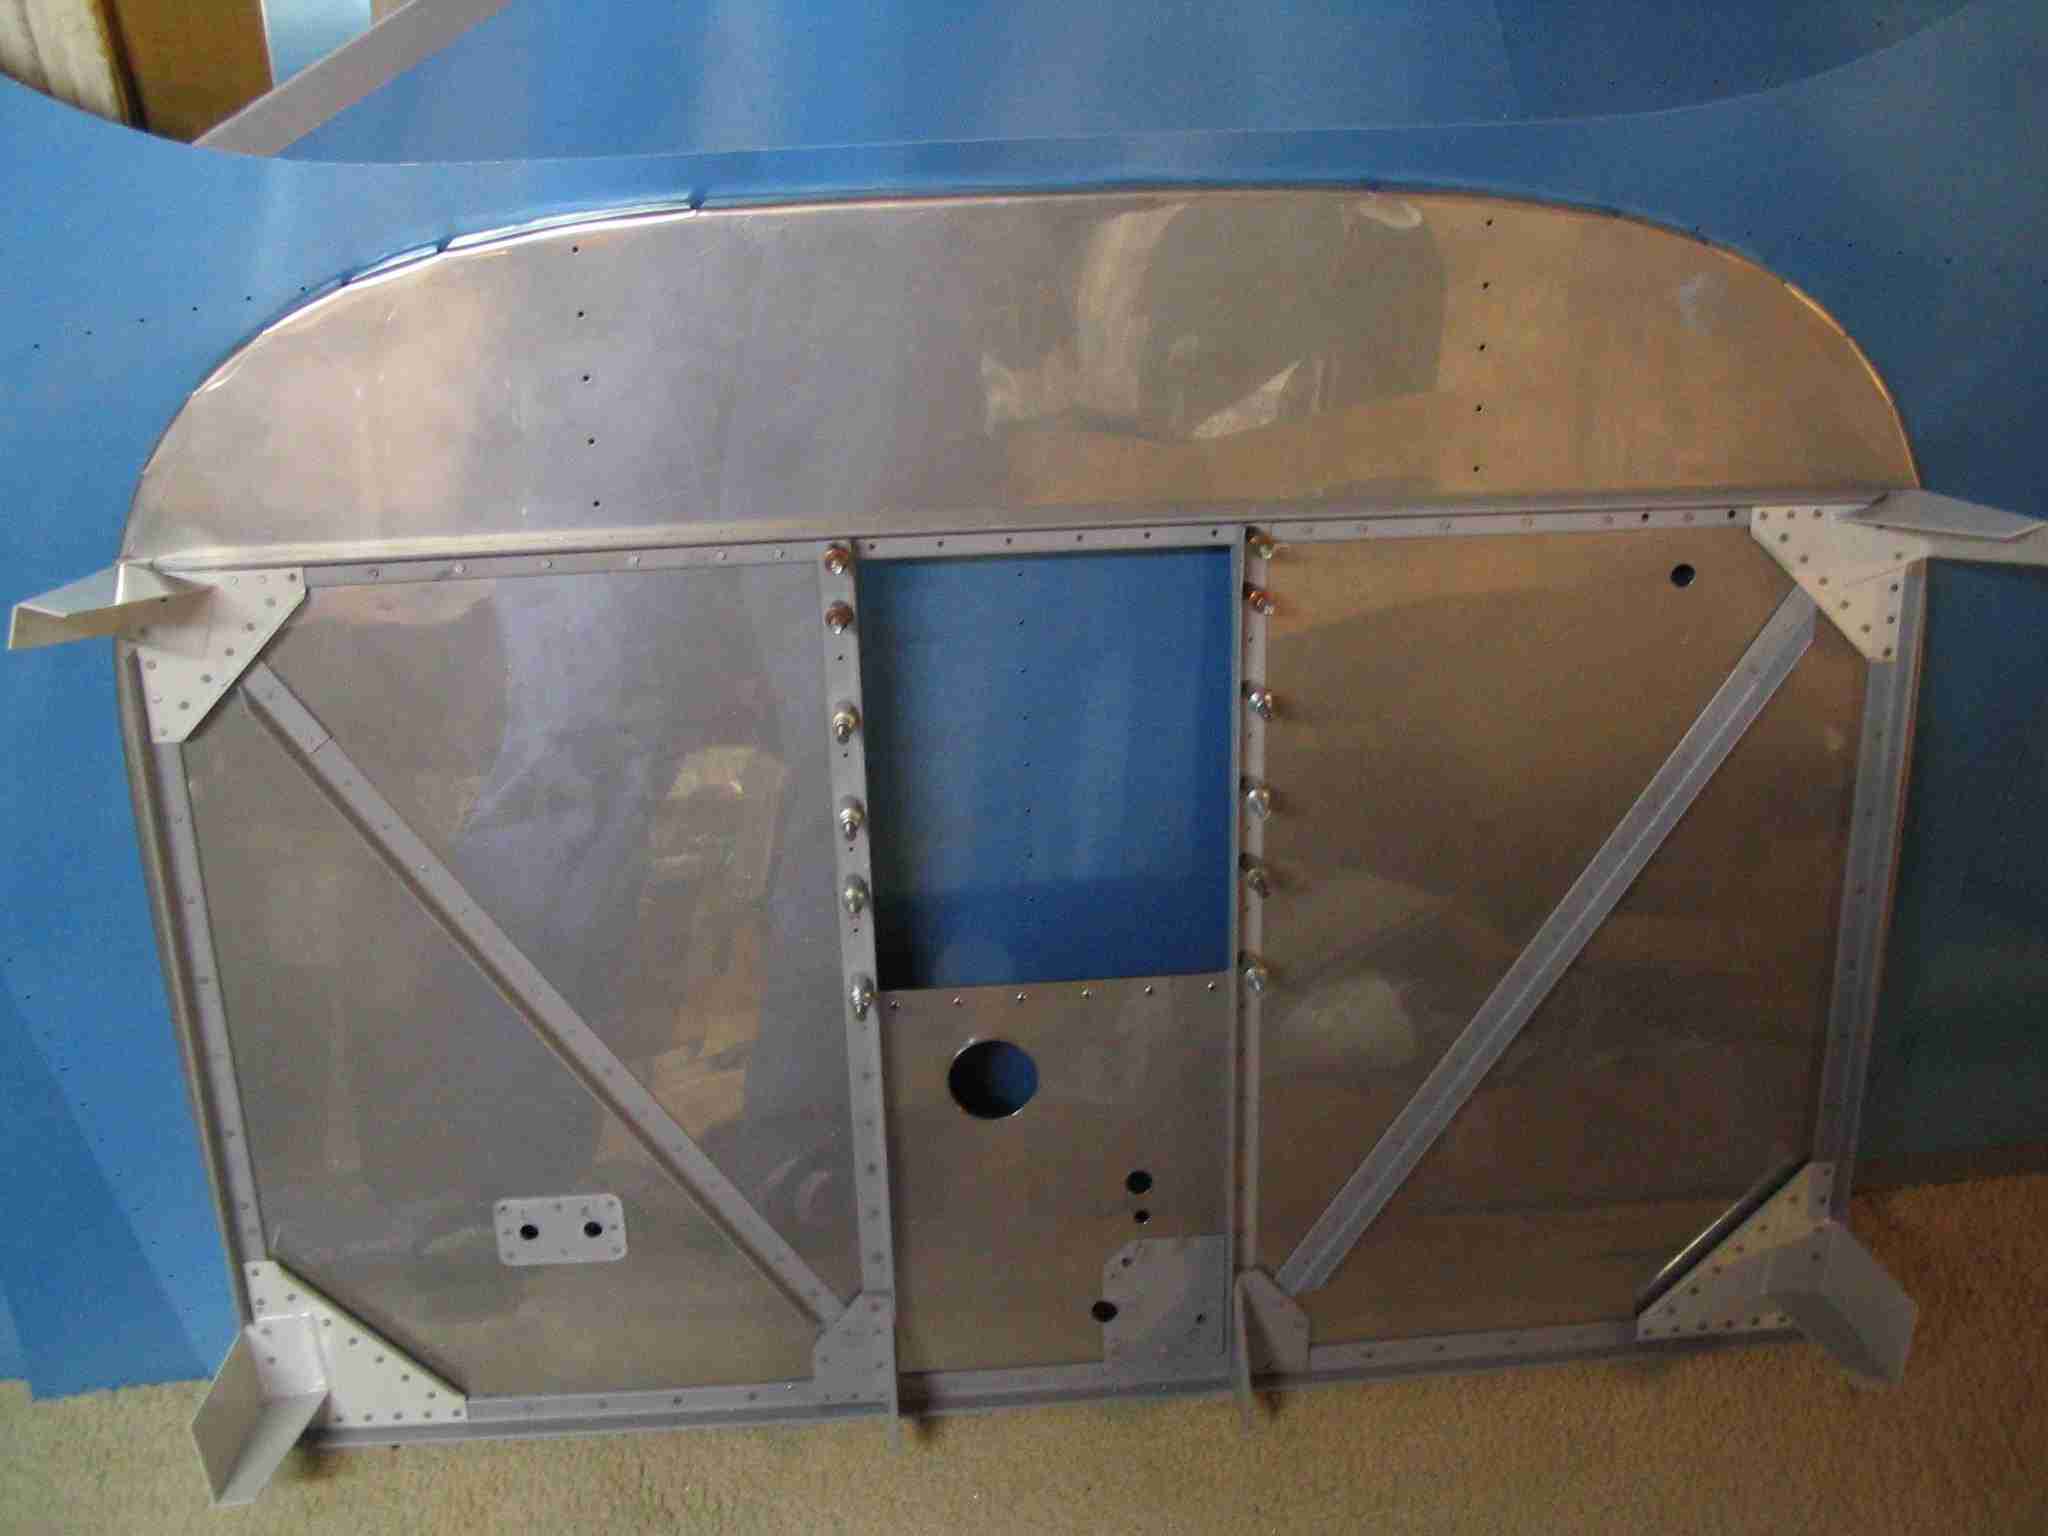
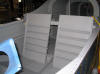
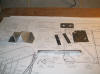 F
A good number of people who are thinking about building an RV
ask, "How many parts do you actually have to make and is it
difficult to make those parts?" Here is a sample
of the parts I had to make for the firewall of my RV-9.
There are a number of items I had to fabricate but they are
simple parts made from angle and sheet aluminum. Nothing
you couldn't make in one or two work sessions with a band saw,
bench sander, file, and drill. Oh, don't forget about
the bench press w/ a de-burring wheel. (11/23/04) F
A good number of people who are thinking about building an RV
ask, "How many parts do you actually have to make and is it
difficult to make those parts?" Here is a sample
of the parts I had to make for the firewall of my RV-9.
There are a number of items I had to fabricate but they are
simple parts made from angle and sheet aluminum. Nothing
you couldn't make in one or two work sessions with a band saw,
bench sander, file, and drill. Oh, don't forget about
the bench press w/ a de-burring wheel. (11/23/04) |
| |
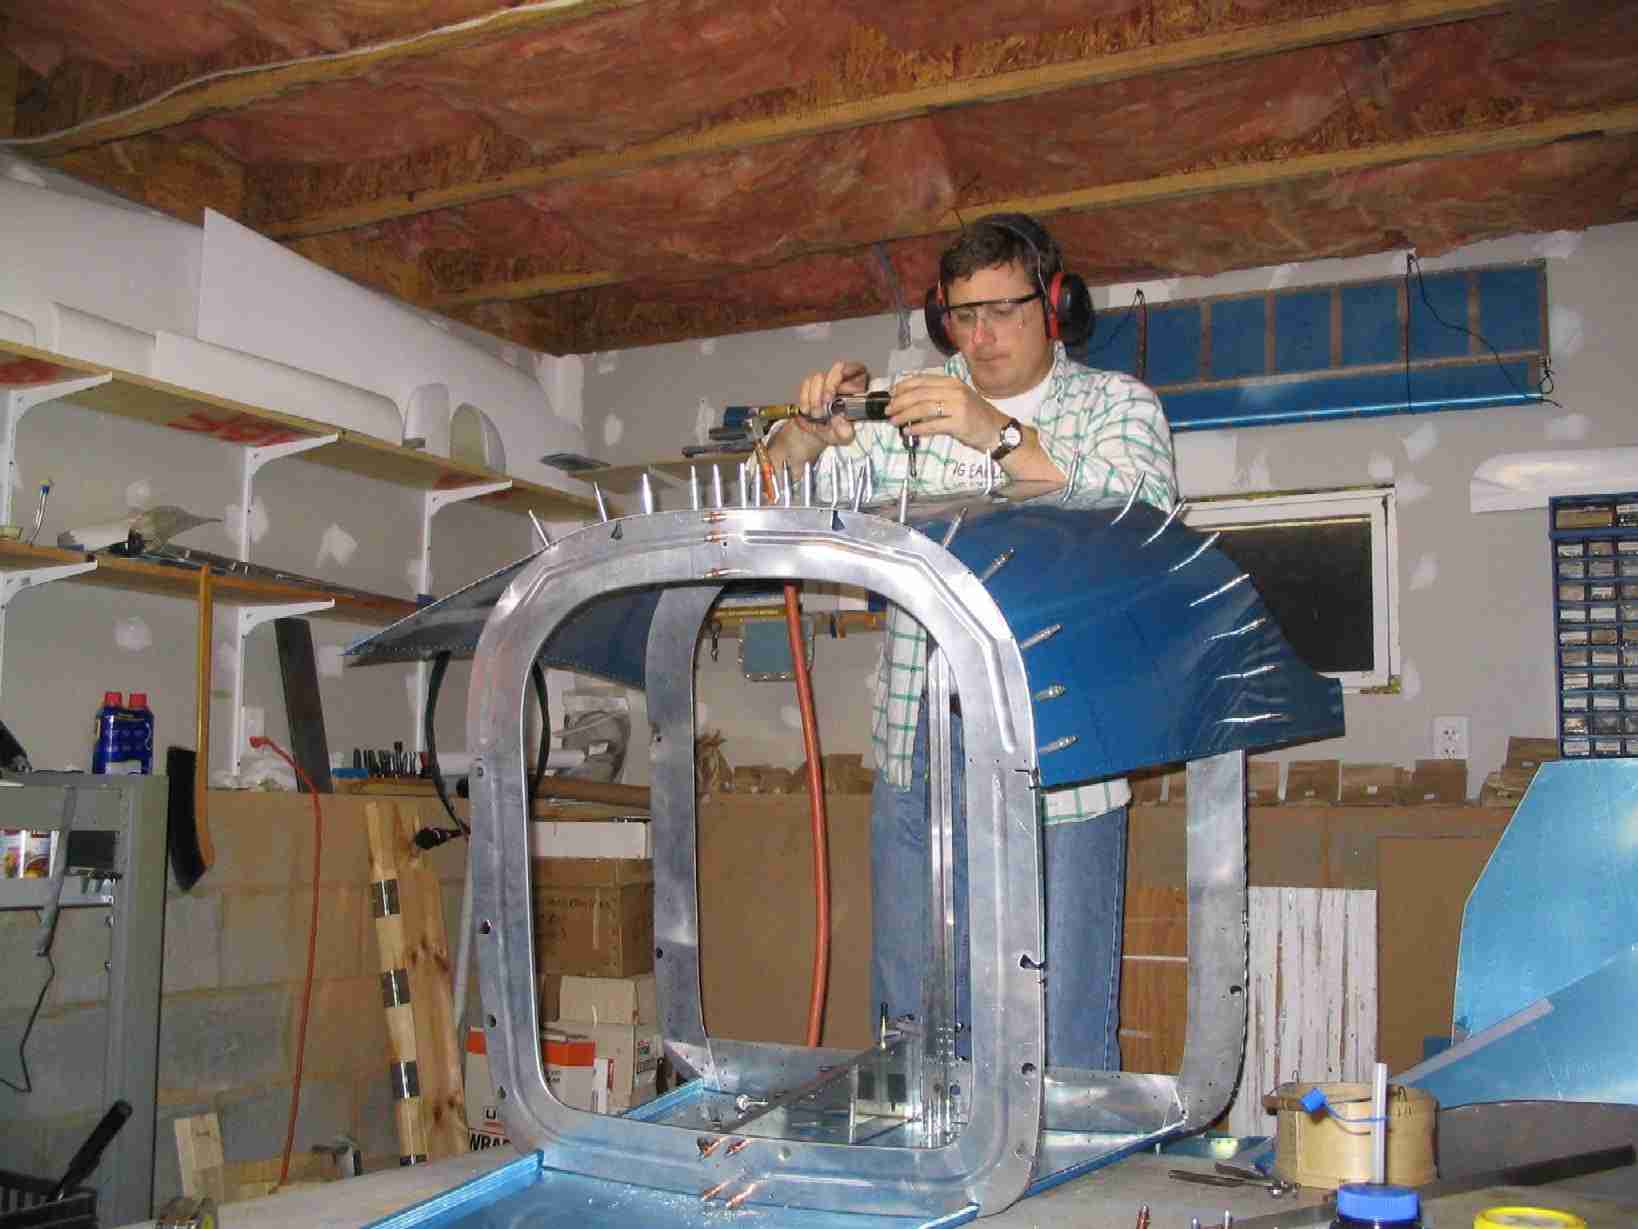
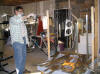
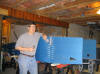
 E
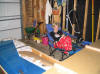
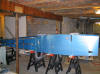
When working alone, it helps to get creative. Here
I am riveting the center section together. To hold the
thing in place I screwed a long 2x4 vertically to the end of
my work table and then clamped the center section to it.
This worked out great and meant I didn't have to interrupt my
wonderful wife. (12/7/04) E
When working alone, it helps to get creative. Here
I am riveting the center section together. To hold the
thing in place I screwed a long 2x4 vertically to the end of
my work table and then clamped the center section to it.
This worked out great and meant I didn't have to interrupt my
wonderful wife. (12/7/04) |
| |
|
 F
The firewall riveting is finally completed. There was a
delay caused by me countersinking the wrong side of one of the
gussets. Oh well, everyone makes a mistake or two.
Some day I need to post a picture of all the parts I have
destroyed just to let fellow builders know they are not alone.
(12/8/04) F
The firewall riveting is finally completed. There was a
delay caused by me countersinking the wrong side of one of the
gussets. Oh well, everyone makes a mistake or two.
Some day I need to post a picture of all the parts I have
destroyed just to let fellow builders know they are not alone.
(12/8/04) |
| |
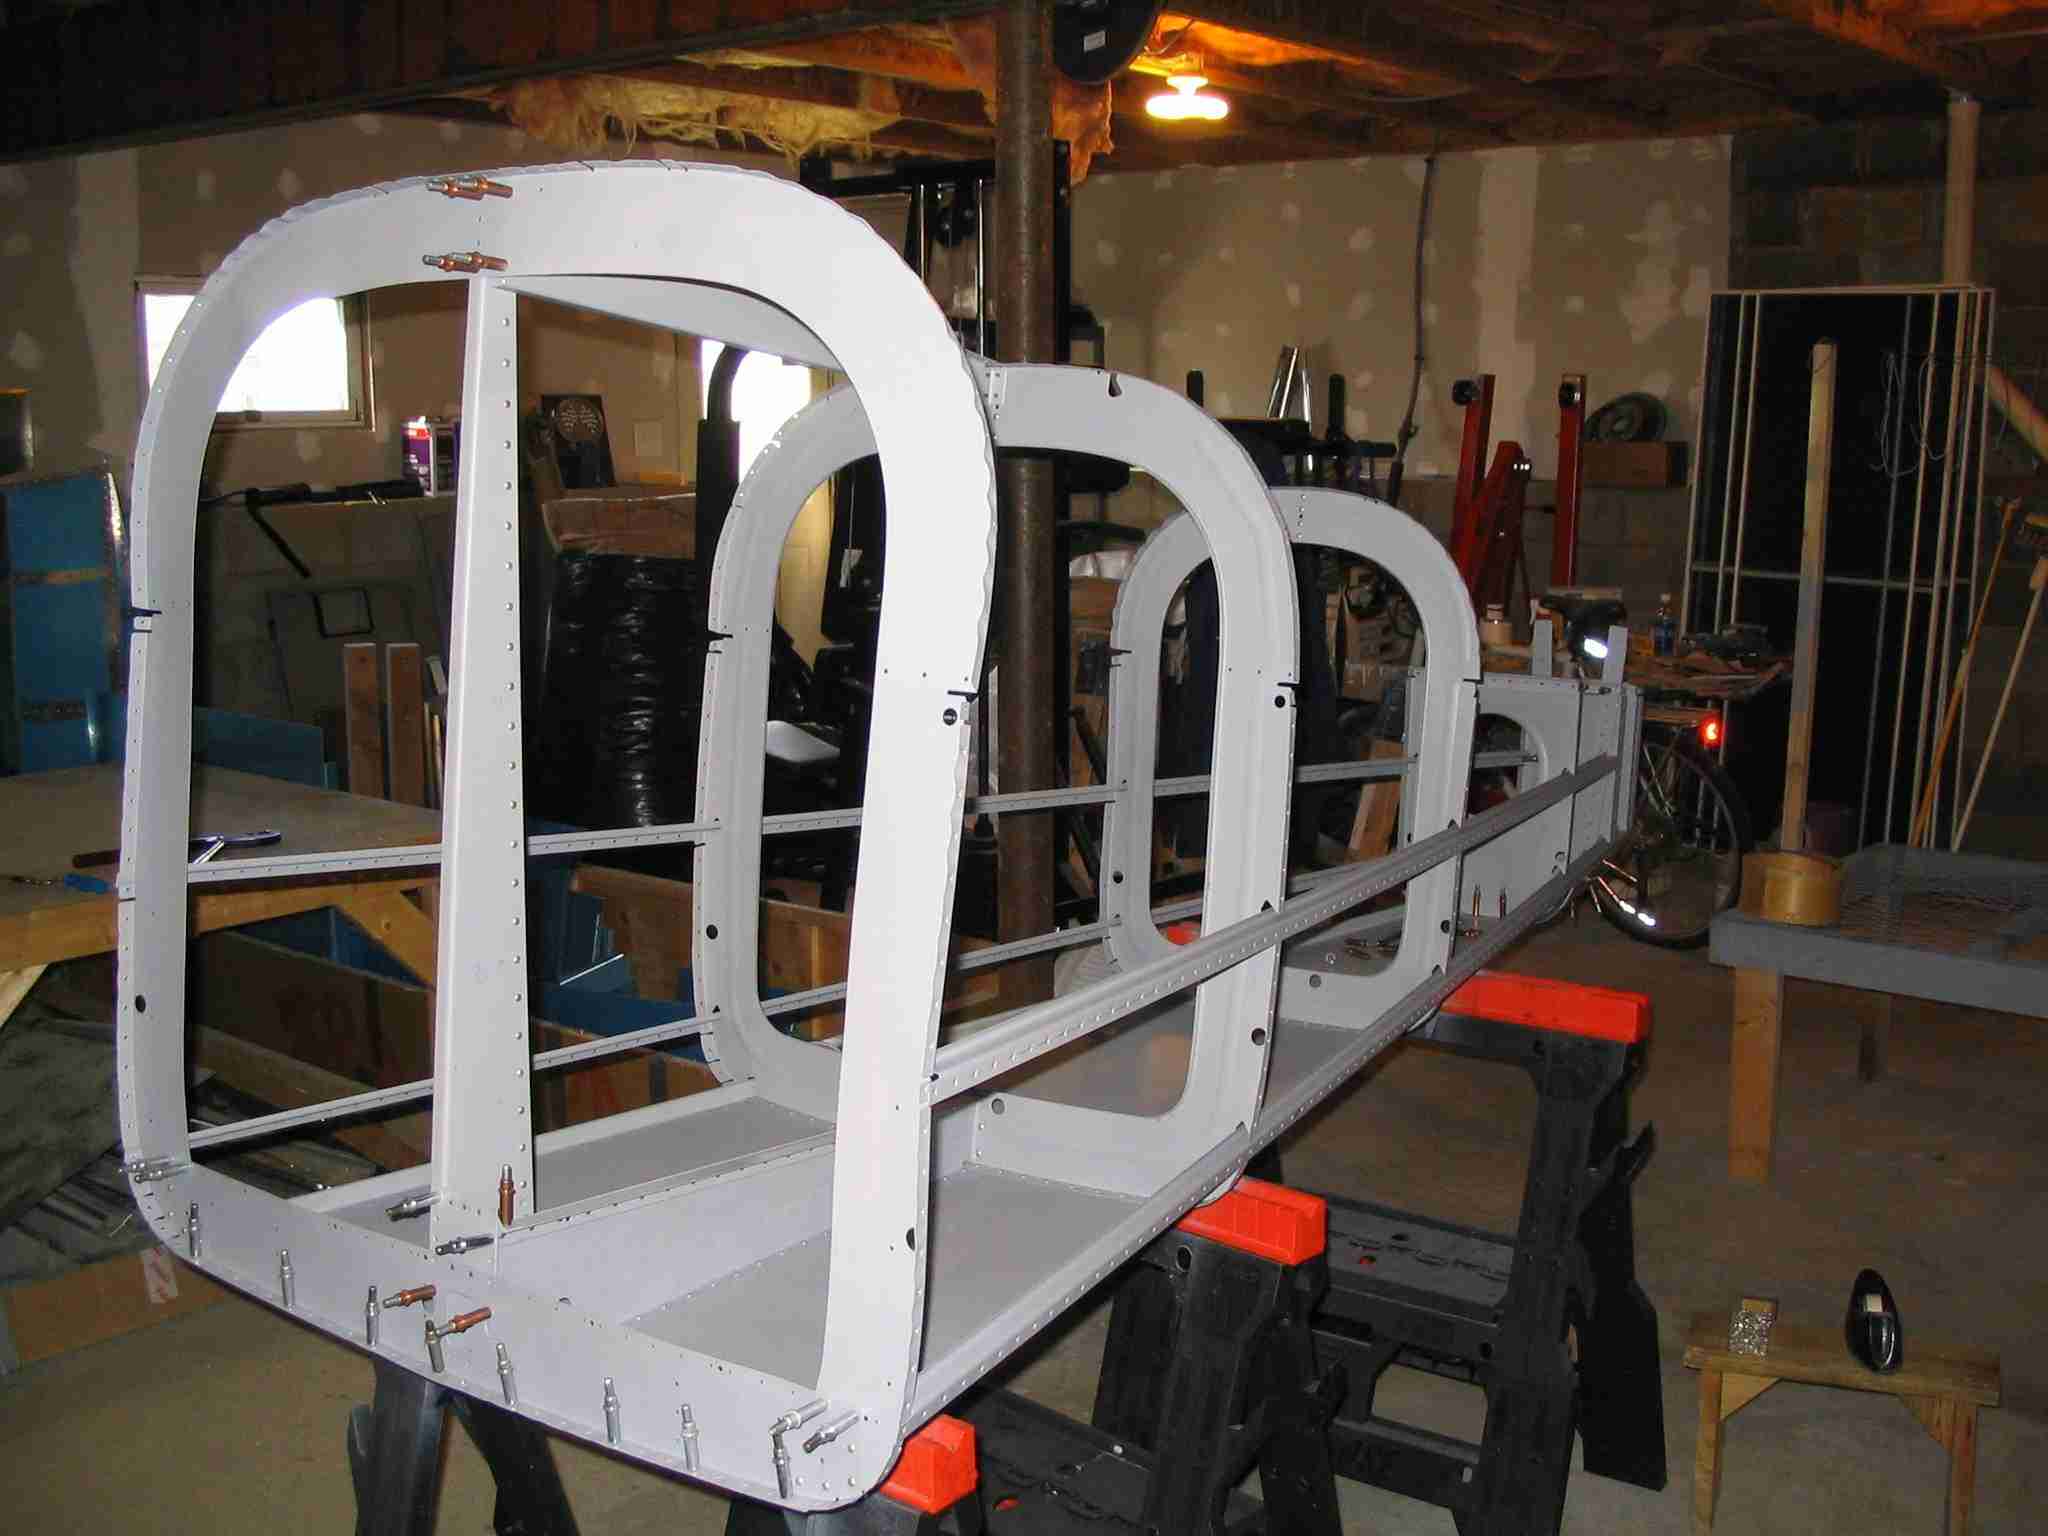
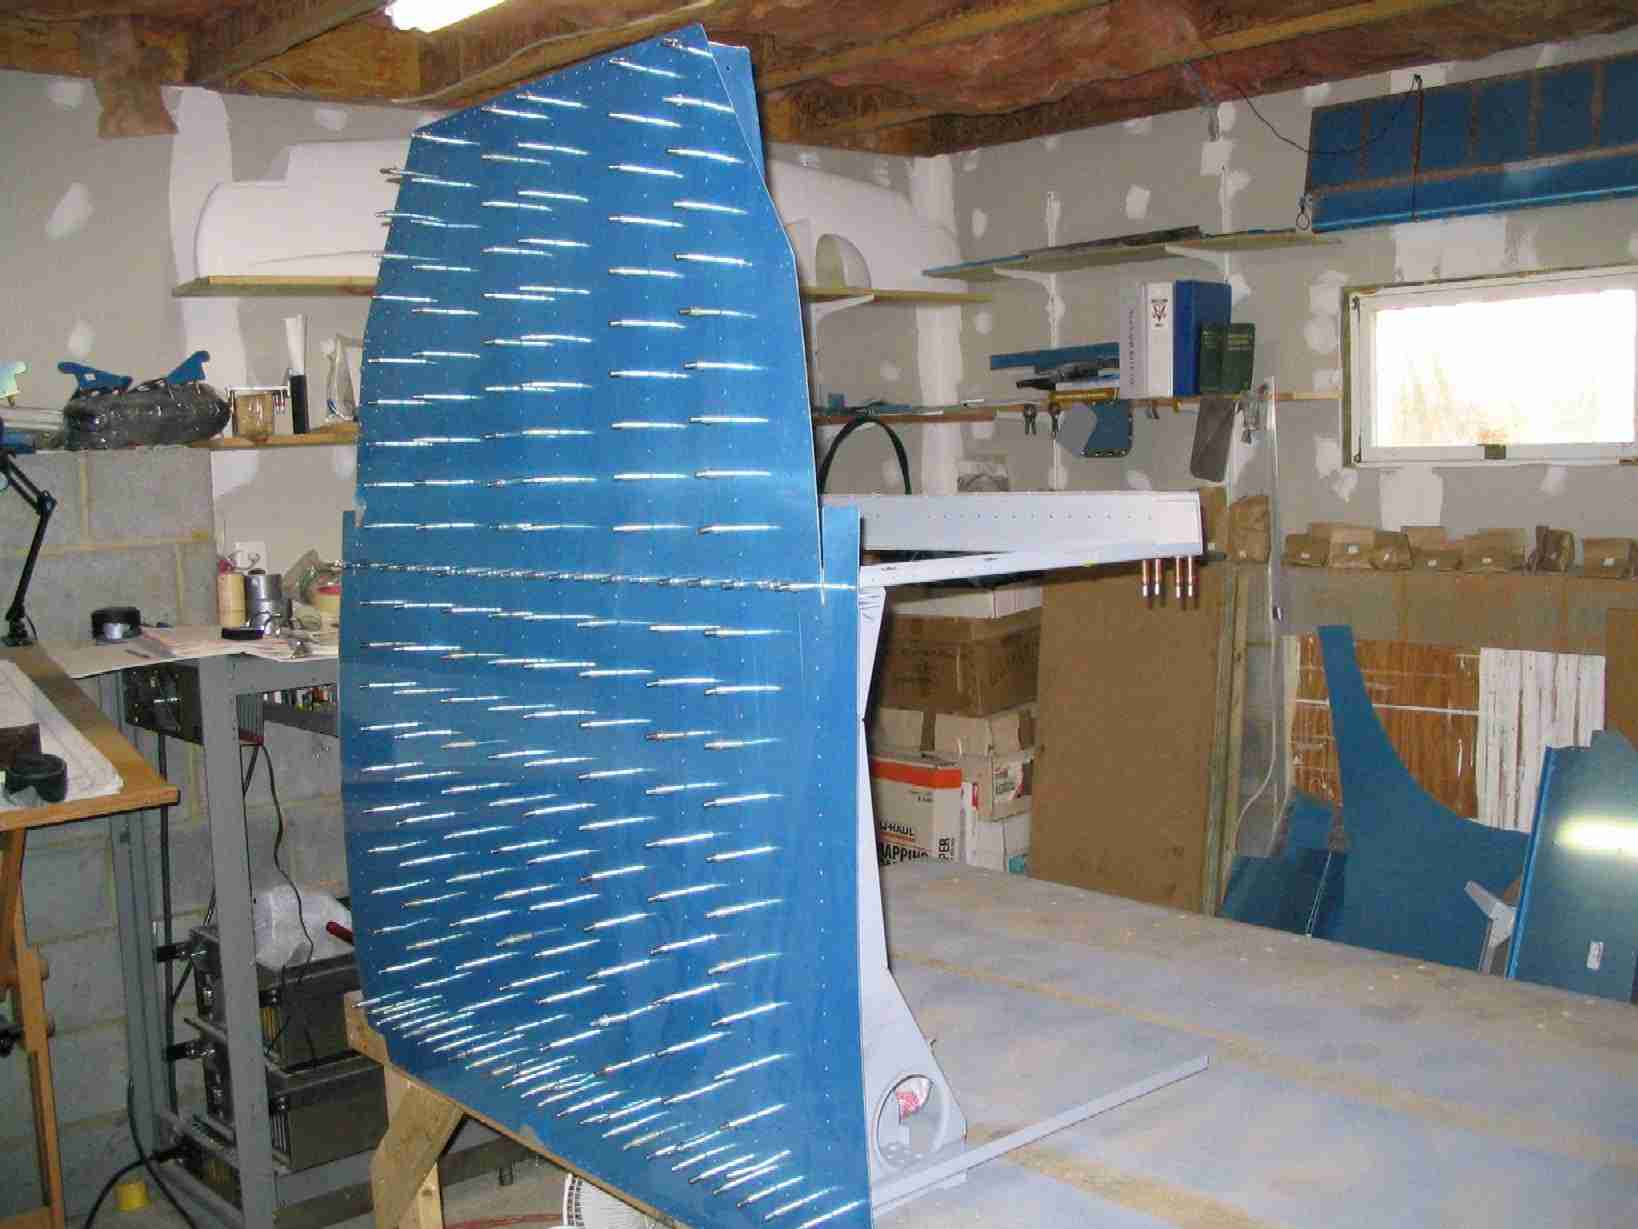
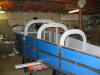
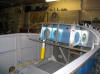
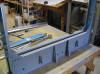 E
Test fitting the center section. (12/12/04) E
Test fitting the center section. (12/12/04) |
| |
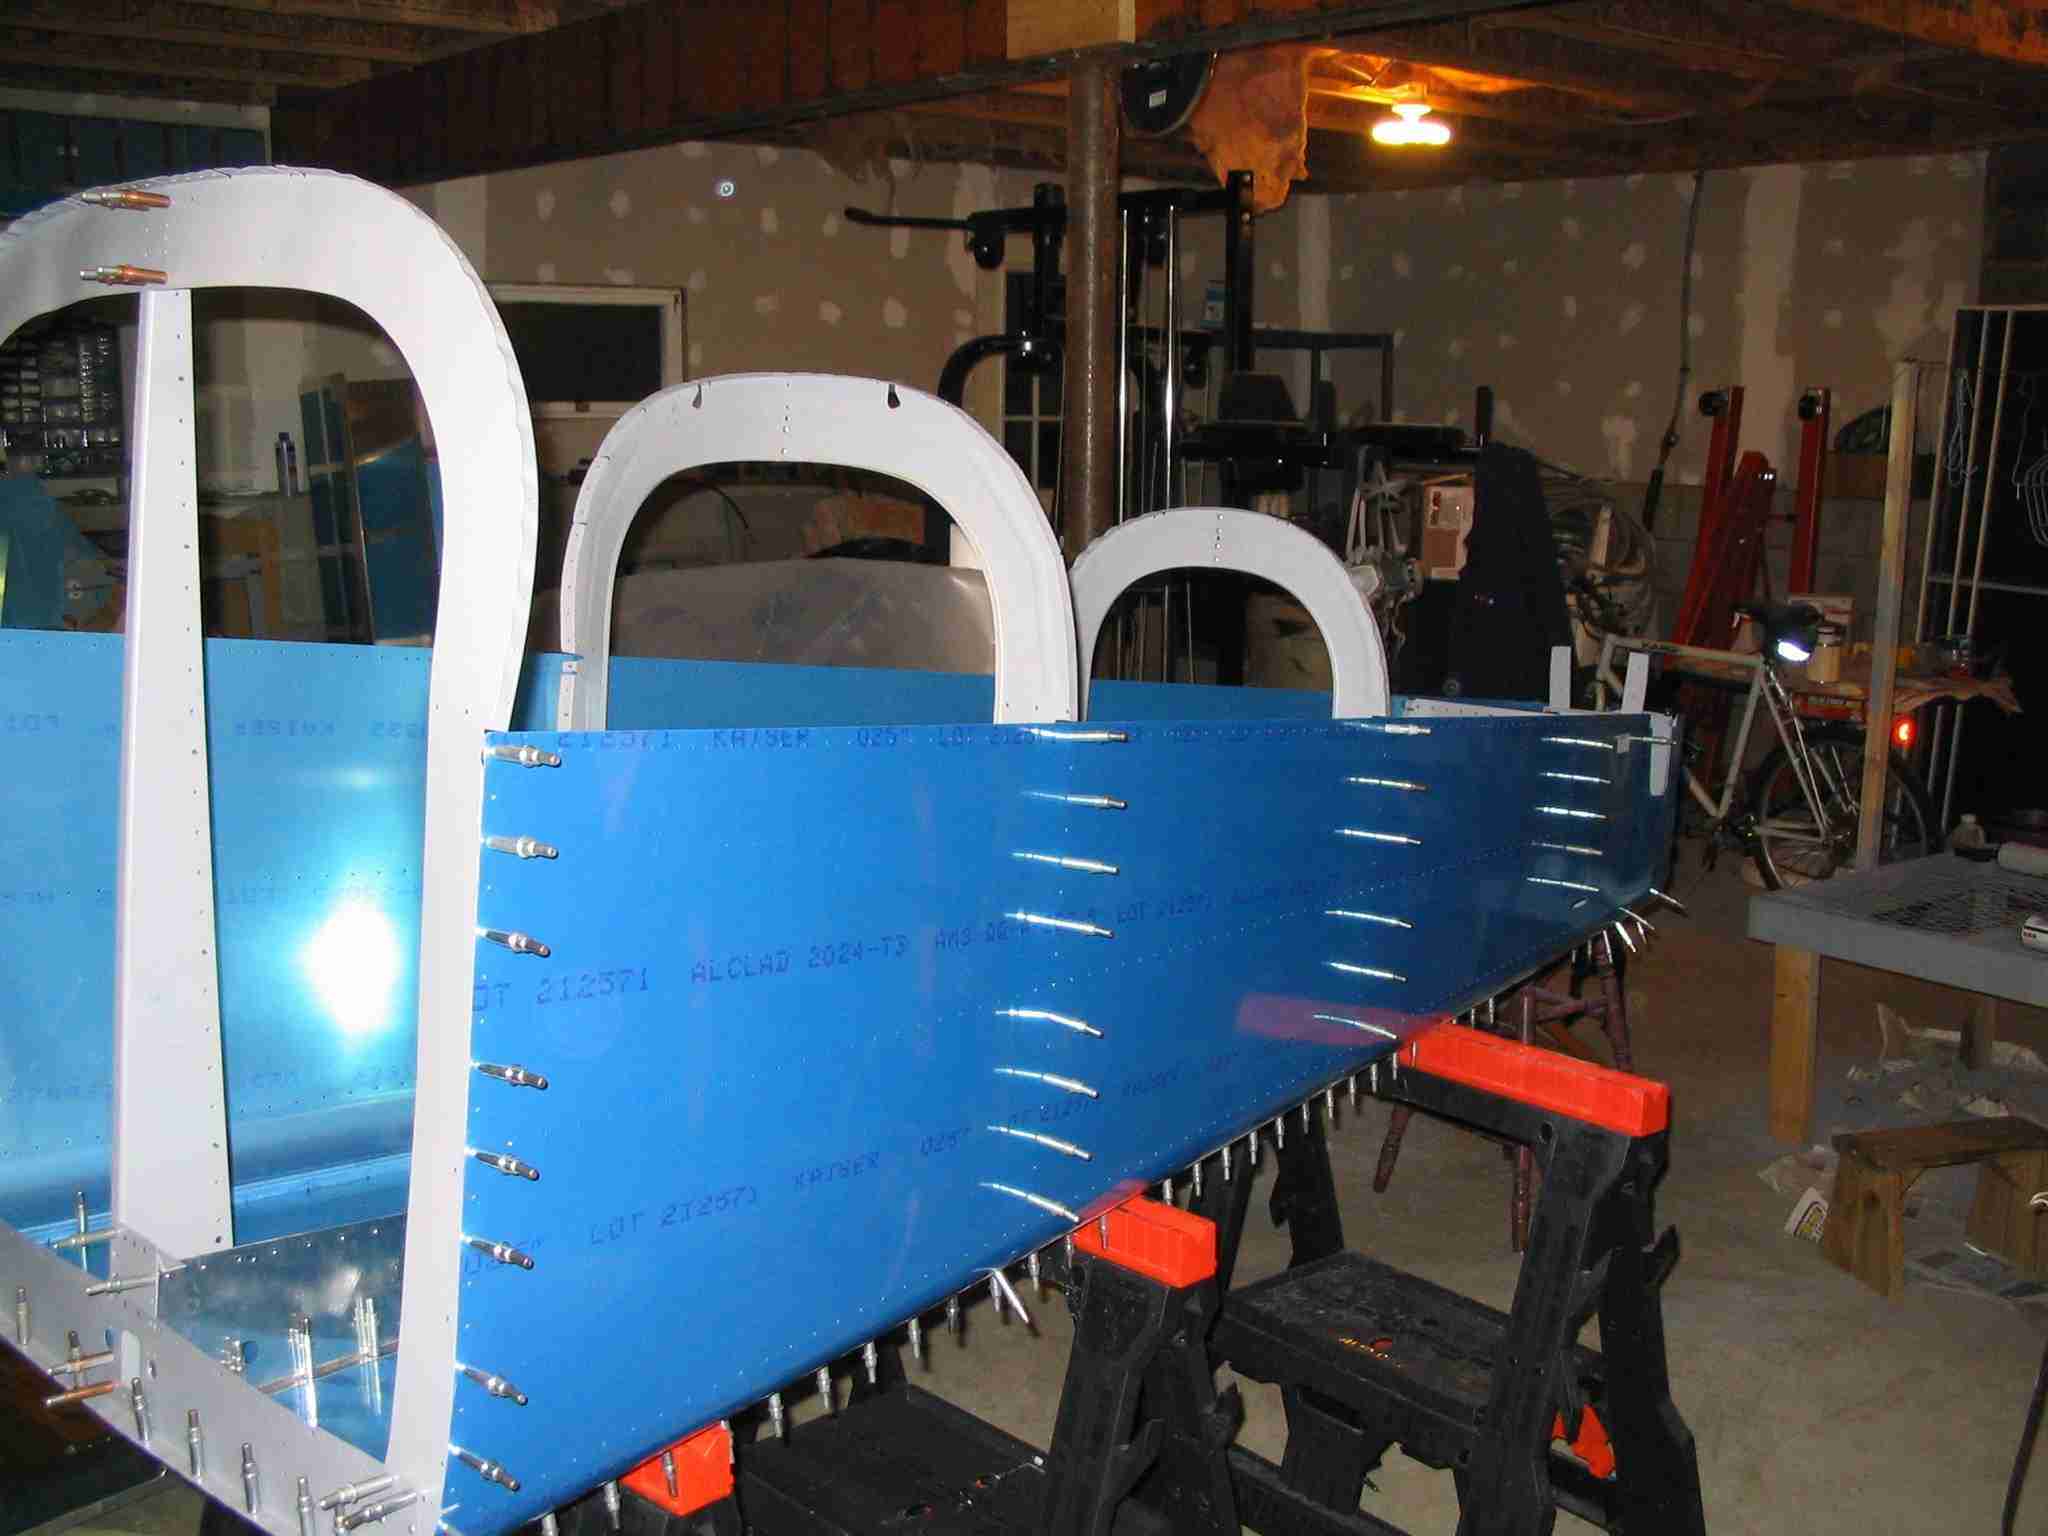
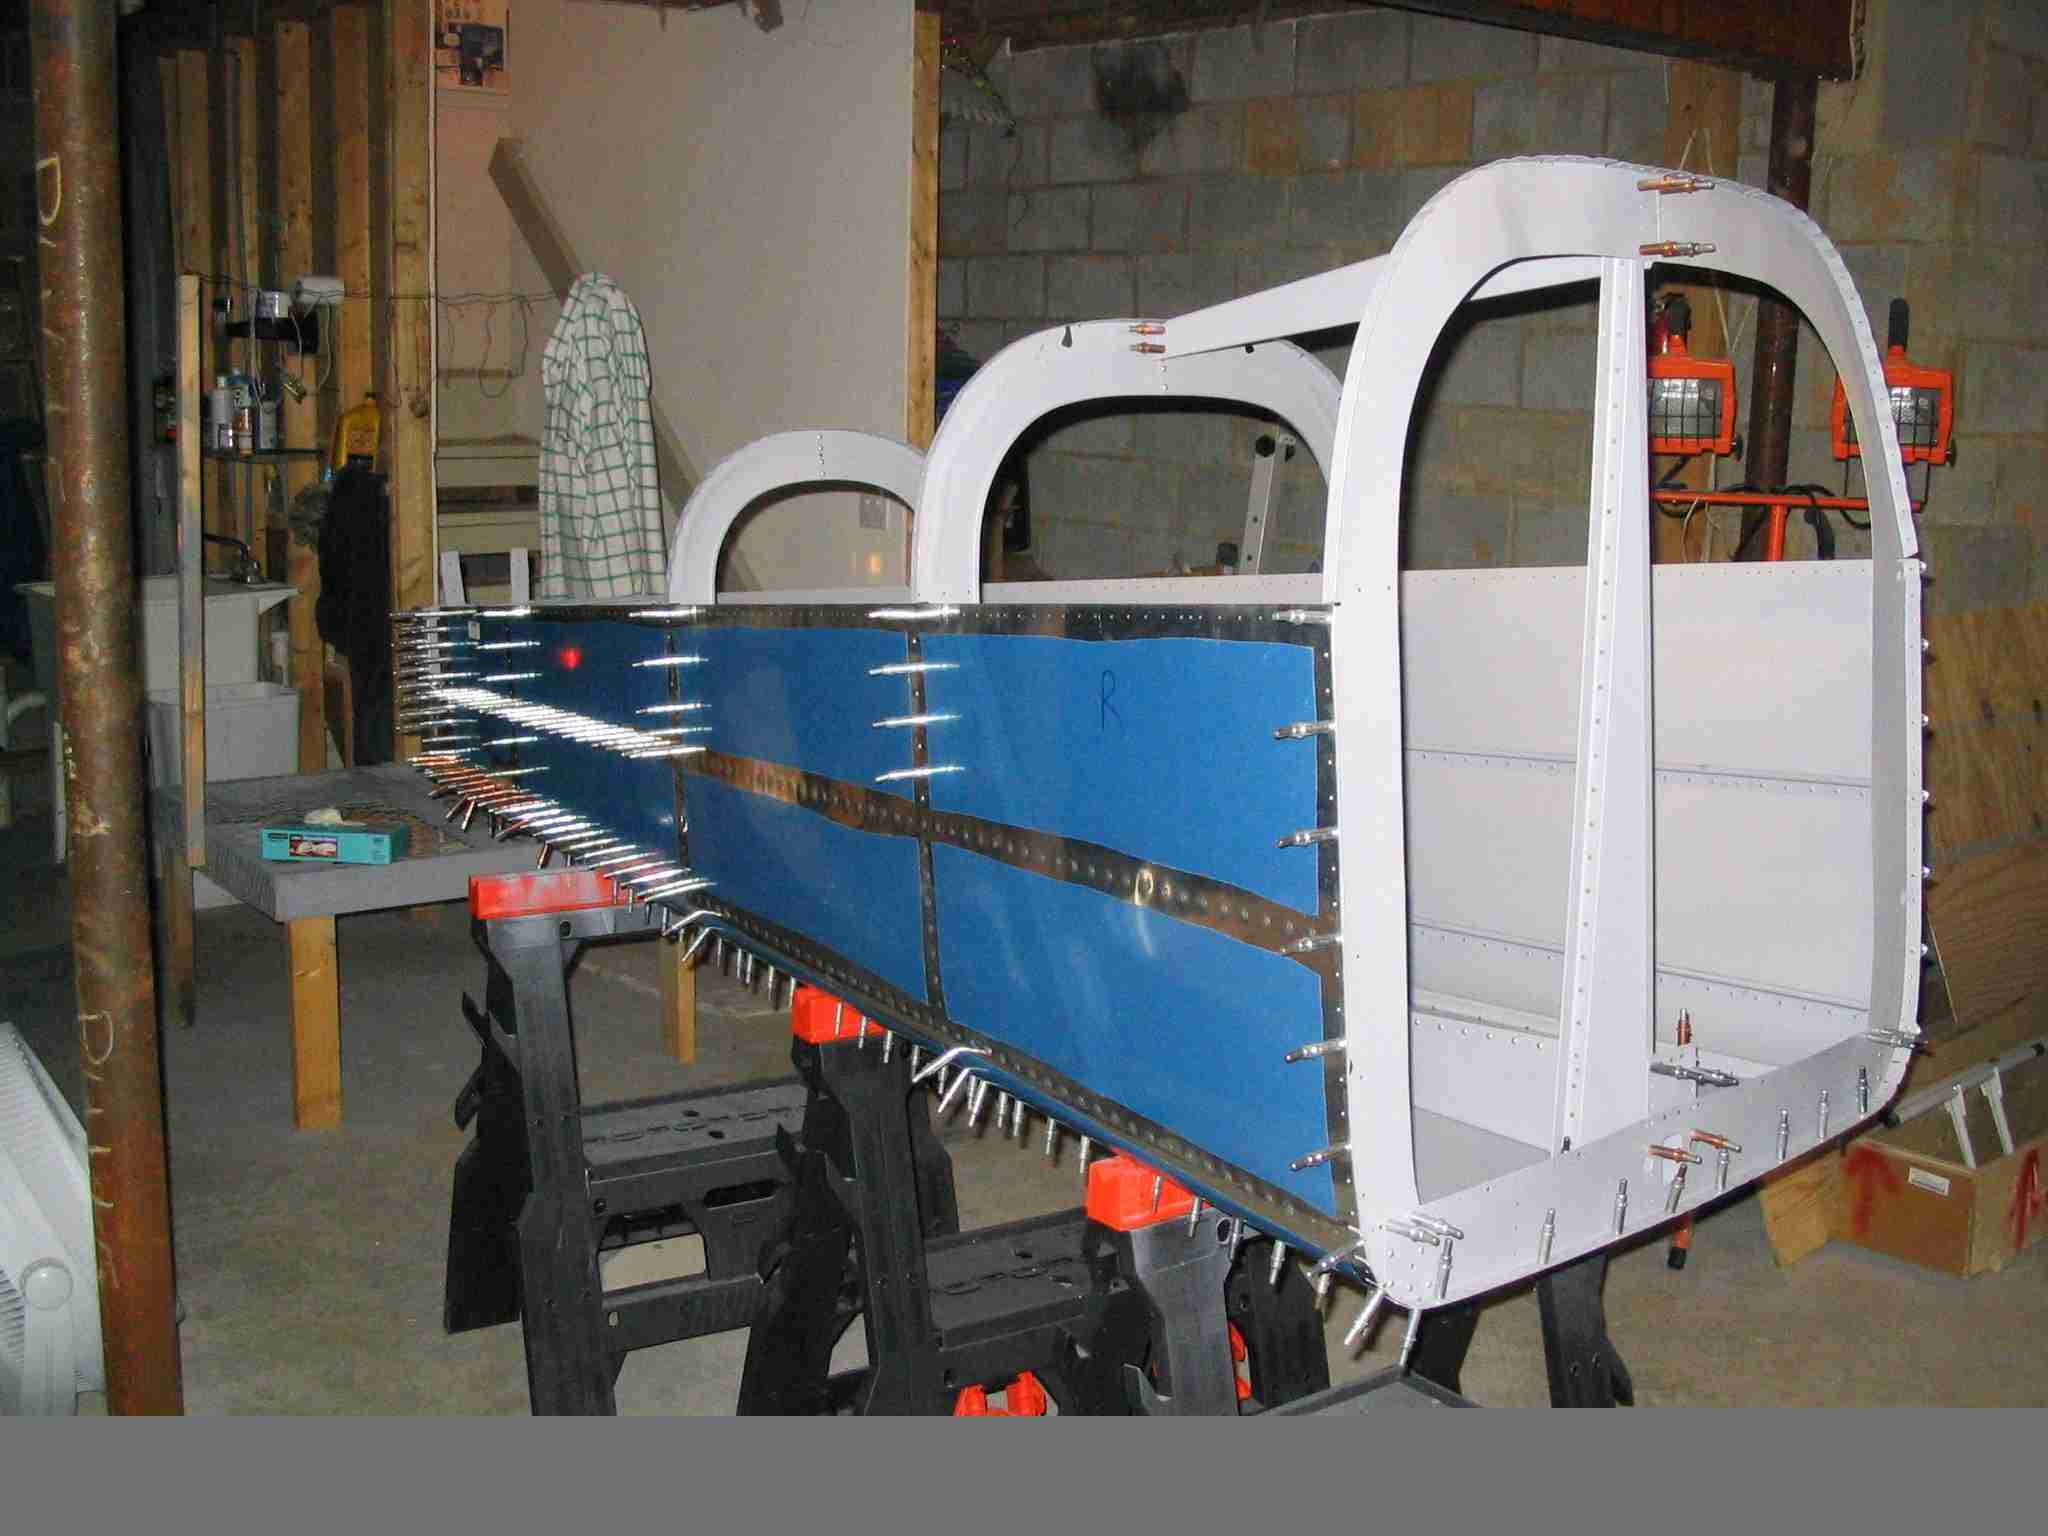
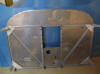
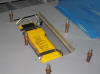
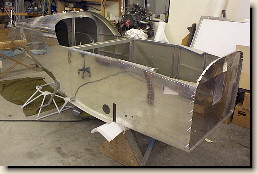
 F
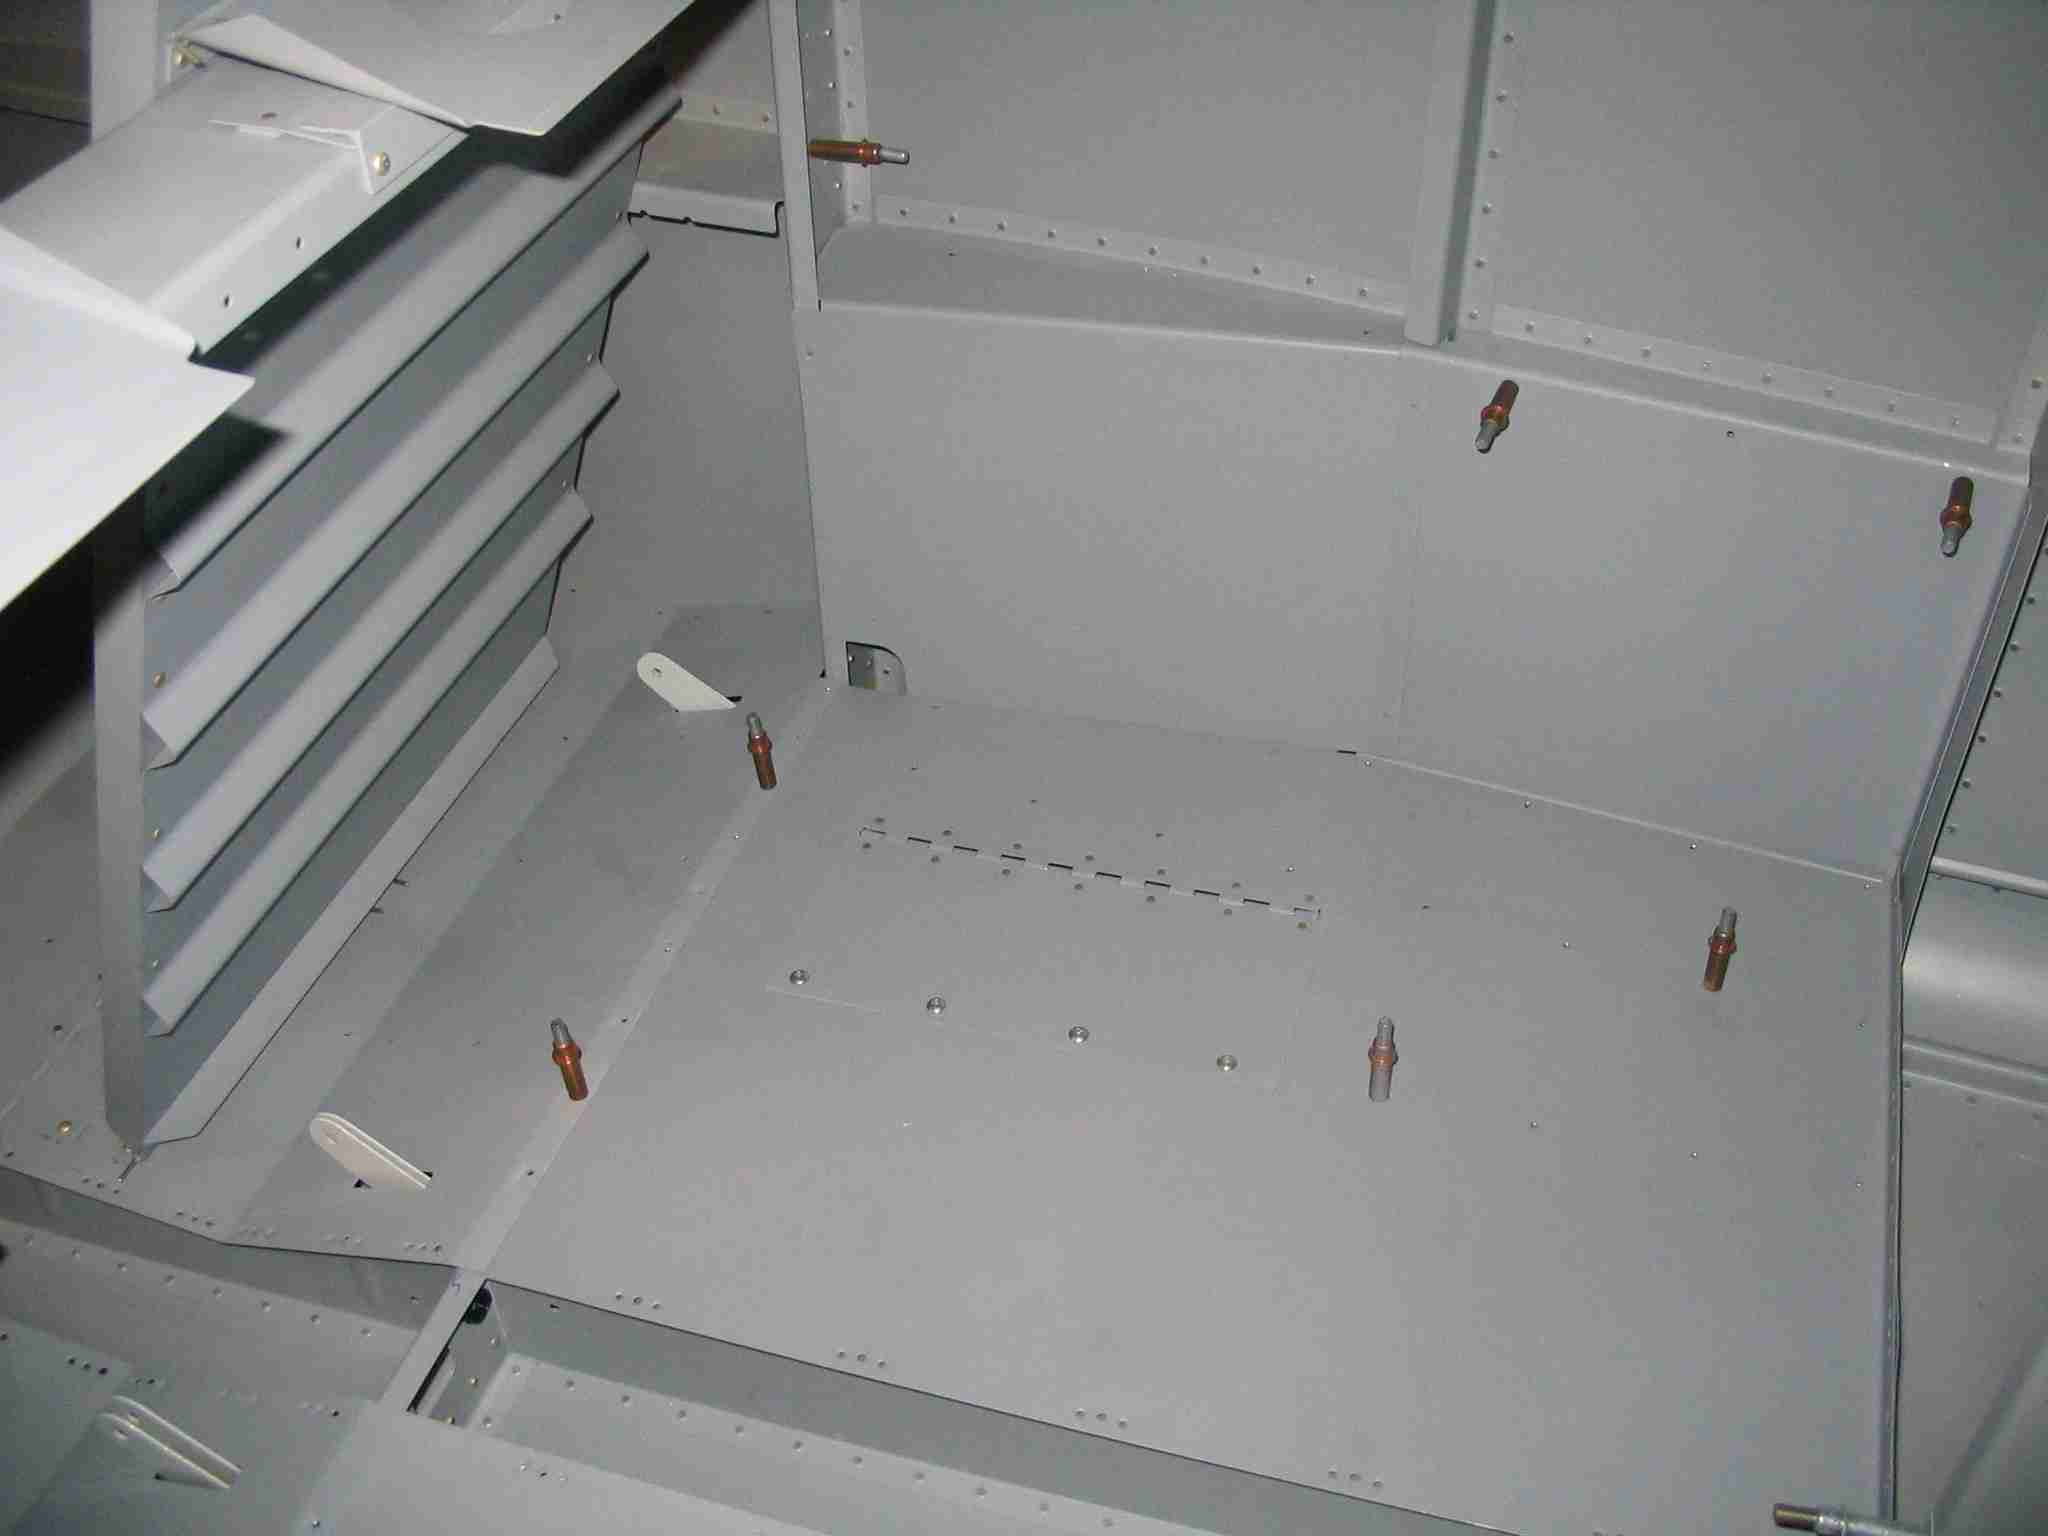
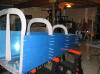
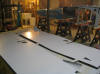
The seat pan together for the first time. This was required
to test fit the seatbelt anchors. The blue bar in the
foreground is the rear spar carry through and is part of the
705 bulkhead. Get ready to fabricate a lot of small
parts because there are a lot of small parts required for the
firewall and the two spar carry throughs. (12/18/04) F
The seat pan together for the first time. This was required
to test fit the seatbelt anchors. The blue bar in the
foreground is the rear spar carry through and is part of the
705 bulkhead. Get ready to fabricate a lot of small
parts because there are a lot of small parts required for the
firewall and the two spar carry throughs. (12/18/04) |
| |
|
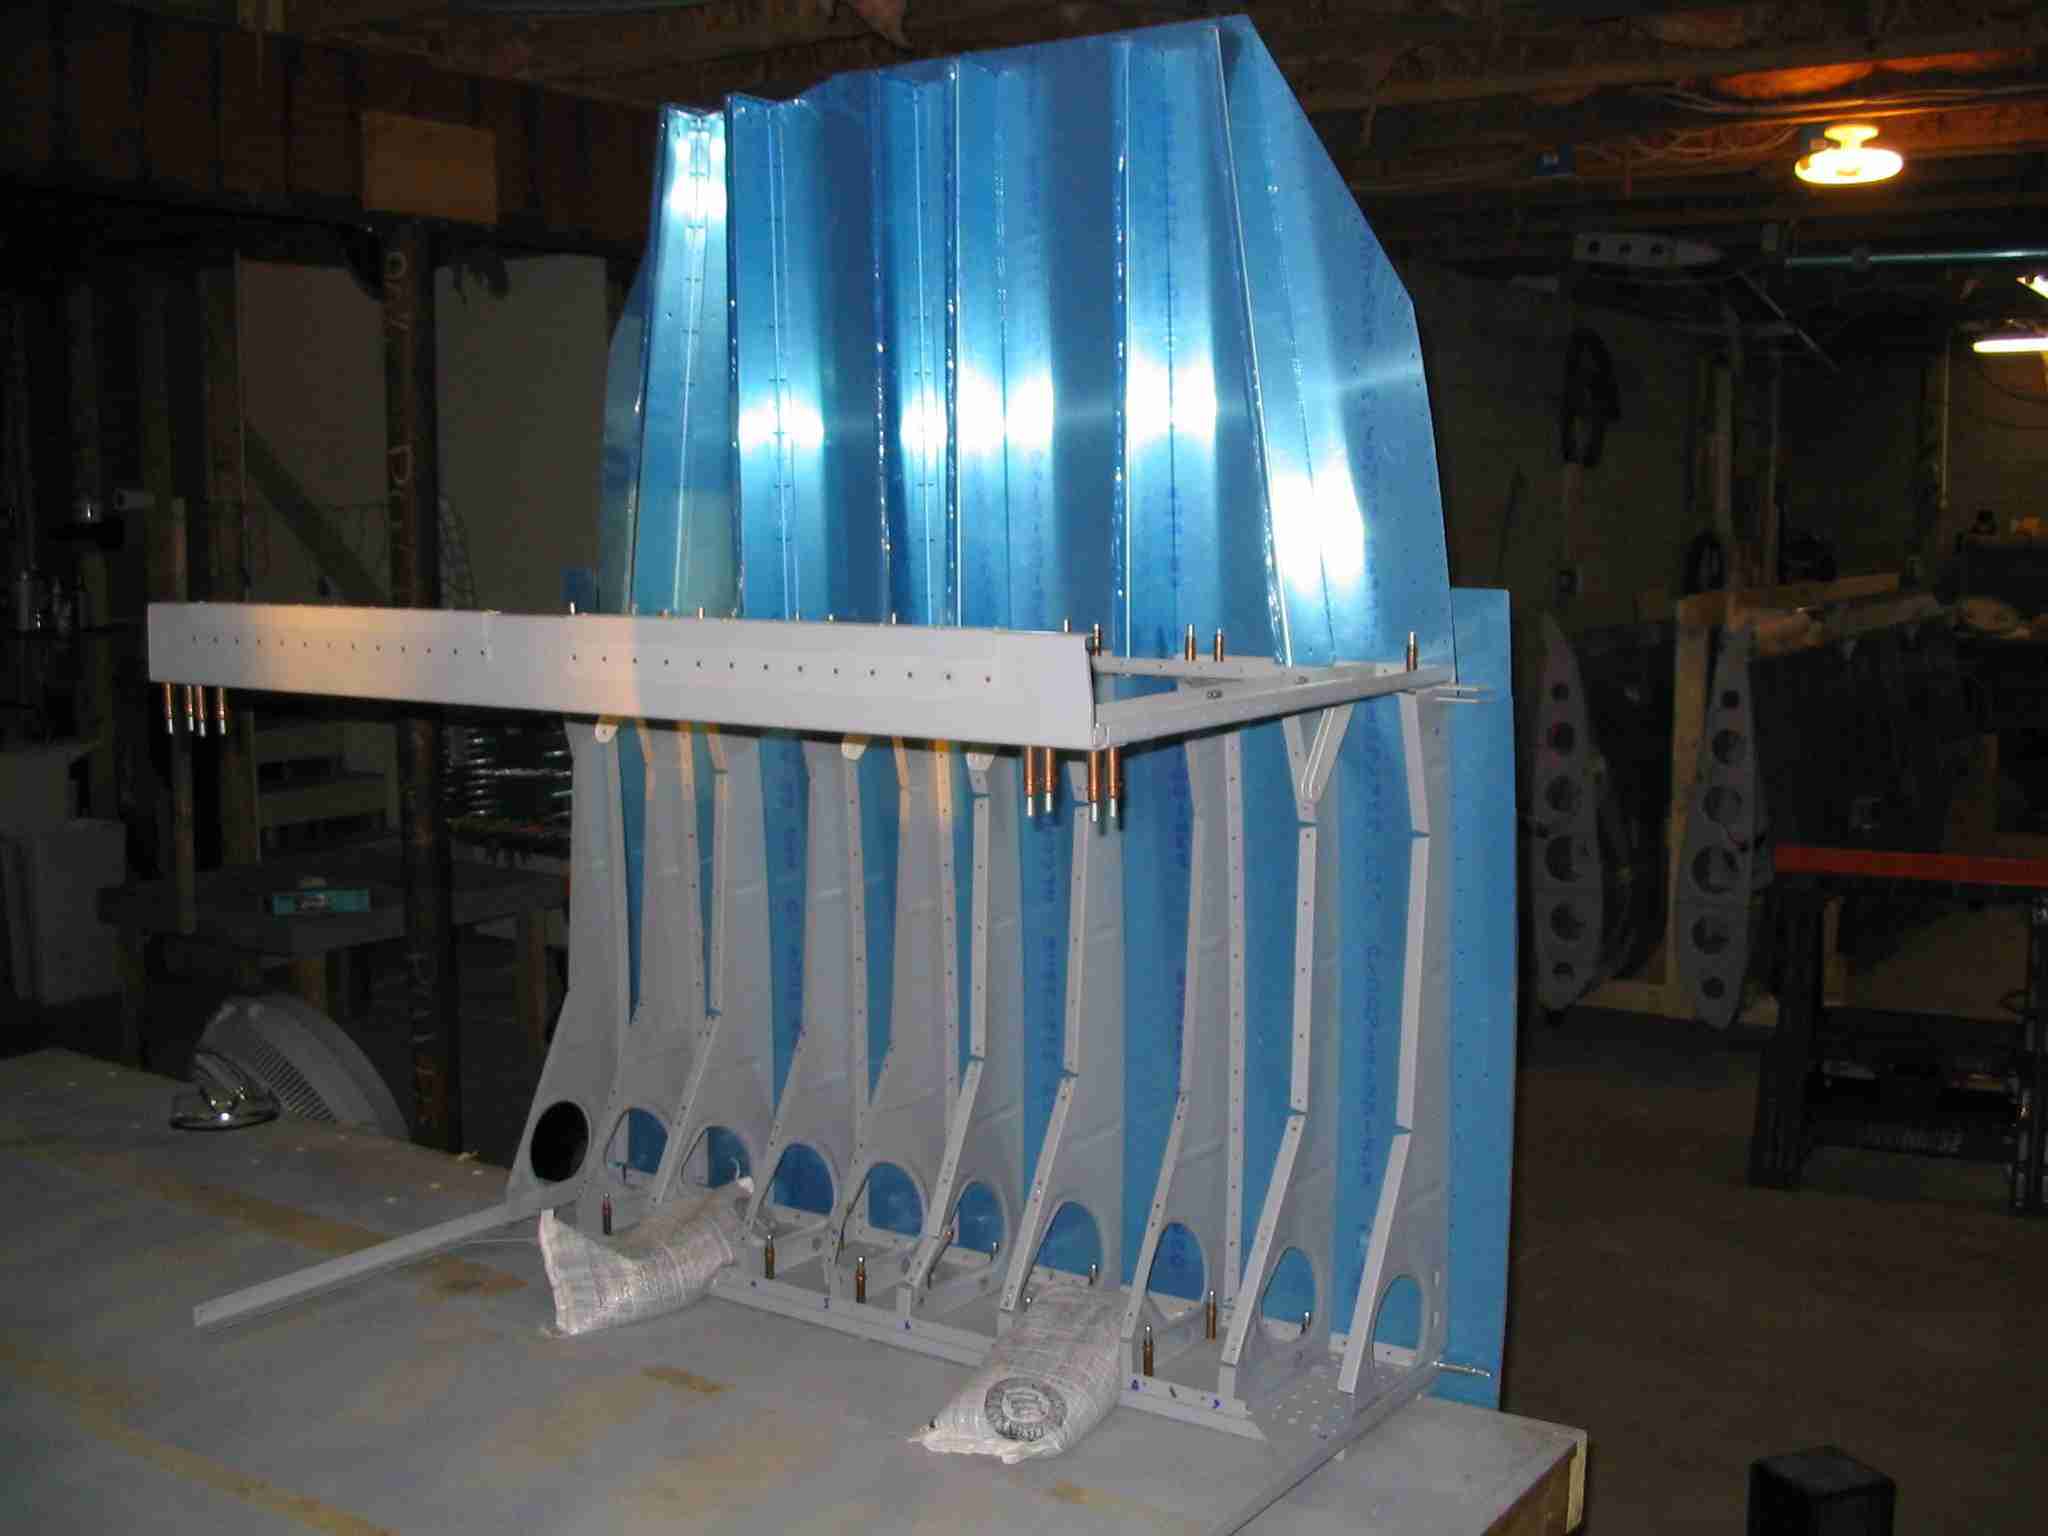
 E
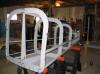
While waiting the remainder of the engine parts to arrive I've
been busy fitting the fuselage bulkheads together.
(1/22/05) E
While waiting the remainder of the engine parts to arrive I've
been busy fitting the fuselage bulkheads together.
(1/22/05) |
| |
 F
There sure are a lot of bulkhead parts to prep and prim!
(1/23/05) F
There sure are a lot of bulkhead parts to prep and prim!
(1/23/05) |
| |
|
 E
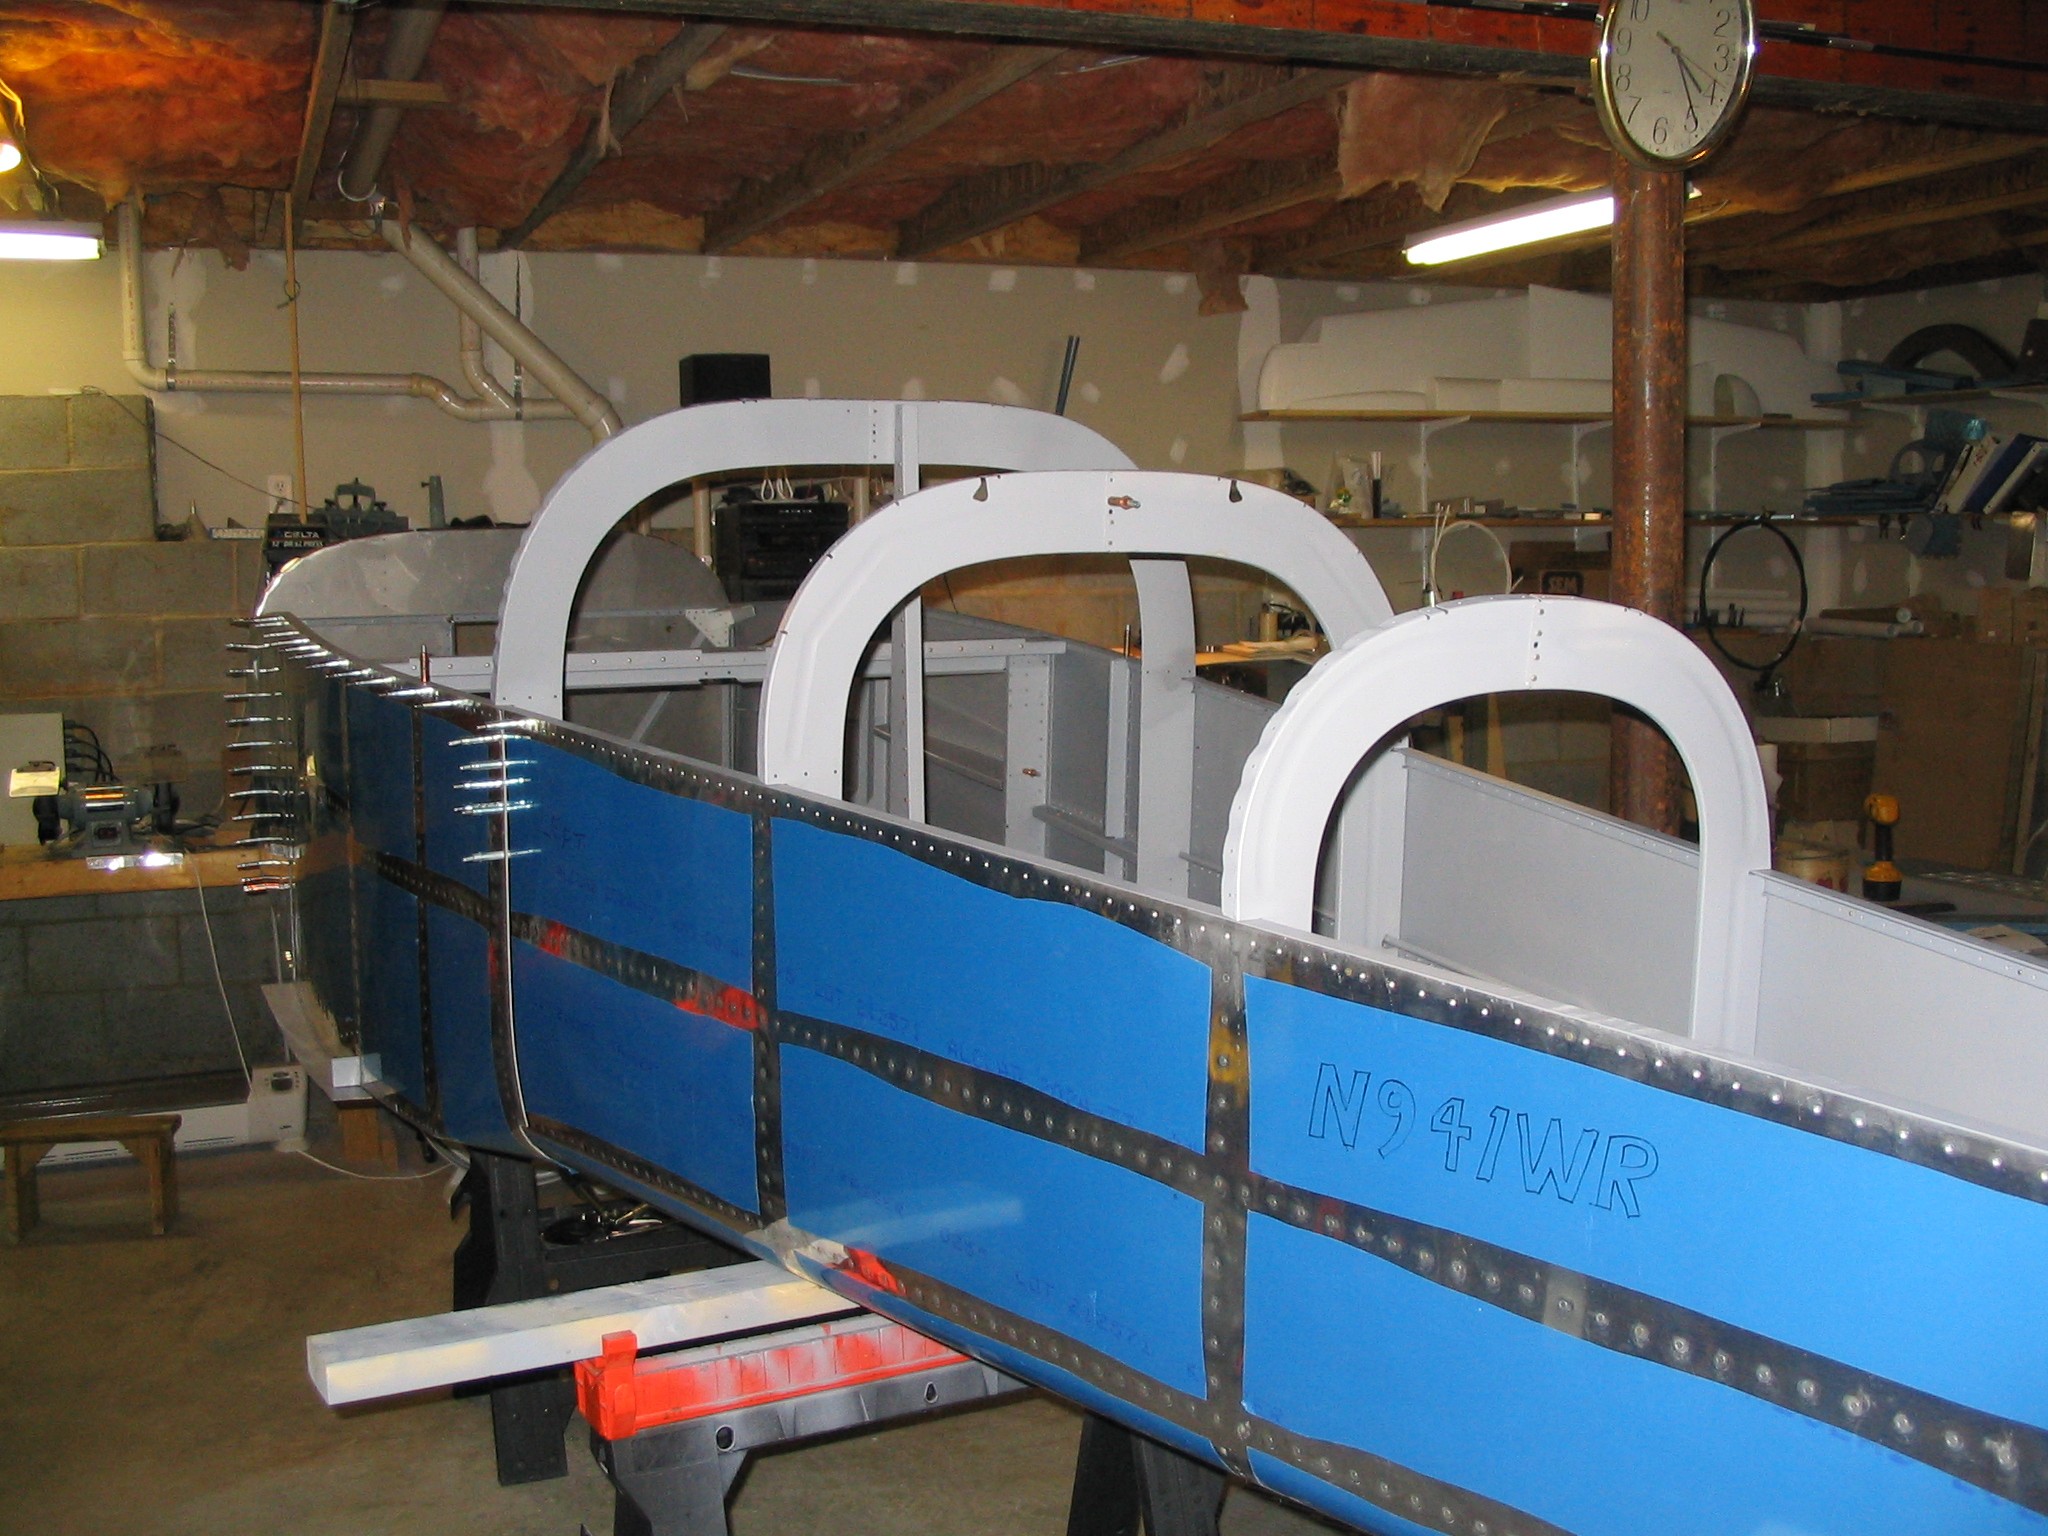
Here is the aft fuselage clecoed together for the first time.
I am starting to wonder if this thing will fit in my basement
or will I have to kick my wife's car out of the garage?
Next up is fitting all the "J" channels, match drilling, deburring, dimpling, priming and finally riveting.
(1/29/05) E
Here is the aft fuselage clecoed together for the first time.
I am starting to wonder if this thing will fit in my basement
or will I have to kick my wife's car out of the garage?
Next up is fitting all the "J" channels, match drilling, deburring, dimpling, priming and finally riveting.
(1/29/05) |
| |
|
 F
There I was, going crazy on the fuselage, matching drilling
the stringers when I drilled into the nail of my ring finger.
That sort of put a dampener on my match drilling. No
harm done but when I removed the F-779 part I found I miss
drilled the hole. The replacement part arrived this
morning and it took me three hours just to cleco it into
place. Who would have ever thought it would take that
long? Not a big deal as I moved ahead with fabricating
all sorts of other parts, started assembling my engine,
finished carpeting a cat tree, started working on the rudder
peddles, and modified the wing cradle so there would be a
place to hang the flaps. In short, I found lots of ways
to keep myself busy.
(2/19/05) F
There I was, going crazy on the fuselage, matching drilling
the stringers when I drilled into the nail of my ring finger.
That sort of put a dampener on my match drilling. No
harm done but when I removed the F-779 part I found I miss
drilled the hole. The replacement part arrived this
morning and it took me three hours just to cleco it into
place. Who would have ever thought it would take that
long? Not a big deal as I moved ahead with fabricating
all sorts of other parts, started assembling my engine,
finished carpeting a cat tree, started working on the rudder
peddles, and modified the wing cradle so there would be a
place to hang the flaps. In short, I found lots of ways
to keep myself busy.
(2/19/05) |
| |
|
 E
The replacement F-779 arrived and was matched drilled to the
rest of the fuselage. Because this will be a trail
dragger and this part will get both flight loads and tail
wheel loads I opted to increase the rivets to #30's.
This is just for piece of mind and has nothing to do with
Van's directions or anything else. The lower aft side
skins are about 1/3 riveted in place. The rest of
the rivets will have to wait until the tail wheel spring
bracket returns from the powder coater. That should be in three more days.
(3/8/05) E
The replacement F-779 arrived and was matched drilled to the
rest of the fuselage. Because this will be a trail
dragger and this part will get both flight loads and tail
wheel loads I opted to increase the rivets to #30's.
This is just for piece of mind and has nothing to do with
Van's directions or anything else. The lower aft side
skins are about 1/3 riveted in place. The rest of
the rivets will have to wait until the tail wheel spring
bracket returns from the powder coater. That should be in three more days.
(3/8/05) |
| |
|
 F
What a difference having a few days off to work on the project
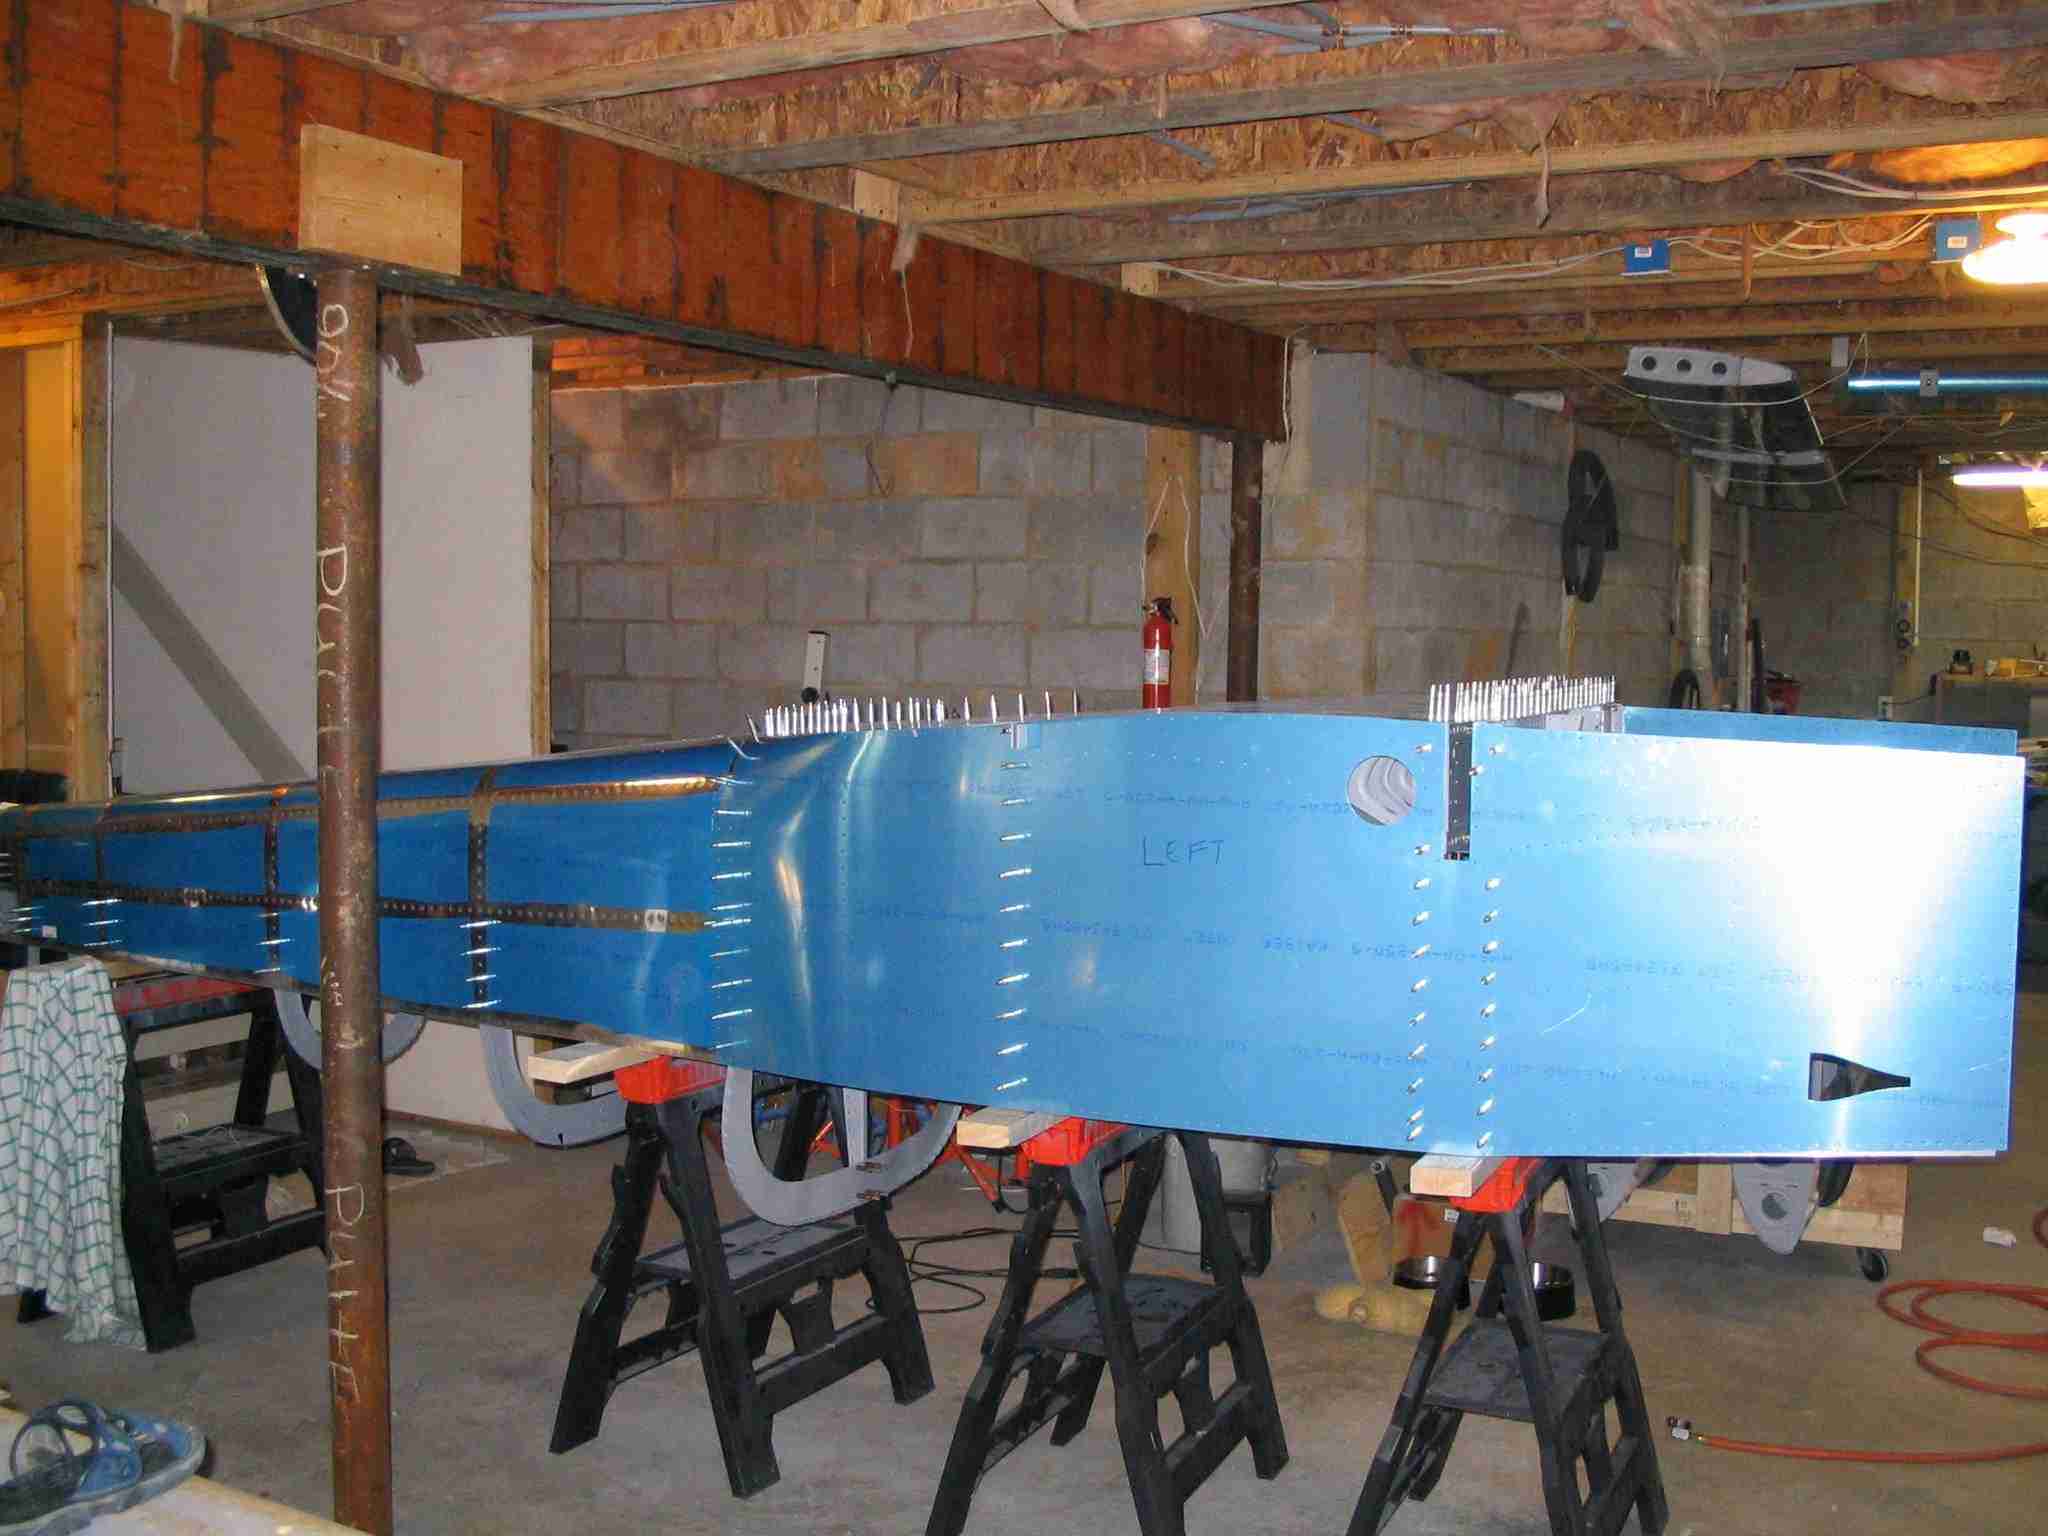
makes. Here is the aft fuselage 1/2 riveted. Once
the lovely wife returns from visiting friends we will finish
riveting it up. Either that or I have to wait for her
father's next visit. (3/9/05) F
What a difference having a few days off to work on the project
makes. Here is the aft fuselage 1/2 riveted. Once
the lovely wife returns from visiting friends we will finish
riveting it up. Either that or I have to wait for her
father's next visit. (3/9/05) |
| |
|
  E
Today I trial fitted and match drilled the seat pan, baggage
compartment floor, and belly skin. They are face down on
the table with some shot bags holding it in place. This
seemed to work out fairly well. Of course, I'm going to
need some help moving it around. (3/10/05) E
Today I trial fitted and match drilled the seat pan, baggage
compartment floor, and belly skin. They are face down on
the table with some shot bags holding it in place. This
seemed to work out fairly well. Of course, I'm going to
need some help moving it around. (3/10/05) |
| |
|
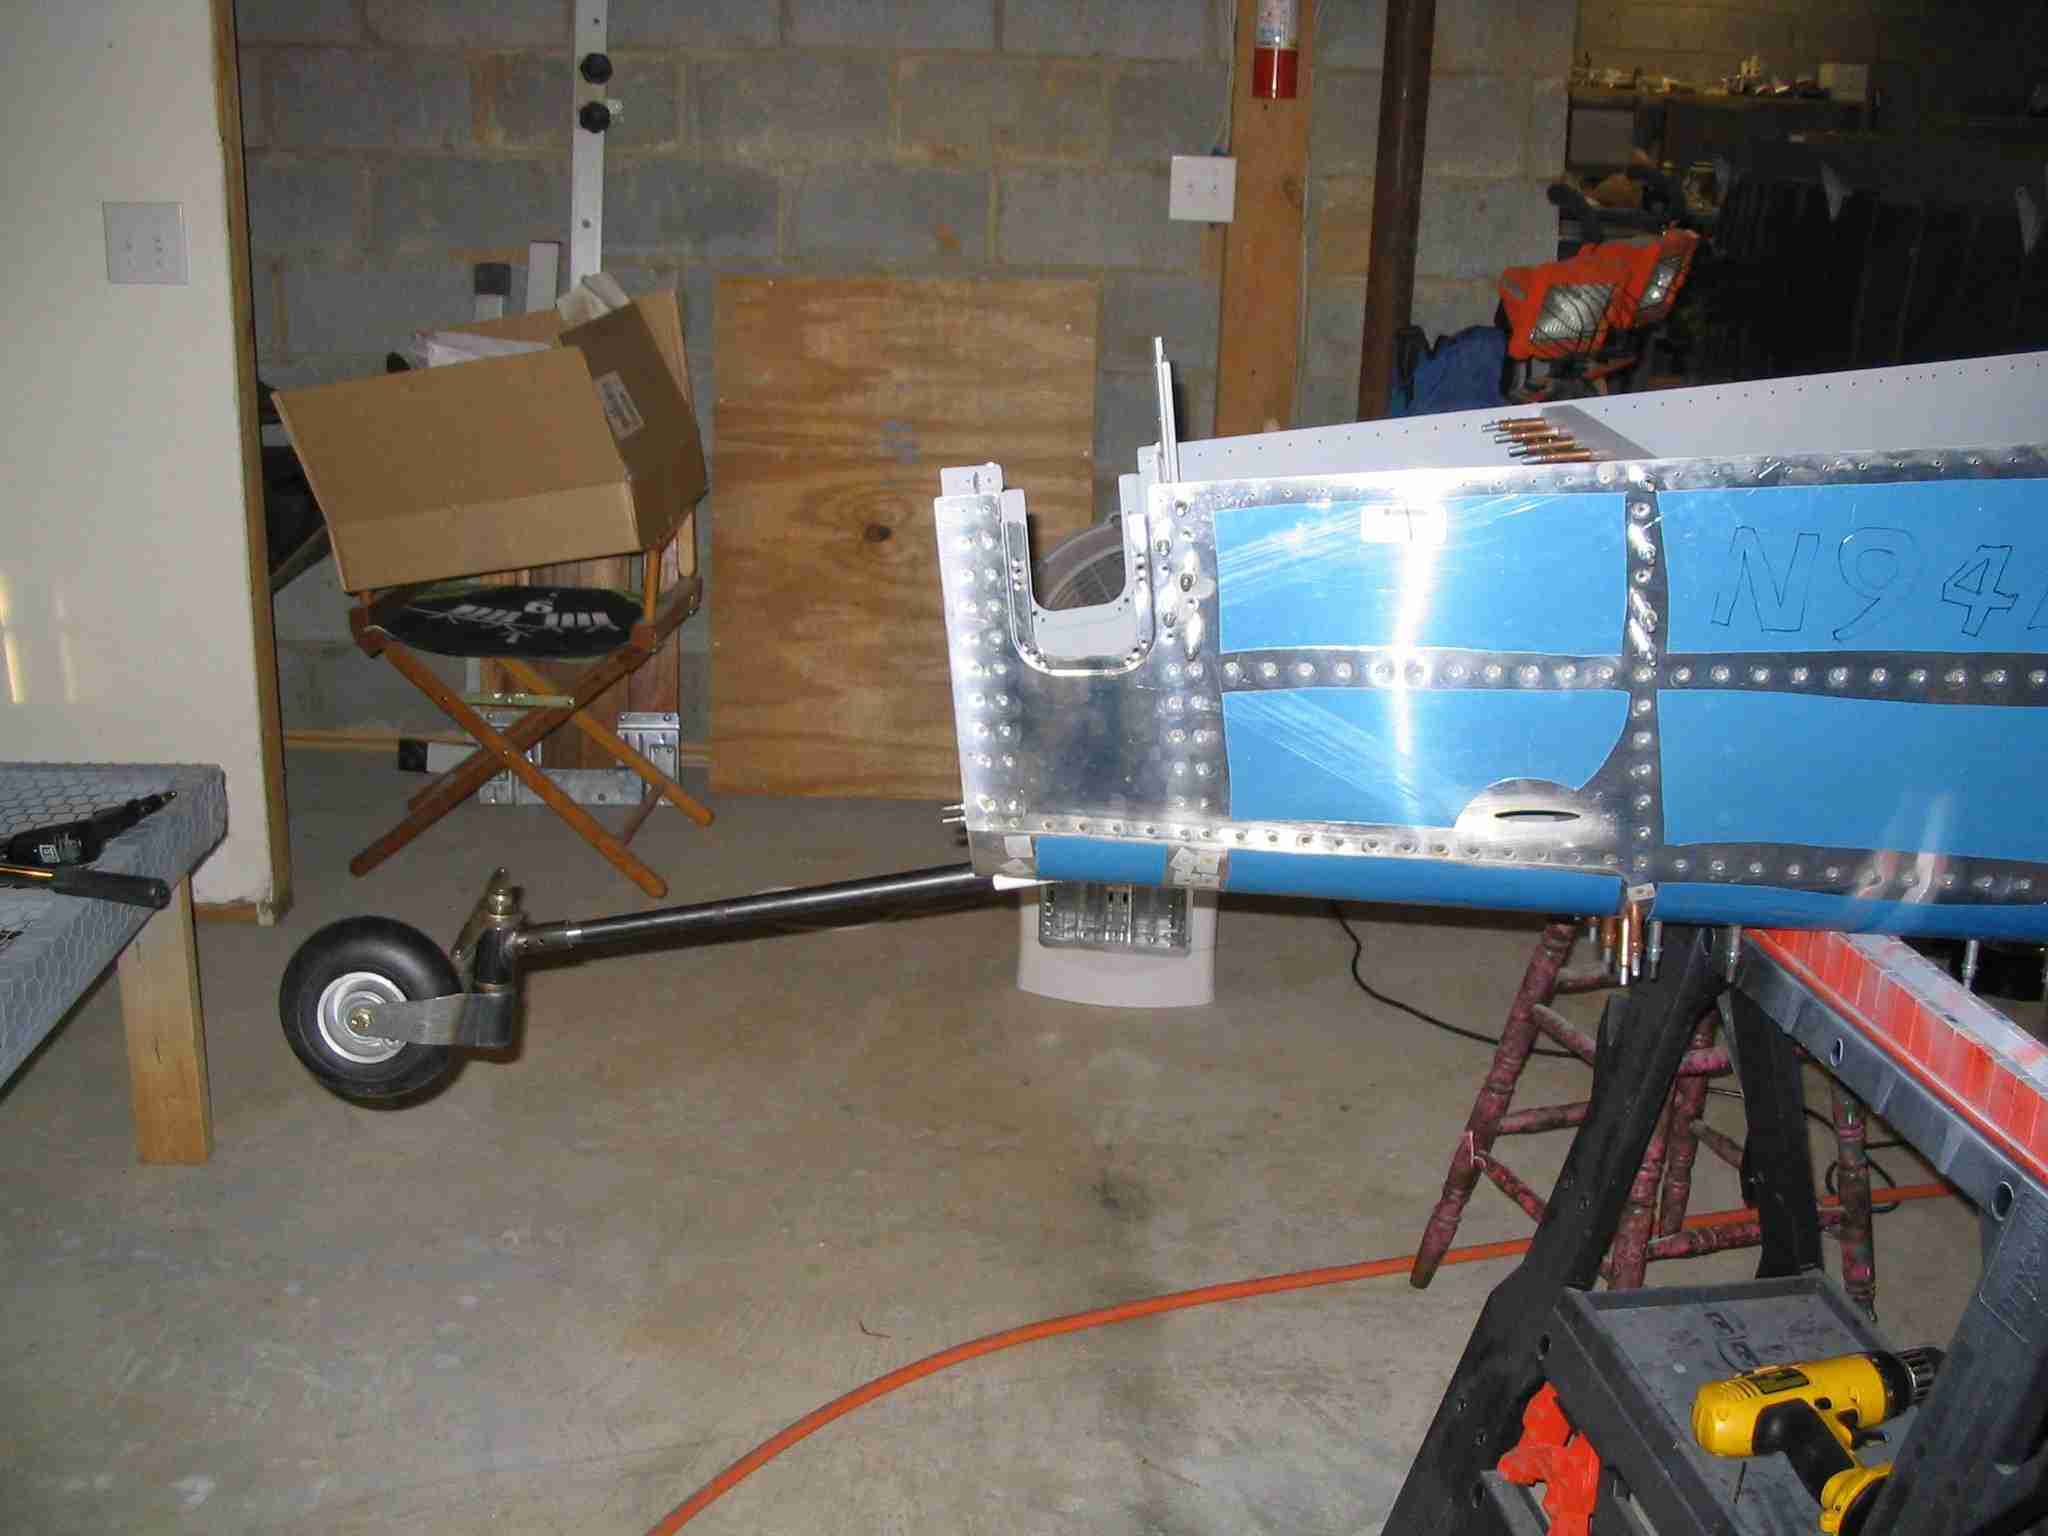
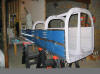
 F
Here is something you don't see on very many RV-9's, a
tail-wheel. The last few days have been a blitz of
drilling, deburring, dimpling, and riveting. This week I
have riveted up part of the aft tail cone, as much of it as I
could reach by myself.
This weekend the in-laws are coming to visit because my
Father-in-law wants a riveting fix. When I got married
last year I didn't realize I was getting a helper-in-law as
part of the deal. Trust me, I'm not complaining. (3/15/05) F
Here is something you don't see on very many RV-9's, a
tail-wheel. The last few days have been a blitz of
drilling, deburring, dimpling, and riveting. This week I
have riveted up part of the aft tail cone, as much of it as I
could reach by myself.
This weekend the in-laws are coming to visit because my
Father-in-law wants a riveting fix. When I got married
last year I didn't realize I was getting a helper-in-law as
part of the deal. Trust me, I'm not complaining. (3/15/05) |
| |
|
  E
My Father-in-Law came for the weekend to help work on the
airplane and it was much appreciated. We finished
riveting the bottom rivets on the tail cone and the center
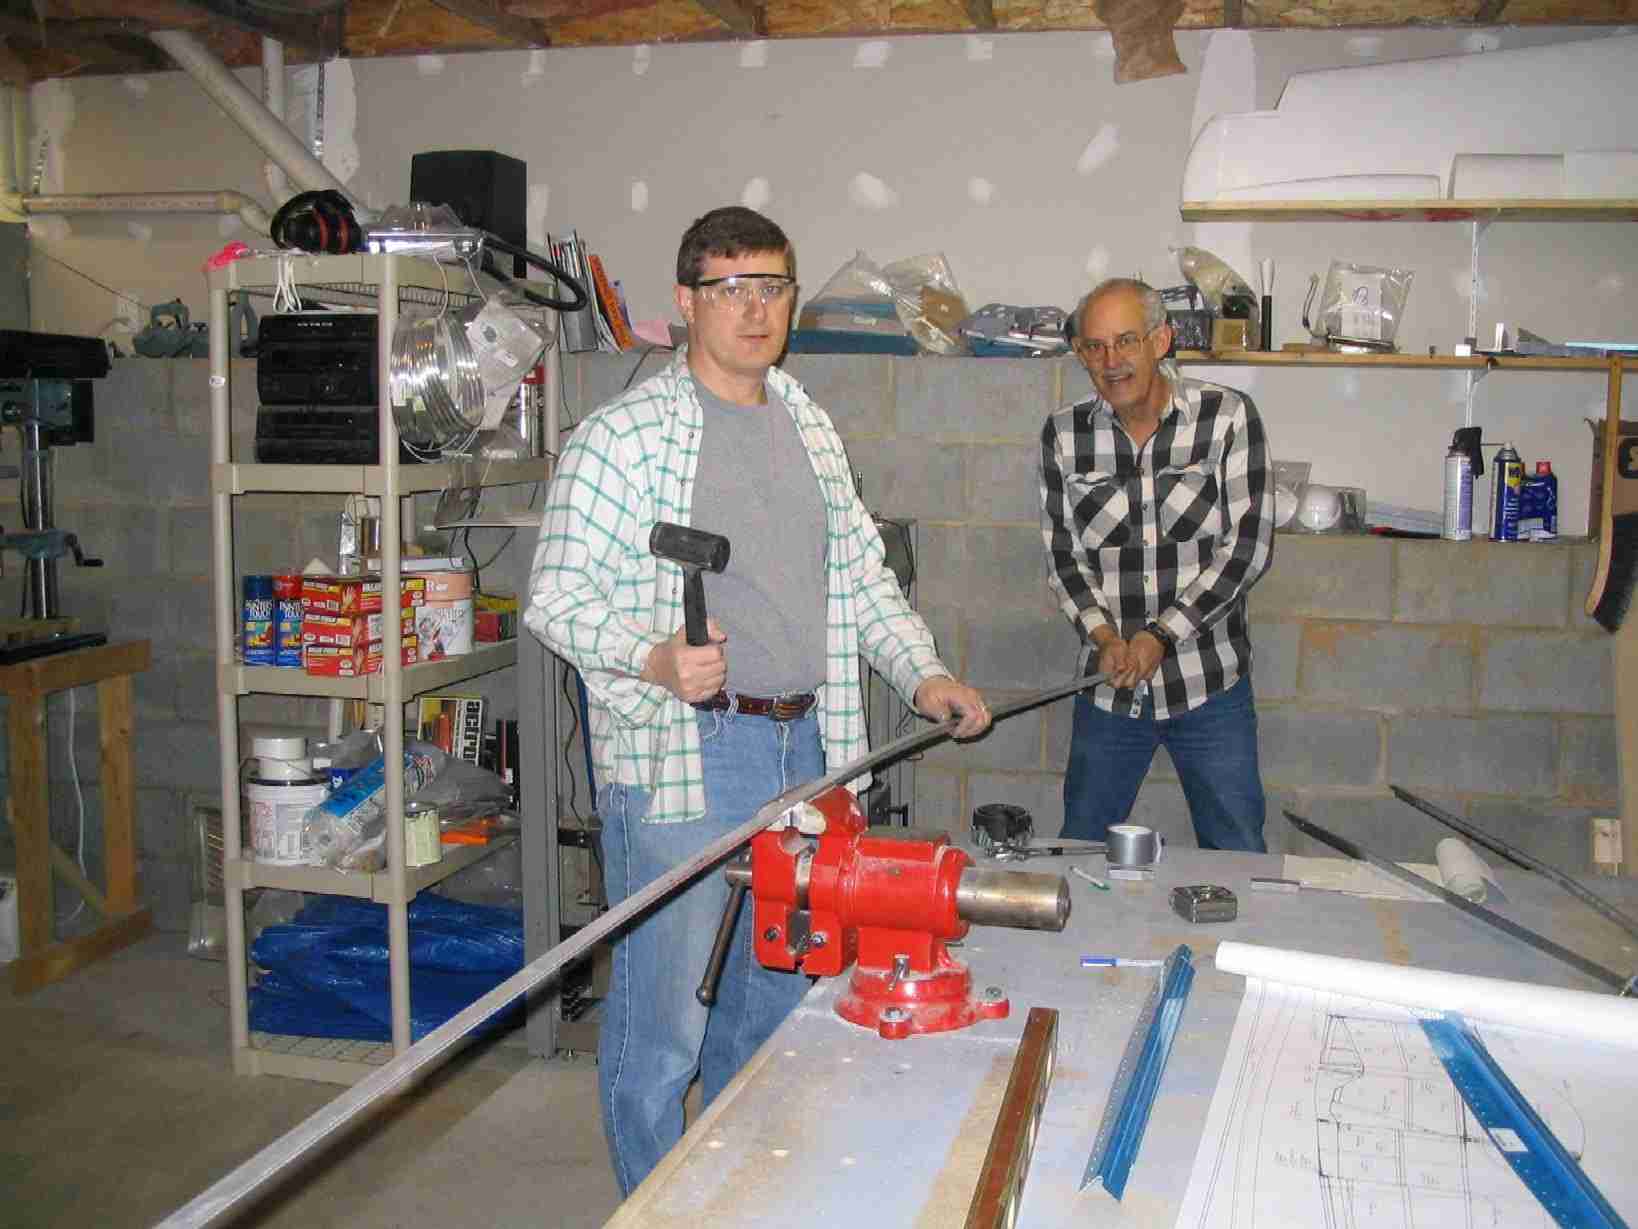
section. Then we dug the longerons out and bent them.
No problem bending them, just followed the directions, took
our time, and made a few passes with the hammer. Having
someone there to put a little pressure on the aluminum angle
while I hit it with the dead blow hammer made the process go
very smoothly, That and going over it four times with
the hammer made a big difference. In other words, don't
try to bend it on the first pass with the hammer. Unlike
dimpling, many small blows is better than one big one. (3/20/05) E
My Father-in-Law came for the weekend to help work on the
airplane and it was much appreciated. We finished
riveting the bottom rivets on the tail cone and the center
section. Then we dug the longerons out and bent them.
No problem bending them, just followed the directions, took
our time, and made a few passes with the hammer. Having
someone there to put a little pressure on the aluminum angle
while I hit it with the dead blow hammer made the process go
very smoothly, That and going over it four times with
the hammer made a big difference. In other words, don't
try to bend it on the first pass with the hammer. Unlike
dimpling, many small blows is better than one big one. (3/20/05) |
| |
|
 F
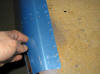
Here I am, all proud that the longerons are in and the side
skins are in place. Boy I am making progress! Well
almost. Notice how the longerons stick out in front of
the side skins. This is wrong! I missed the step
where you notch the top of the longeron so they can run all the
way to the very aft bulkhead. Lucky for me I had not
drilled anything yet. All I had to do was remove the longeron, notch it, put it back in place, cleco the side skins
back on and start match drilling it. (4/4/05) F
Here I am, all proud that the longerons are in and the side
skins are in place. Boy I am making progress! Well
almost. Notice how the longerons stick out in front of
the side skins. This is wrong! I missed the step
where you notch the top of the longeron so they can run all the
way to the very aft bulkhead. Lucky for me I had not
drilled anything yet. All I had to do was remove the longeron, notch it, put it back in place, cleco the side skins
back on and start match drilling it. (4/4/05) |
| |
|
 E
After much work the fuselage is ready for match drilling of
the longerons. Bending the side skins where the center
section and tail cone join wasn't difficult, just follow the
directions and it will turn out great. Shortly after
this picture was taken I match drilled the longerons, that
took some time and now I get to look forward to countersinking
all those holes. (4/5/05) E
After much work the fuselage is ready for match drilling of
the longerons. Bending the side skins where the center
section and tail cone join wasn't difficult, just follow the
directions and it will turn out great. Shortly after
this picture was taken I match drilled the longerons, that
took some time and now I get to look forward to countersinking
all those holes. (4/5/05) |
| |
|
 F
I've been traveling a good bit for work and haven't had the
time I would like to work on the plane. I guess all
builders could complain they can't find the time to work on
their plane, even if they are putting in eight hours a day.
Here Nora is match drilling some of the stiffeners on the
forward fuselage . (4/30/05) F
I've been traveling a good bit for work and haven't had the
time I would like to work on the plane. I guess all
builders could complain they can't find the time to work on
their plane, even if they are putting in eight hours a day.
Here Nora is match drilling some of the stiffeners on the
forward fuselage . (4/30/05) |
| |
|
 E
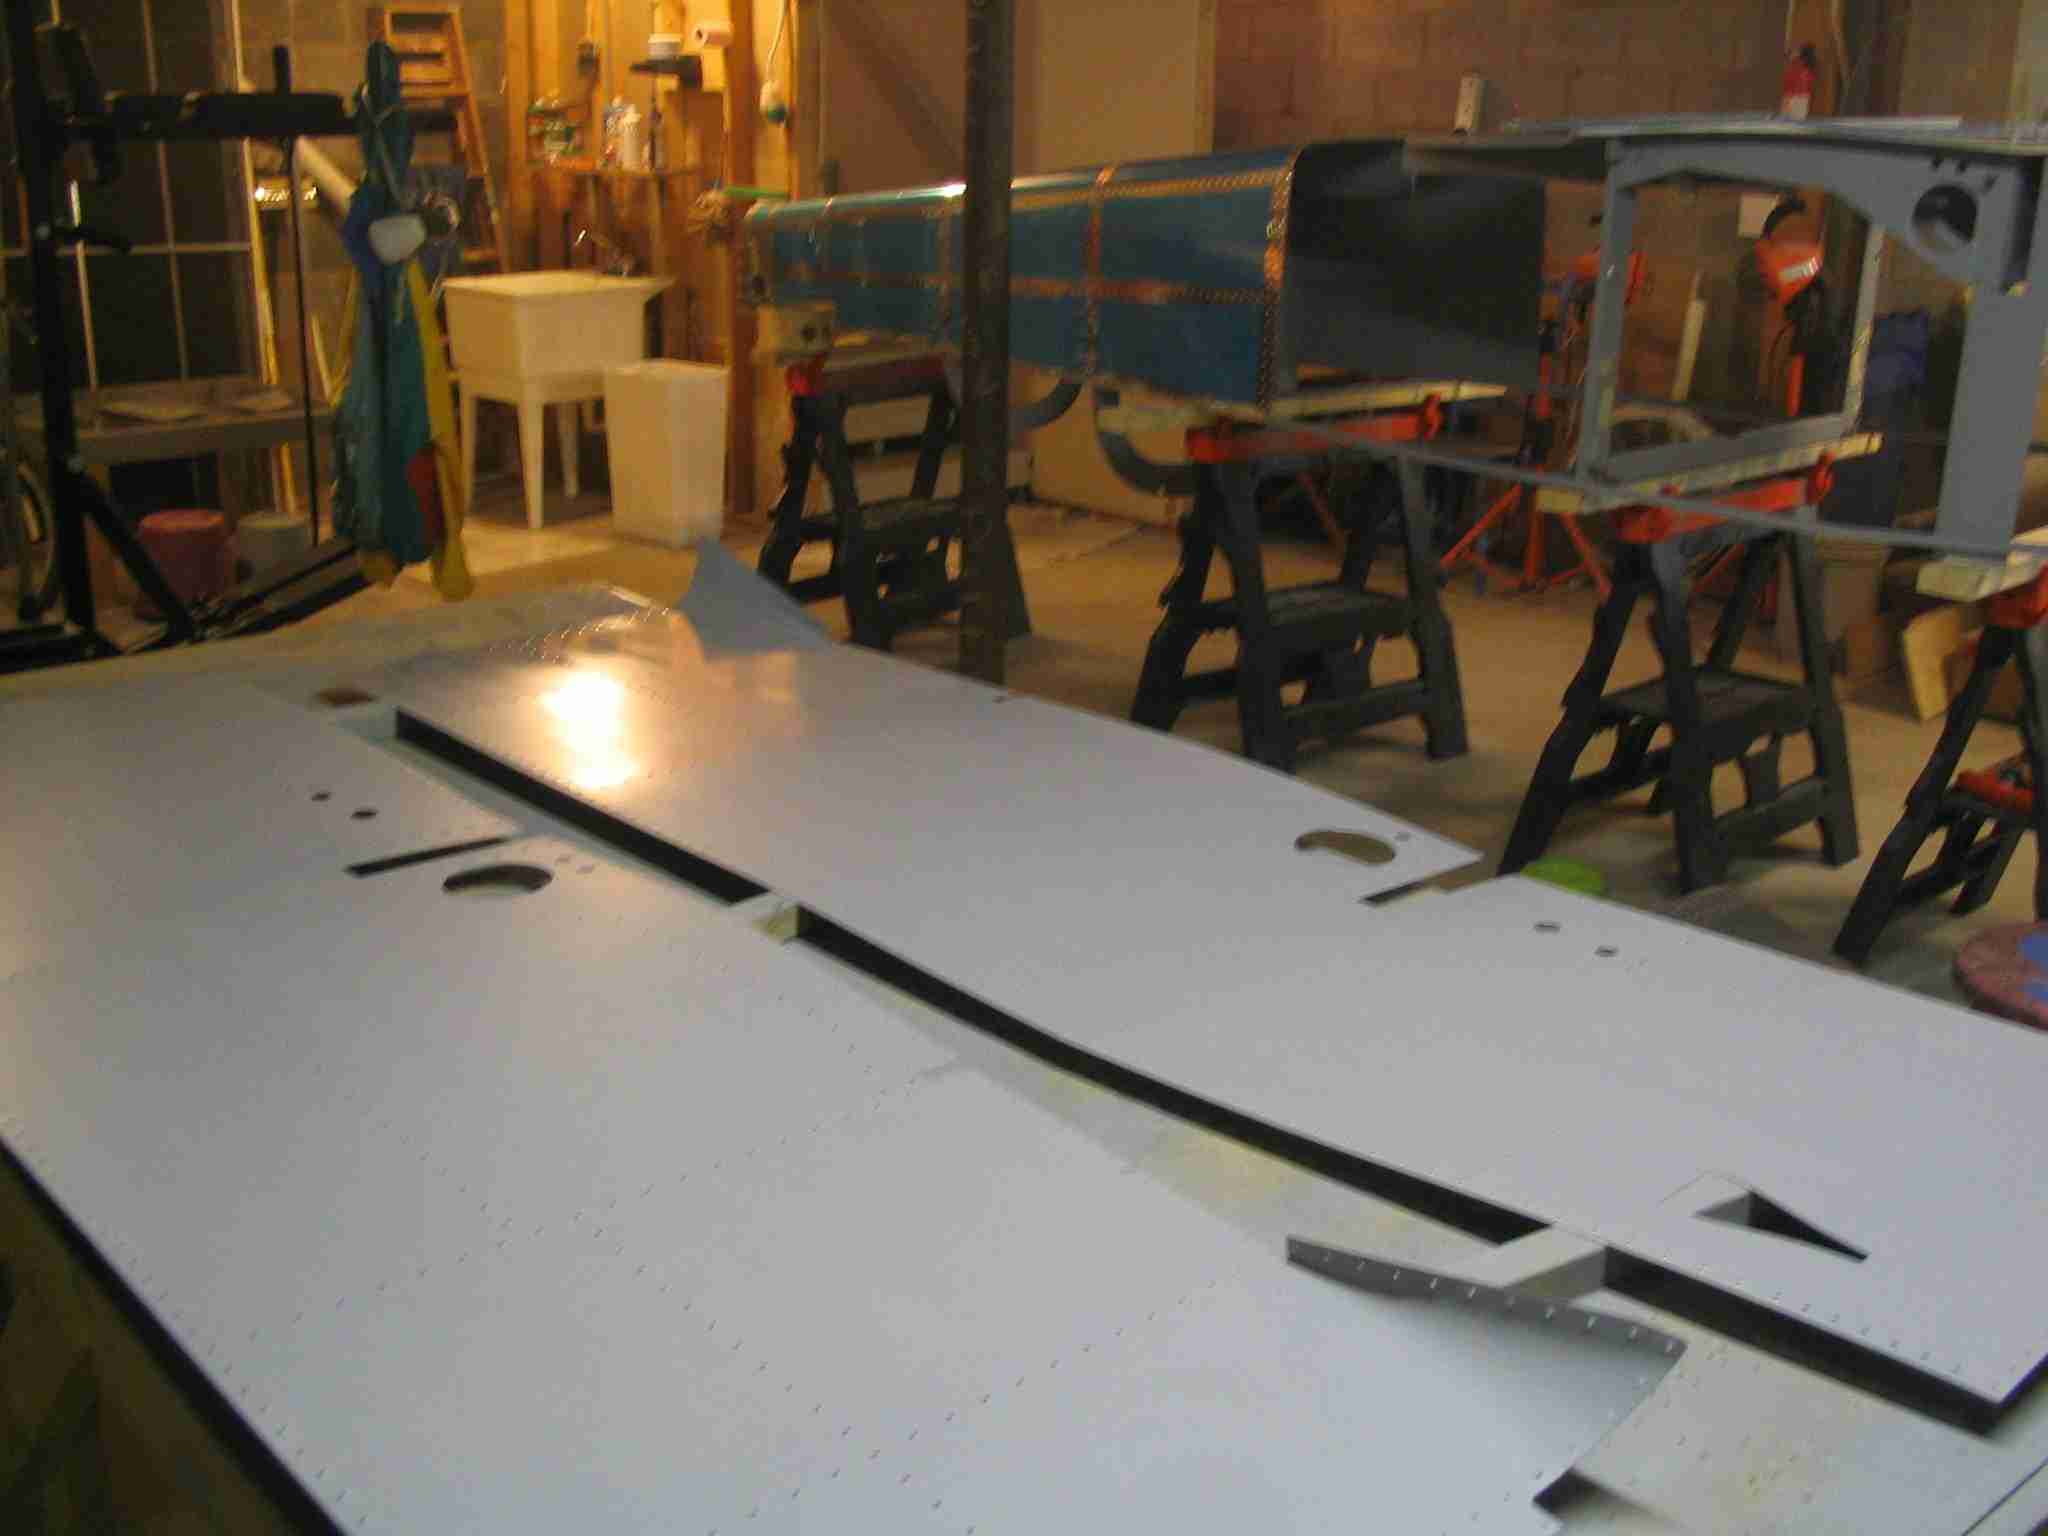
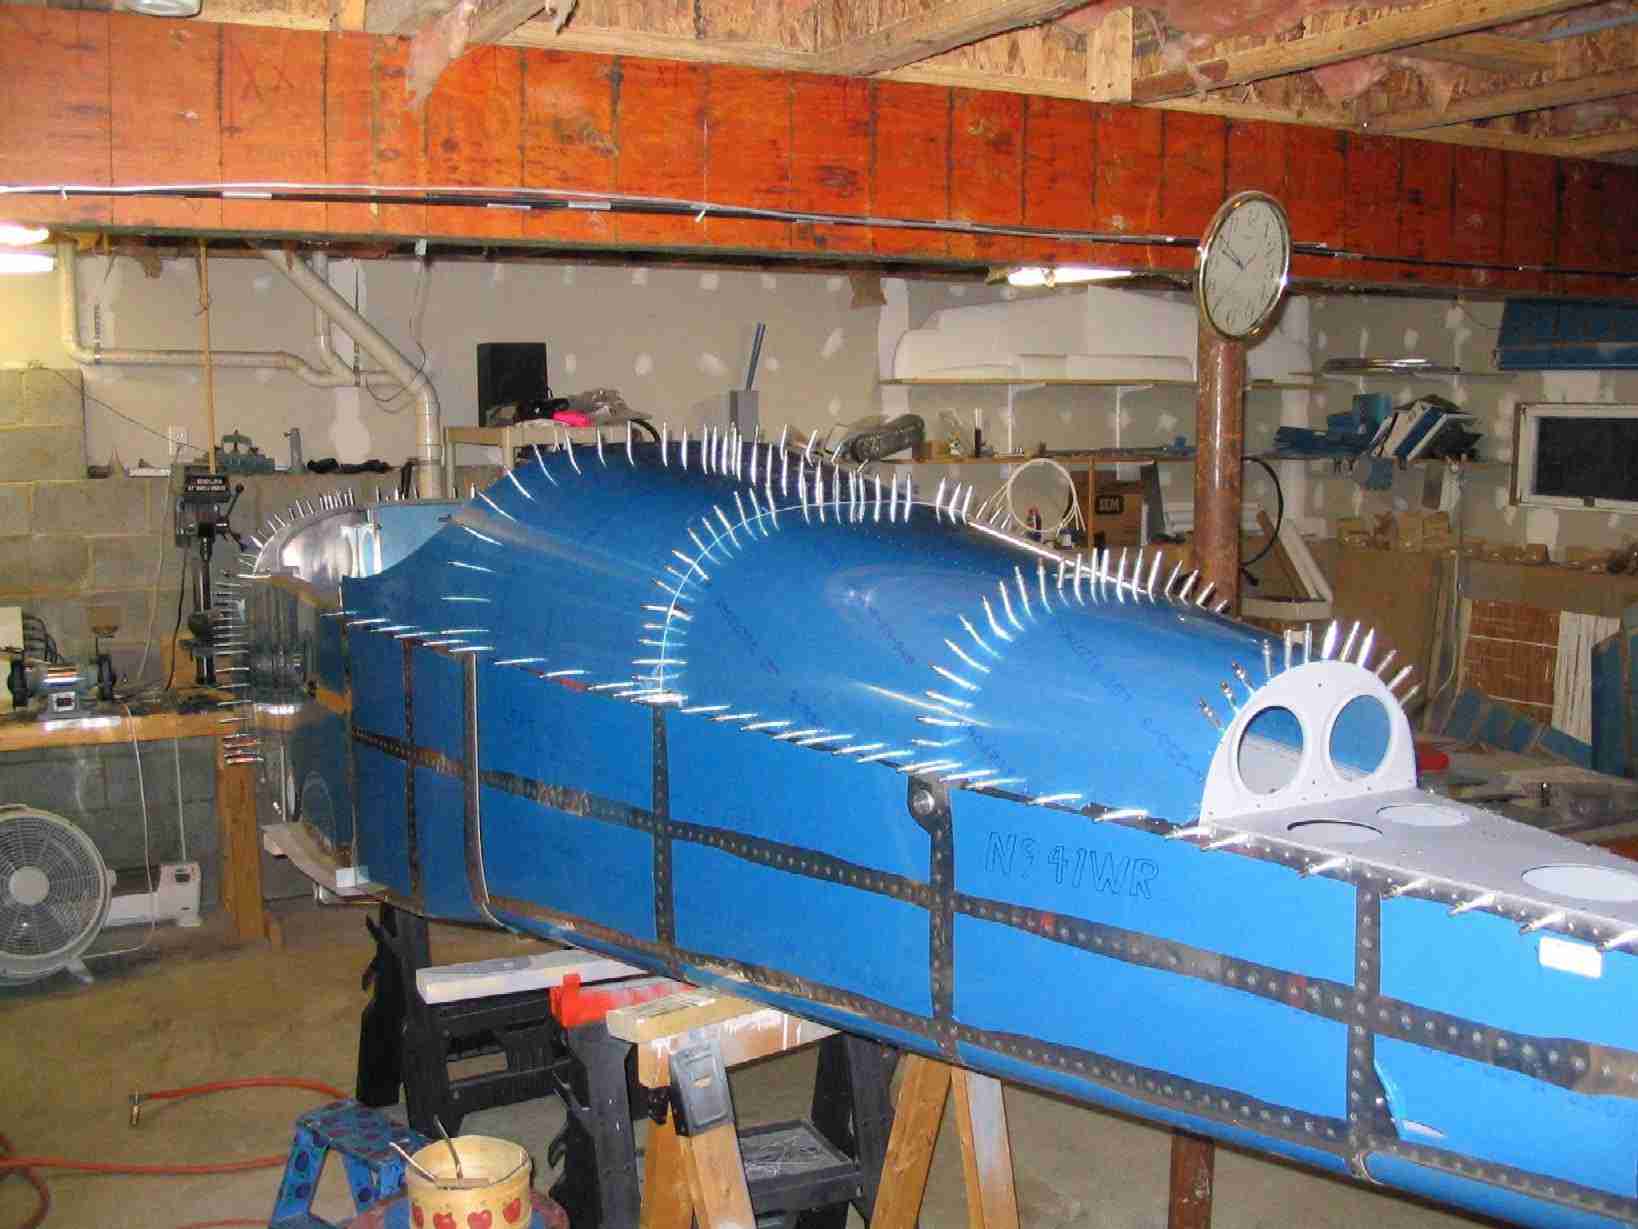
The fuselage is coming together. These side skins are
the last parts that needed to get painted before I assemble it
for what I hope is the last time. There is nothing
difficult in the fuselage construction. I actually think
the wings were more difficult. One thing to watch, the
tooling holes in the seat ribs do not line up with the holes
in the side skins where the pitot line runs. I suggest
drilling all these holes after the skins are in place. (6/14/05) E
The fuselage is coming together. These side skins are
the last parts that needed to get painted before I assemble it
for what I hope is the last time. There is nothing
difficult in the fuselage construction. I actually think
the wings were more difficult. One thing to watch, the
tooling holes in the seat ribs do not line up with the holes
in the side skins where the pitot line runs. I suggest
drilling all these holes after the skins are in place. (6/14/05) |
| |
|
 F
Torque thought he would give me a hand driving rivets but he
realized that without an opposed thumb he wasn't going to be much
help. (6/17/05) F
Torque thought he would give me a hand driving rivets but he
realized that without an opposed thumb he wasn't going to be much
help. (6/17/05) |
| |
|
 E
Randy Utsey, RV-7 builder, came by to help me rivet the
fuselage together. It is amazing how fast two
experienced riveters can move. (6/20/05) E
Randy Utsey, RV-7 builder, came by to help me rivet the
fuselage together. It is amazing how fast two
experienced riveters can move. (6/20/05) |
| |
|
  F
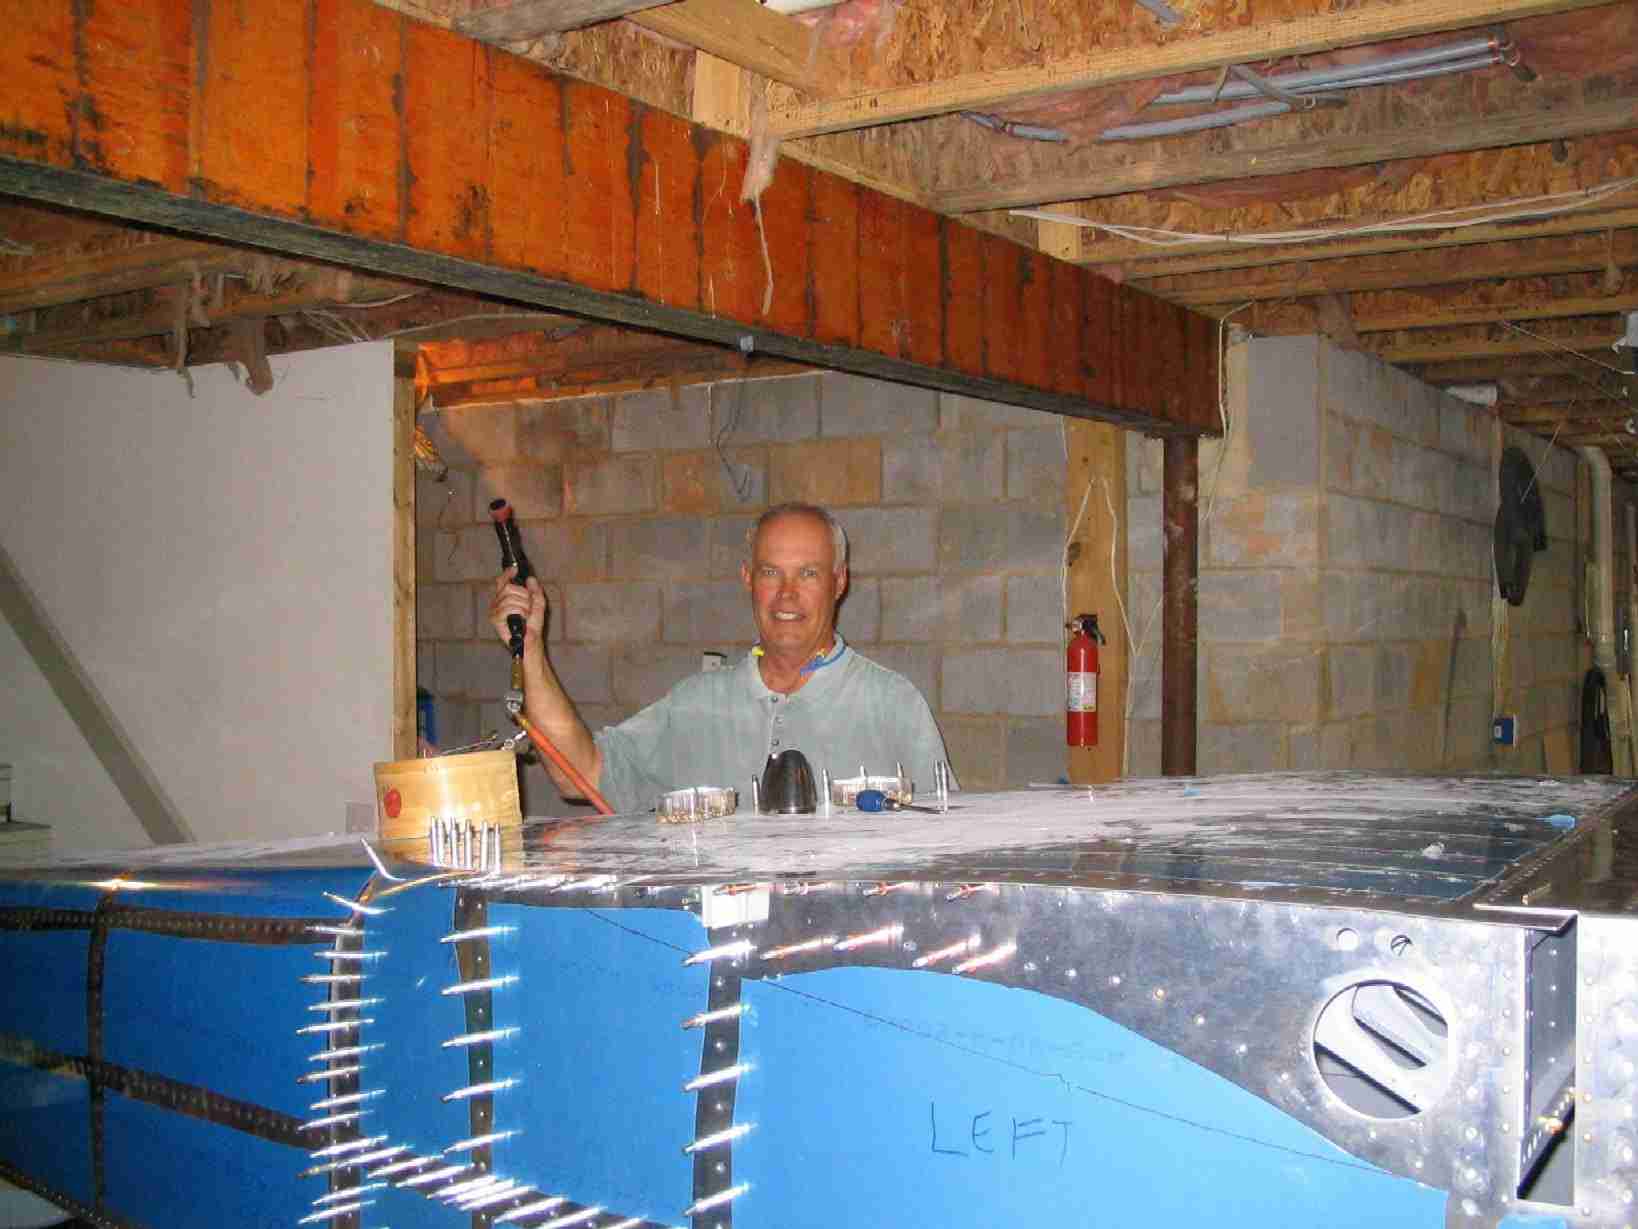
Radomier Zaric, RV-7A builder, jumped in and helped me finish
riveting the lower 1/2 of the fuselage. After three
hours of pounding rivets we
rolled the "canoe" over. I still have a good bit of work
to do before I can go flying but now I feel like I have an
airplane. (6/26/05) F
Radomier Zaric, RV-7A builder, jumped in and helped me finish
riveting the lower 1/2 of the fuselage. After three
hours of pounding rivets we
rolled the "canoe" over. I still have a good bit of work
to do before I can go flying but now I feel like I have an
airplane. (6/26/05) |
| |
|
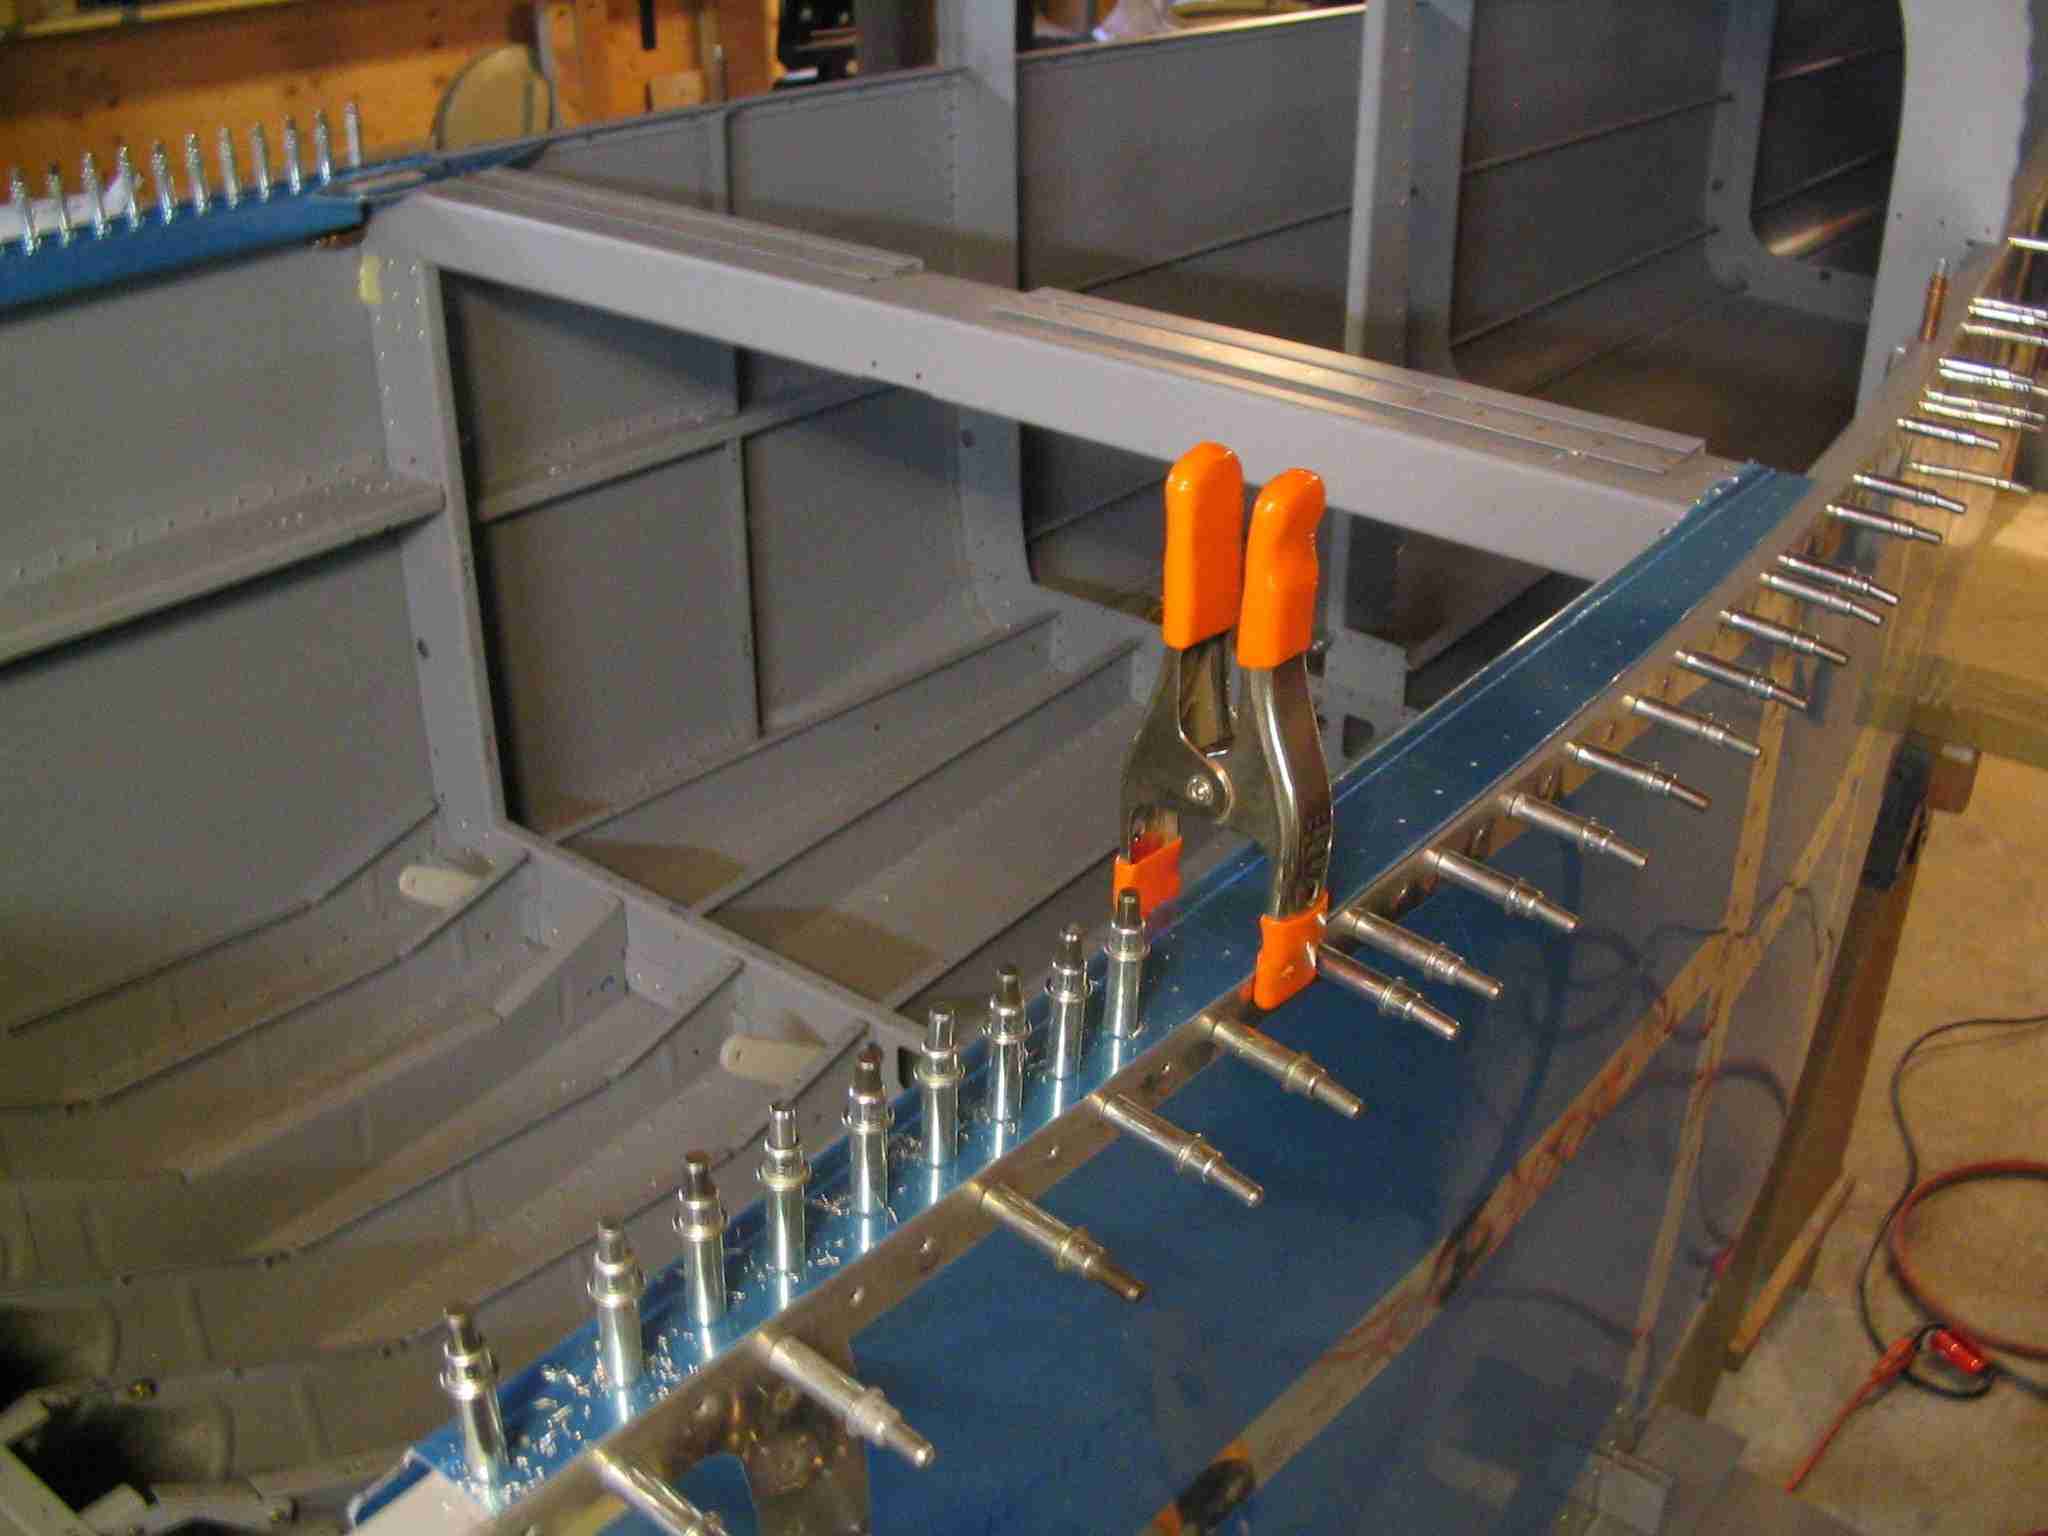
 E
Every once in a while you make a mistake and think it is the
end of the world. I have found this is not necessarily
the case. For some reason I missed the step about match
drilling the 721 parts to the longerons before riveting up the
fuselage. Luckly I did use the 721's to make sure the
longeron curves were correct. I had all kinds of
concerns about how I was going to get these things to fit and
match drill them. The simplest solution was to position
the 721's at the right spot along the longeron and then
starting at the front of the 721, drill a hole and cleco it.
Keep moving aft while pulling the 721 and longer parts
together. I used a simple spring clamp to line
everything up. Just drill & cleco one hole at a time and
it will work out great. That said, I do recommend
following the directions as is a great stress reducer.
(6/28/05) E
Every once in a while you make a mistake and think it is the
end of the world. I have found this is not necessarily
the case. For some reason I missed the step about match
drilling the 721 parts to the longerons before riveting up the
fuselage. Luckly I did use the 721's to make sure the
longeron curves were correct. I had all kinds of
concerns about how I was going to get these things to fit and
match drill them. The simplest solution was to position
the 721's at the right spot along the longeron and then
starting at the front of the 721, drill a hole and cleco it.
Keep moving aft while pulling the 721 and longer parts
together. I used a simple spring clamp to line
everything up. Just drill & cleco one hole at a time and
it will work out great. That said, I do recommend
following the directions as is a great stress reducer.
(6/28/05) |
| |
|
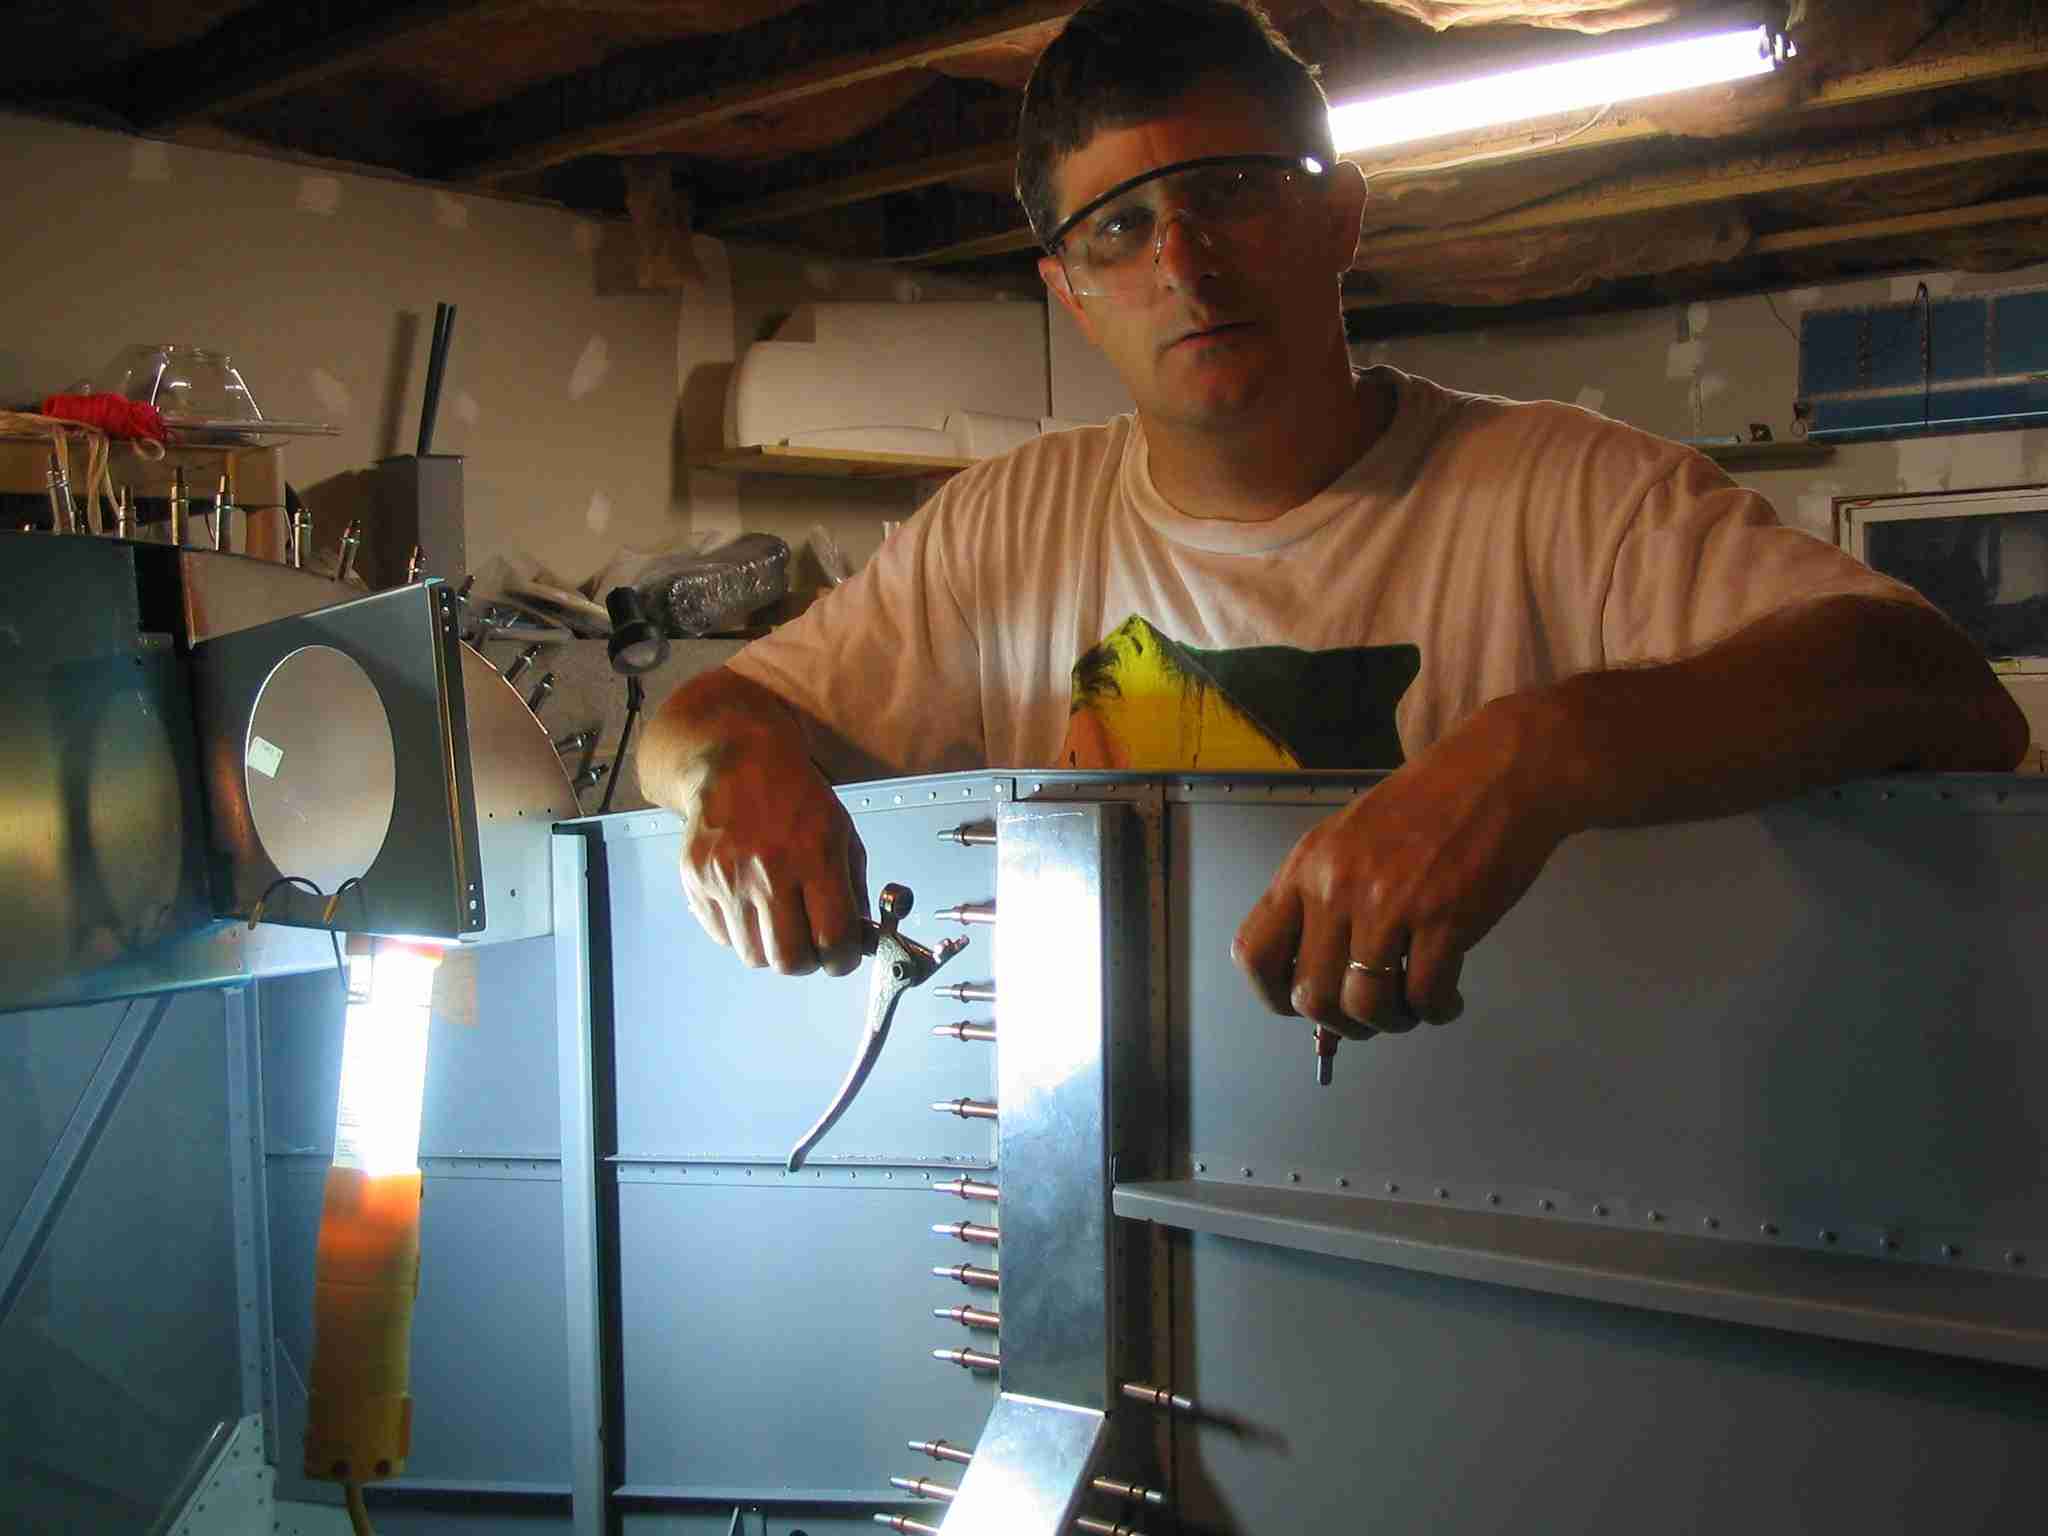
 F
Boy, once I turned the fuselage over I thought I was almost
done. The truth is, the real work has just begun.
Here I am match drilling the side caps to vertical main spar
flange. Don't ask me how I missed doing this earlier
because I couldn't find it mentioned in the plans anywhere.
The problem was that I had already drilled the arm rest to the
flange and that hole was now hidden behind the flange cap.
Check out the Things to consider page for how I solved this
problem.
(7/15/05) F
Boy, once I turned the fuselage over I thought I was almost
done. The truth is, the real work has just begun.
Here I am match drilling the side caps to vertical main spar
flange. Don't ask me how I missed doing this earlier
because I couldn't find it mentioned in the plans anywhere.
The problem was that I had already drilled the arm rest to the
flange and that hole was now hidden behind the flange cap.
Check out the Things to consider page for how I solved this
problem.
(7/15/05) |
| |
|
 E
After much work, the instrument panel sub frame was finally
fitted. This is not the Van's panel but one from
Affordable Panels. Once this is in place I'll have to
start working on how to install the Throttle Quadrant I
bought. No Cessna style venire throttle for my -9.
(7/17/05) E
After much work, the instrument panel sub frame was finally
fitted. This is not the Van's panel but one from
Affordable Panels. Once this is in place I'll have to
start working on how to install the Throttle Quadrant I
bought. No Cessna style venire throttle for my -9.
(7/17/05) |
| |
|
 F
After dinner Torque and I went back to the basement aircraft
factory and clecoed the top skins in place. Tomorrow I
will start match drilling them and cut the top two "J"
channels to fit. I just hope I don't match drill my
finger when working on the "J" channels like I did when match
drilling them for the lower fuselage.
(7/17/05) F
After dinner Torque and I went back to the basement aircraft
factory and clecoed the top skins in place. Tomorrow I
will start match drilling them and cut the top two "J"
channels to fit. I just hope I don't match drill my
finger when working on the "J" channels like I did when match
drilling them for the lower fuselage.
(7/17/05) |
| |
|
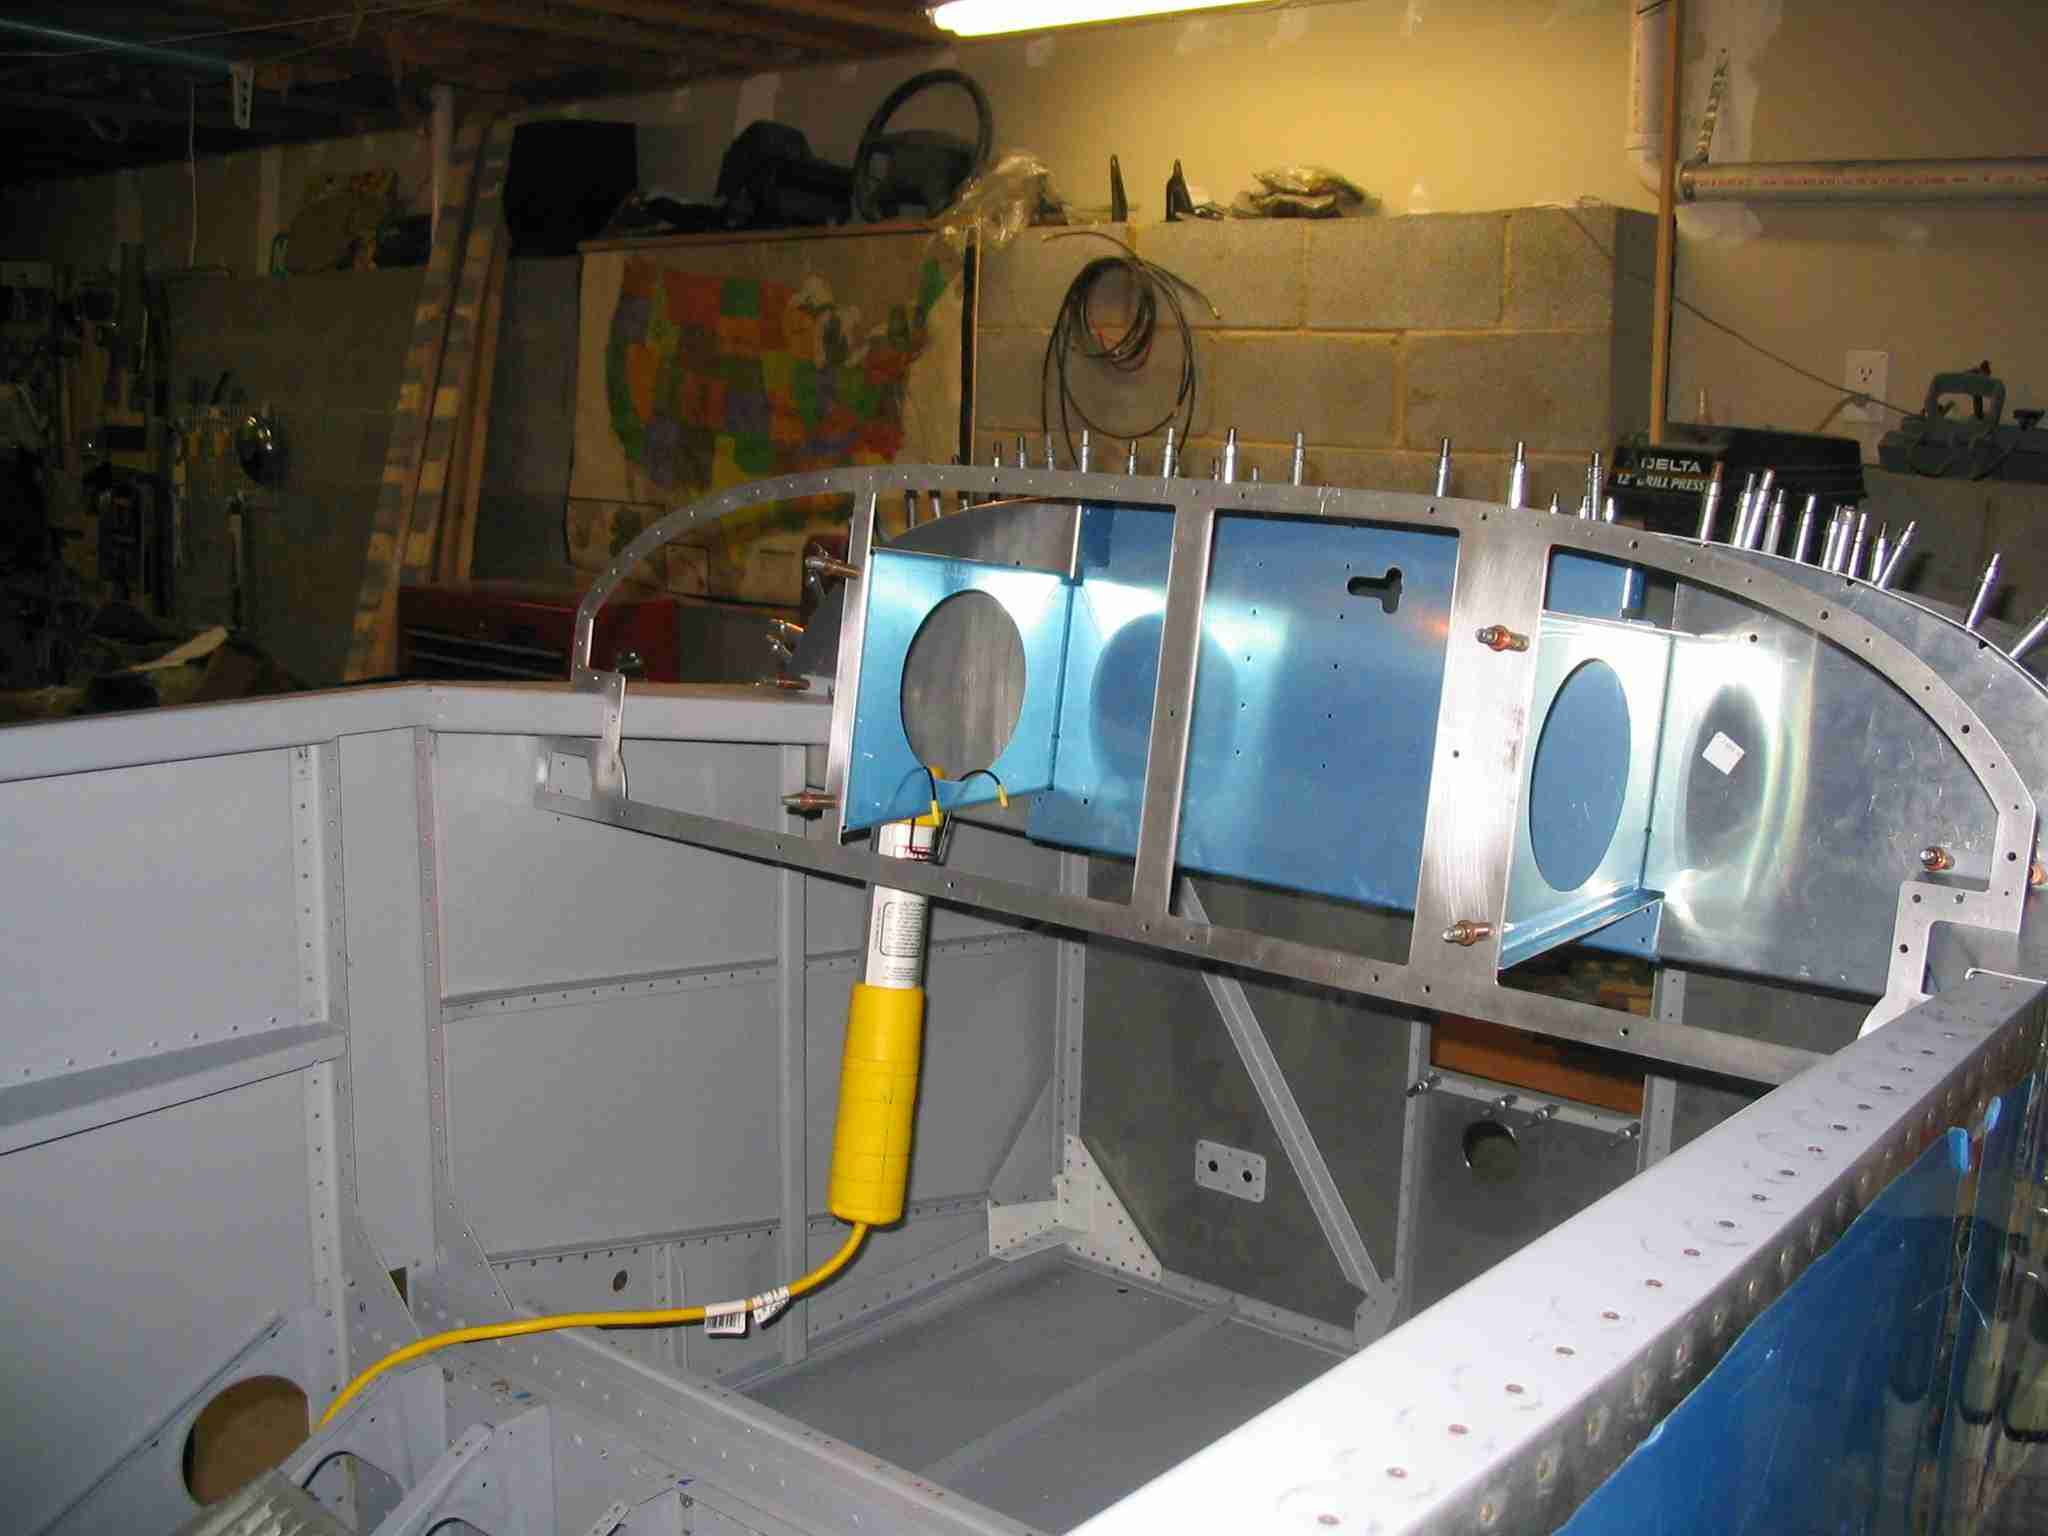
 E
The top skins are all match drilled, deburred, and dimpled.
Next up is priming. I've been working on a bunch of
other small parts so when I get ready to paint there will be a
good number of items to treat and paint. Number one on
that list is the access door for the ELT. Figuring out
where to place the ELT took about two weeks of fitting,
measuring, and just plain thinking. This location is
under the baggage compartment floor on the right side of the
aircraft. A door will cover the hole and will be held
shut by four screws/plate nuts. There were two reasons I
placed the ELT here rather than the more common place behind
the baggage compartment. 1st, I wanted it closer to the
center of gravity because of the small engine I'm going to
install up front and 2nd, in the event of an accident I wanted
to make sure it was accessible with the fewest number of
screws requiring removal.
(8/9/05) E
The top skins are all match drilled, deburred, and dimpled.
Next up is priming. I've been working on a bunch of
other small parts so when I get ready to paint there will be a
good number of items to treat and paint. Number one on
that list is the access door for the ELT. Figuring out
where to place the ELT took about two weeks of fitting,
measuring, and just plain thinking. This location is
under the baggage compartment floor on the right side of the
aircraft. A door will cover the hole and will be held
shut by four screws/plate nuts. There were two reasons I
placed the ELT here rather than the more common place behind
the baggage compartment. 1st, I wanted it closer to the
center of gravity because of the small engine I'm going to
install up front and 2nd, in the event of an accident I wanted
to make sure it was accessible with the fewest number of
screws requiring removal.
(8/9/05) |
| |
|
  F
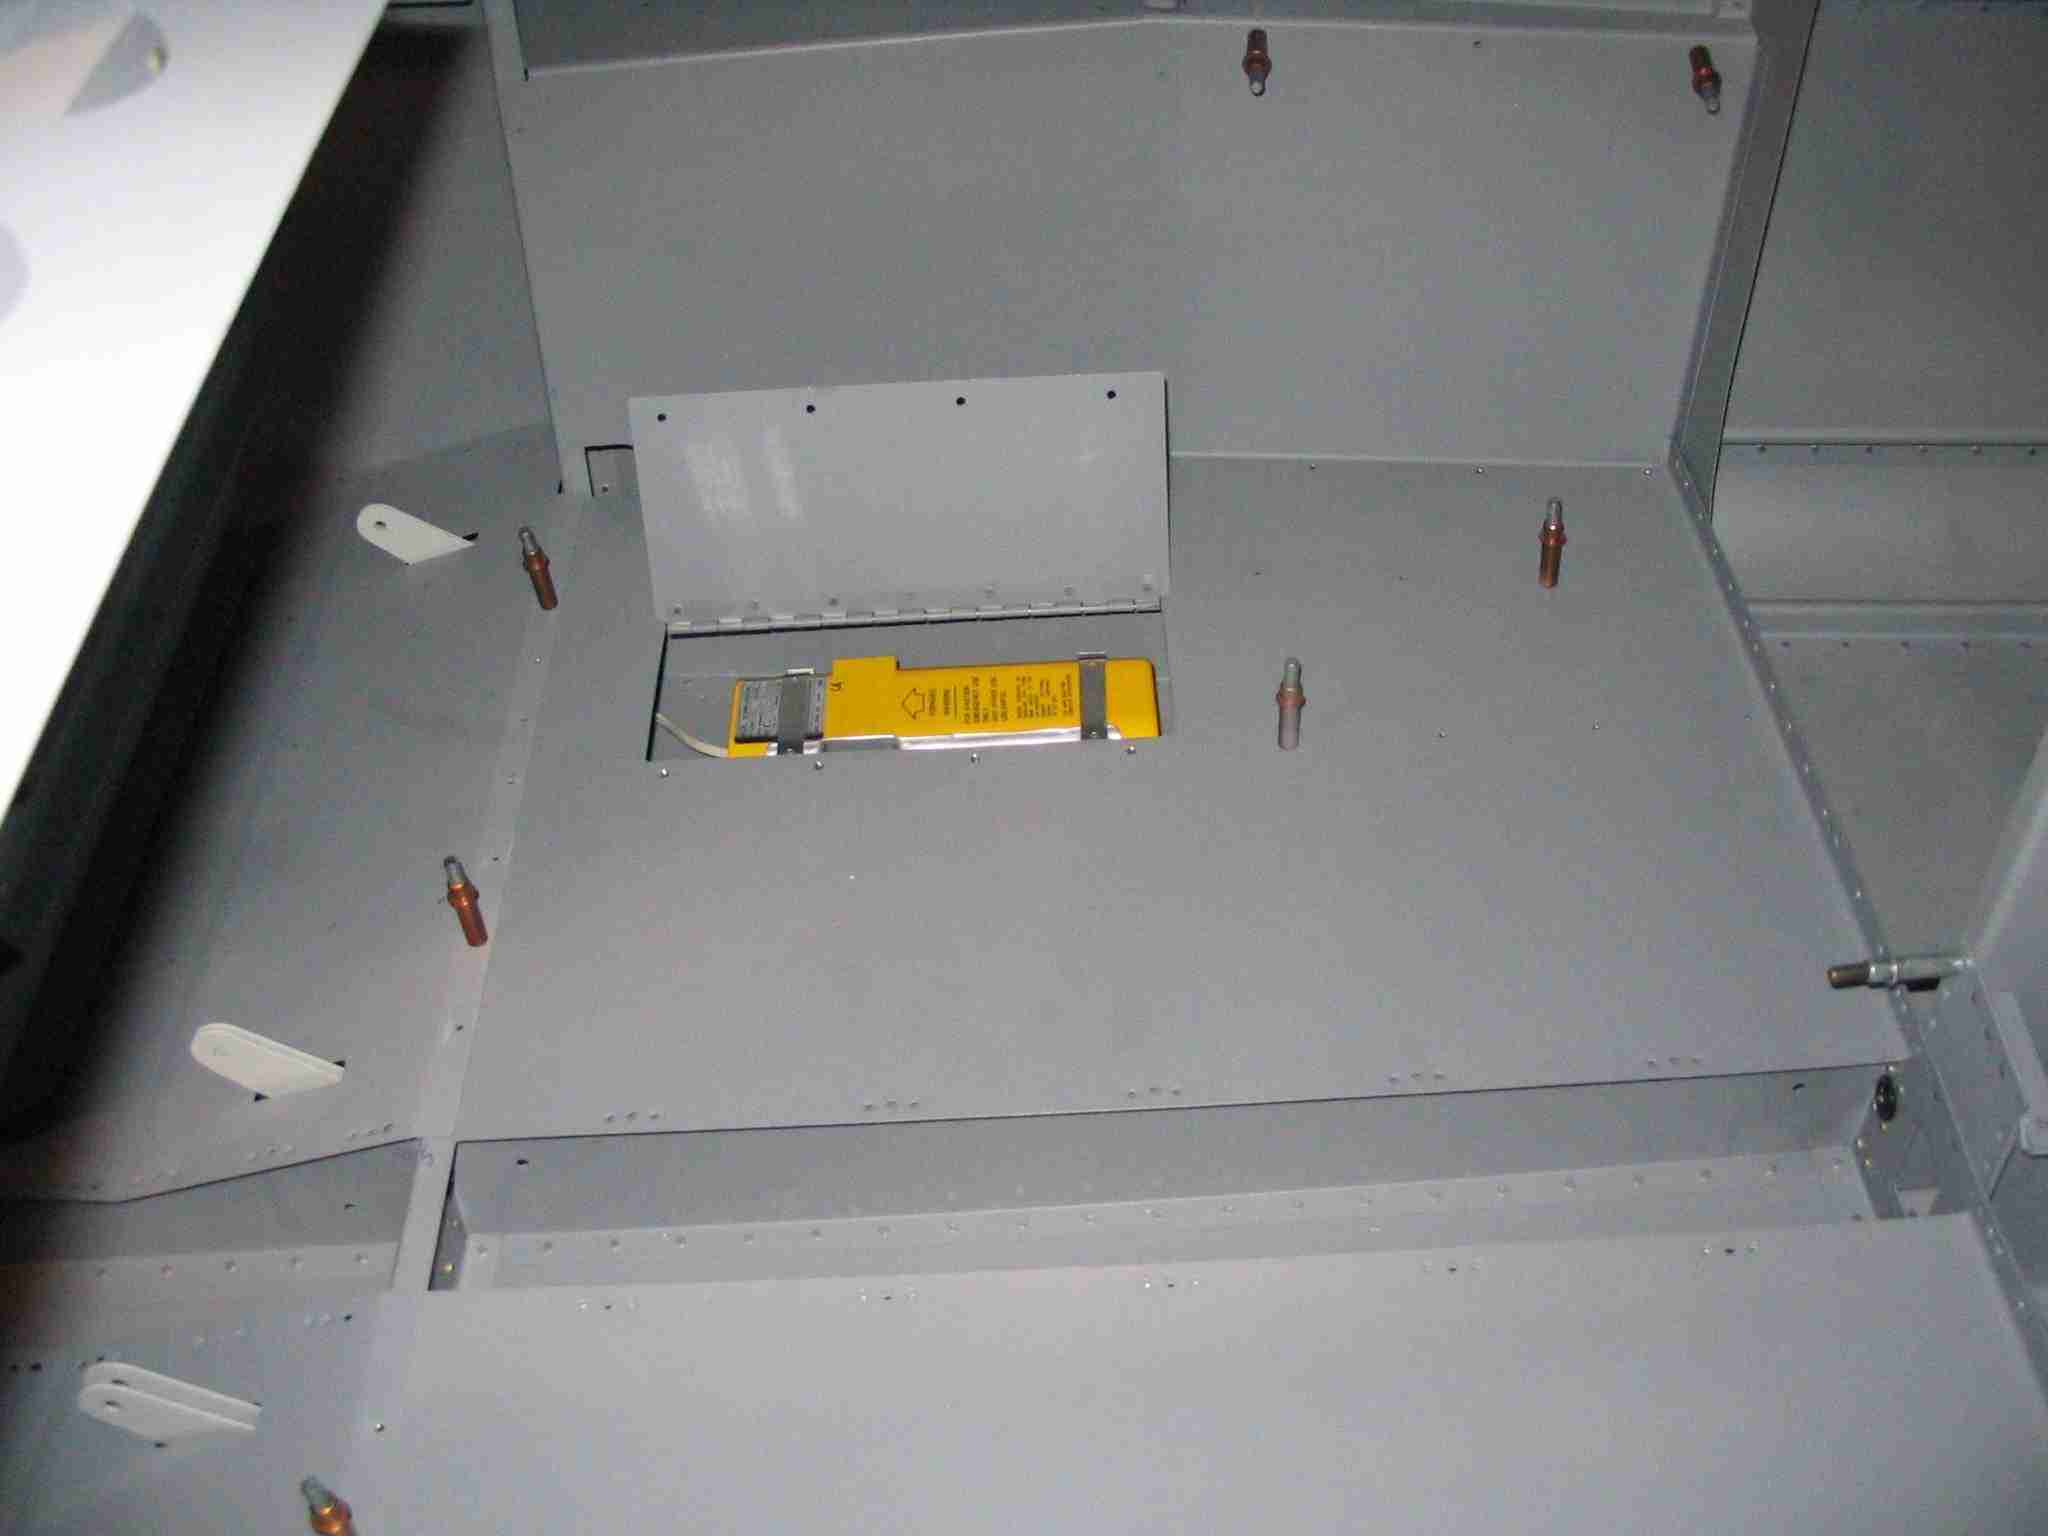
The baggage compartment skins are complete and ready for final
installation. Here are pictures of the ELT door open and
closed.
(8/13/05) F
The baggage compartment skins are complete and ready for final
installation. Here are pictures of the ELT door open and
closed.
(8/13/05) |
| |
|
 E
The seats are installed for the first time. I could
climb in and start making airplanes noises but I'm afraid if I
did, I would never stop playing and actually complete the
airplane! If you enlarge the picture you will notice
some piano hinges just in front of the seats. To move
the the seats forward you simply slide out the hinge pins,
move the seat up to the desired location and reinstall the
pins. What a simple, lightweight, and strong set up.
(8/13/05) E
The seats are installed for the first time. I could
climb in and start making airplanes noises but I'm afraid if I
did, I would never stop playing and actually complete the
airplane! If you enlarge the picture you will notice
some piano hinges just in front of the seats. To move
the the seats forward you simply slide out the hinge pins,
move the seat up to the desired location and reinstall the
pins. What a simple, lightweight, and strong set up.
(8/13/05) |
| |
|
Next Page
F |

 E
Here is Nora, pen in hand, ready to help inventory the parts.
I'm not sure she knows what she has gotten herself into.
(11/12/04)
E
Here is Nora, pen in hand, ready to help inventory the parts.
I'm not sure she knows what she has gotten herself into.
(11/12/04)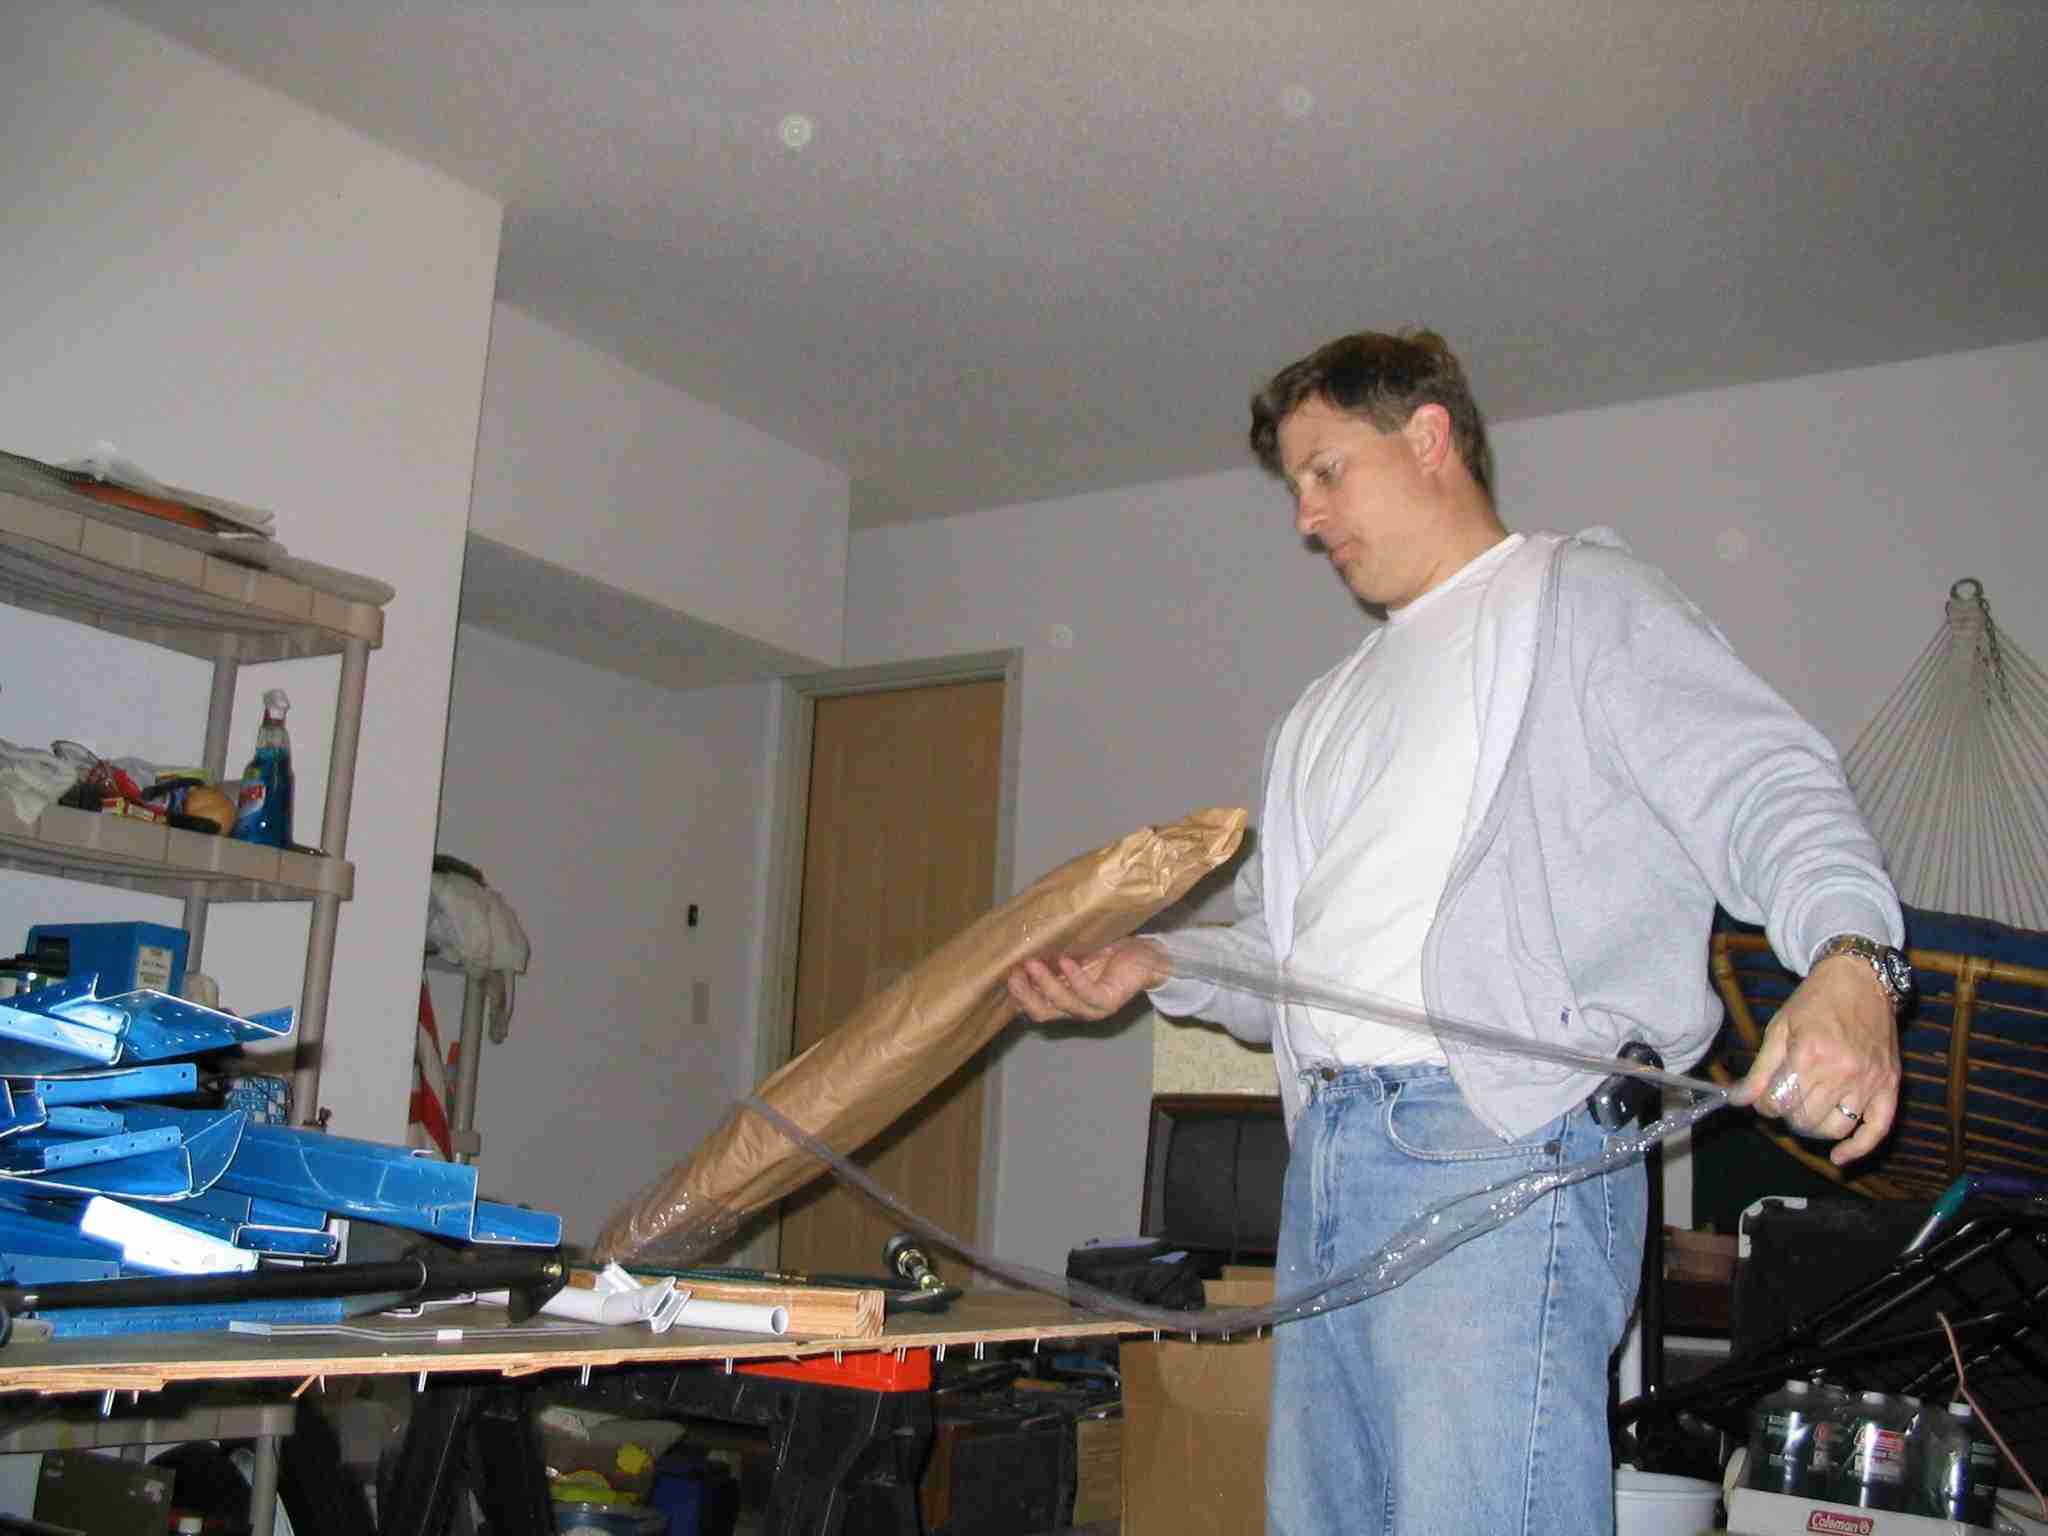 F
Van's sure does use a lot of shrink wrap and paper to protect
the parts and boy does it every work. Not a single part
was damaged in shipping. (11/12/04)
F
Van's sure does use a lot of shrink wrap and paper to protect
the parts and boy does it every work. Not a single part
was damaged in shipping. (11/12/04)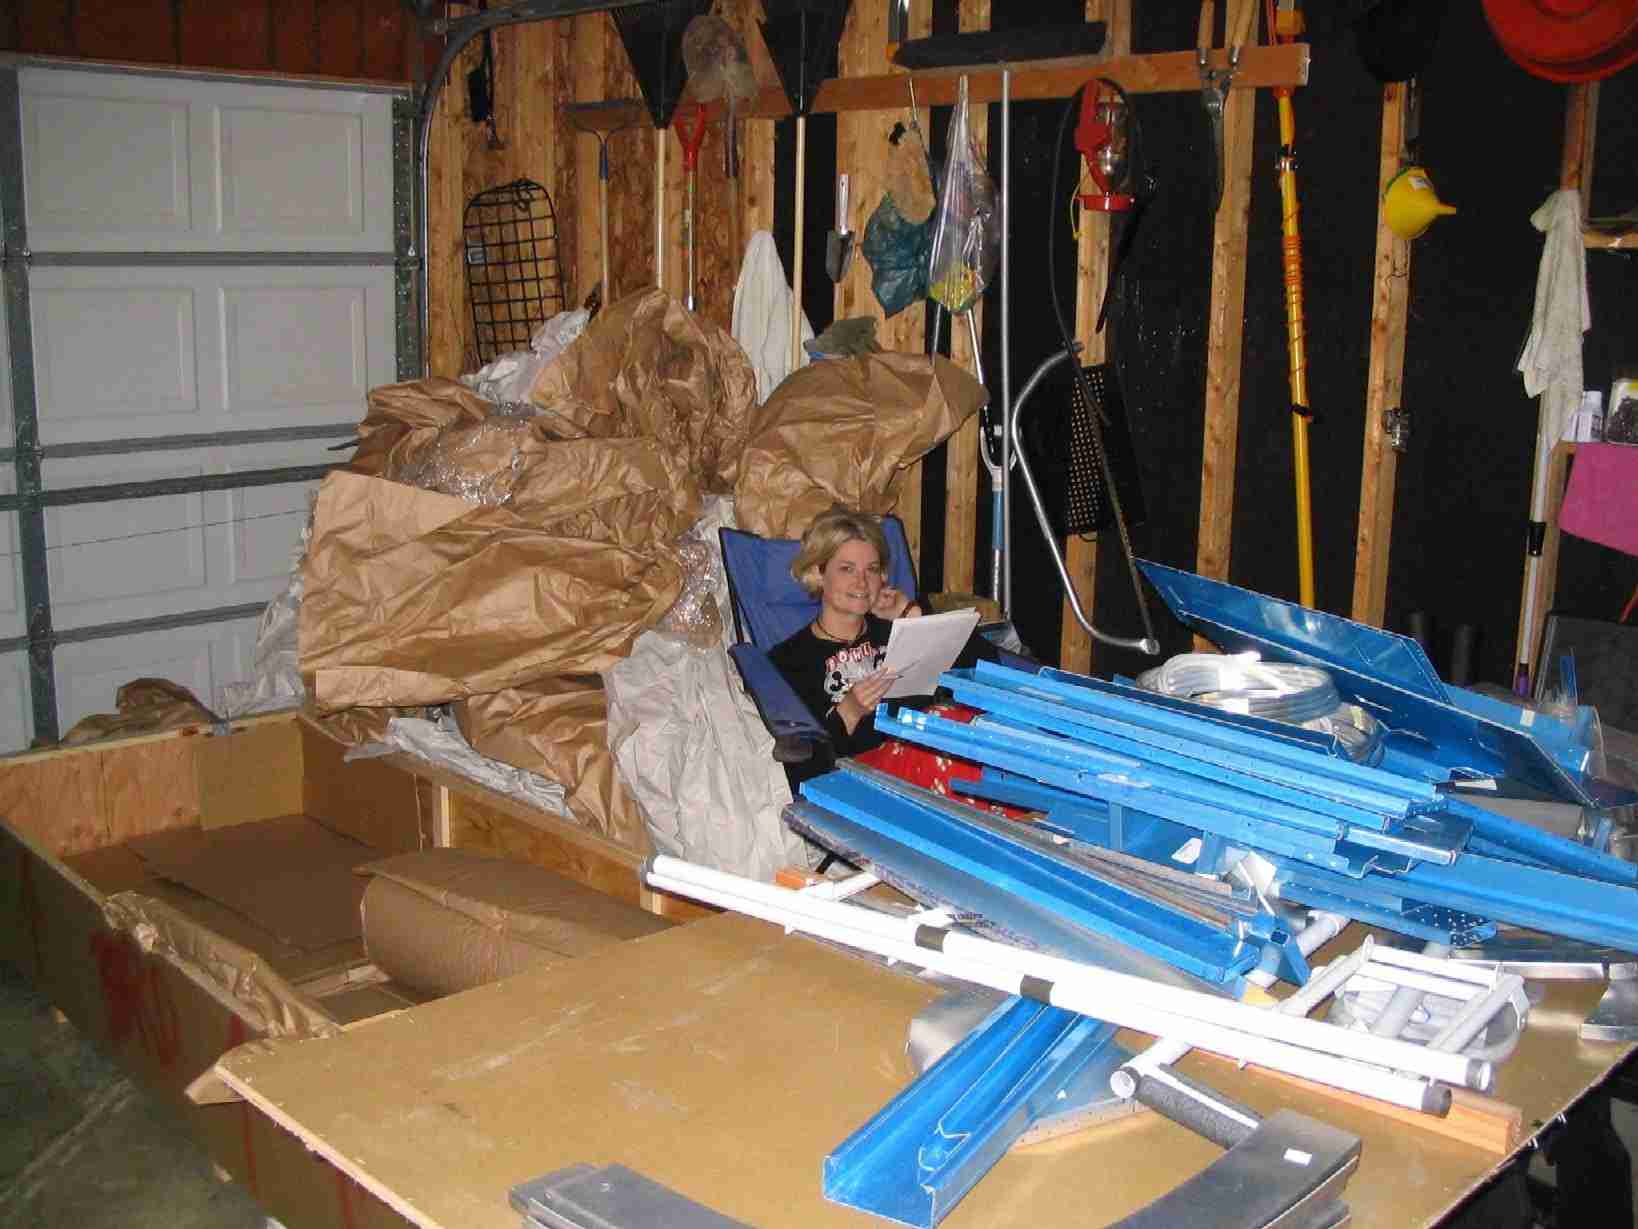 E
I think 1/2 the weight of the box is packing material. I
don't think the car will ever get back in the garage. Oh
well, at least I don't have to worry about hitting anything
when backing the car in with all that paper protecting the
wall. (11/12/04)
E
I think 1/2 the weight of the box is packing material. I
don't think the car will ever get back in the garage. Oh
well, at least I don't have to worry about hitting anything
when backing the car in with all that paper protecting the
wall. (11/12/04)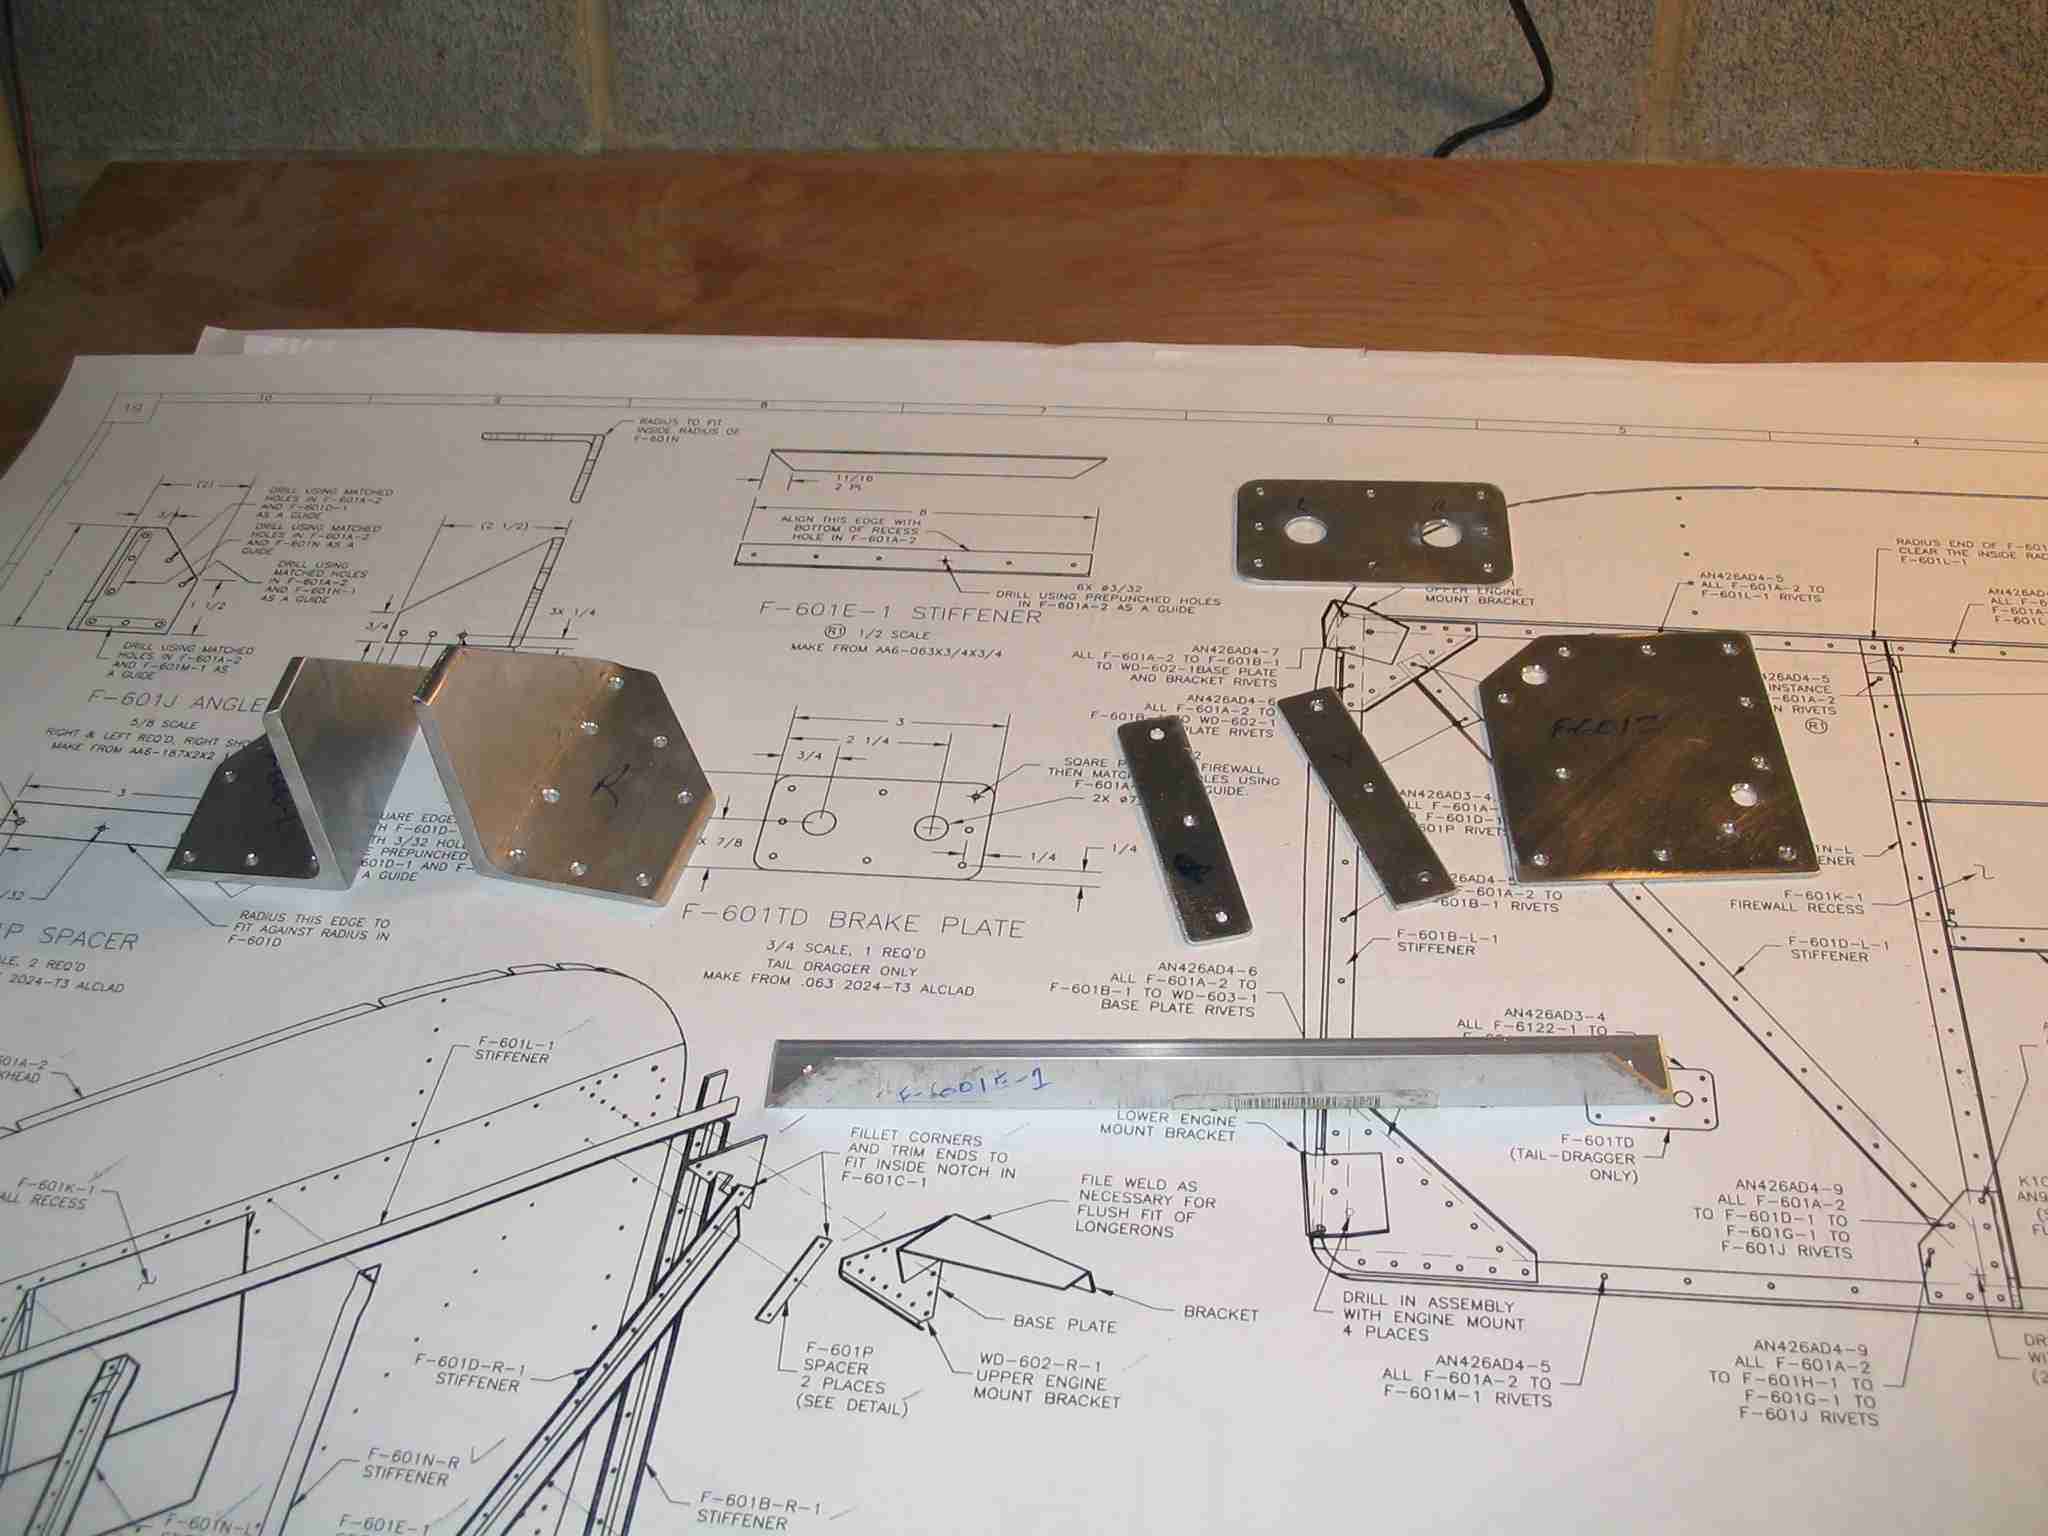 F
A good number of people who are thinking about building an RV
ask, "How many parts do you actually have to make and is it
difficult to make those parts?" Here is a sample
of the parts I had to make for the firewall of my RV-9.
There are a number of items I had to fabricate but they are
simple parts made from angle and sheet aluminum. Nothing
you couldn't make in one or two work sessions with a band saw,
bench sander, file, and drill. Oh, don't forget about
the bench press w/ a de-burring wheel. (11/23/04)
F
A good number of people who are thinking about building an RV
ask, "How many parts do you actually have to make and is it
difficult to make those parts?" Here is a sample
of the parts I had to make for the firewall of my RV-9.
There are a number of items I had to fabricate but they are
simple parts made from angle and sheet aluminum. Nothing
you couldn't make in one or two work sessions with a band saw,
bench sander, file, and drill. Oh, don't forget about
the bench press w/ a de-burring wheel. (11/23/04)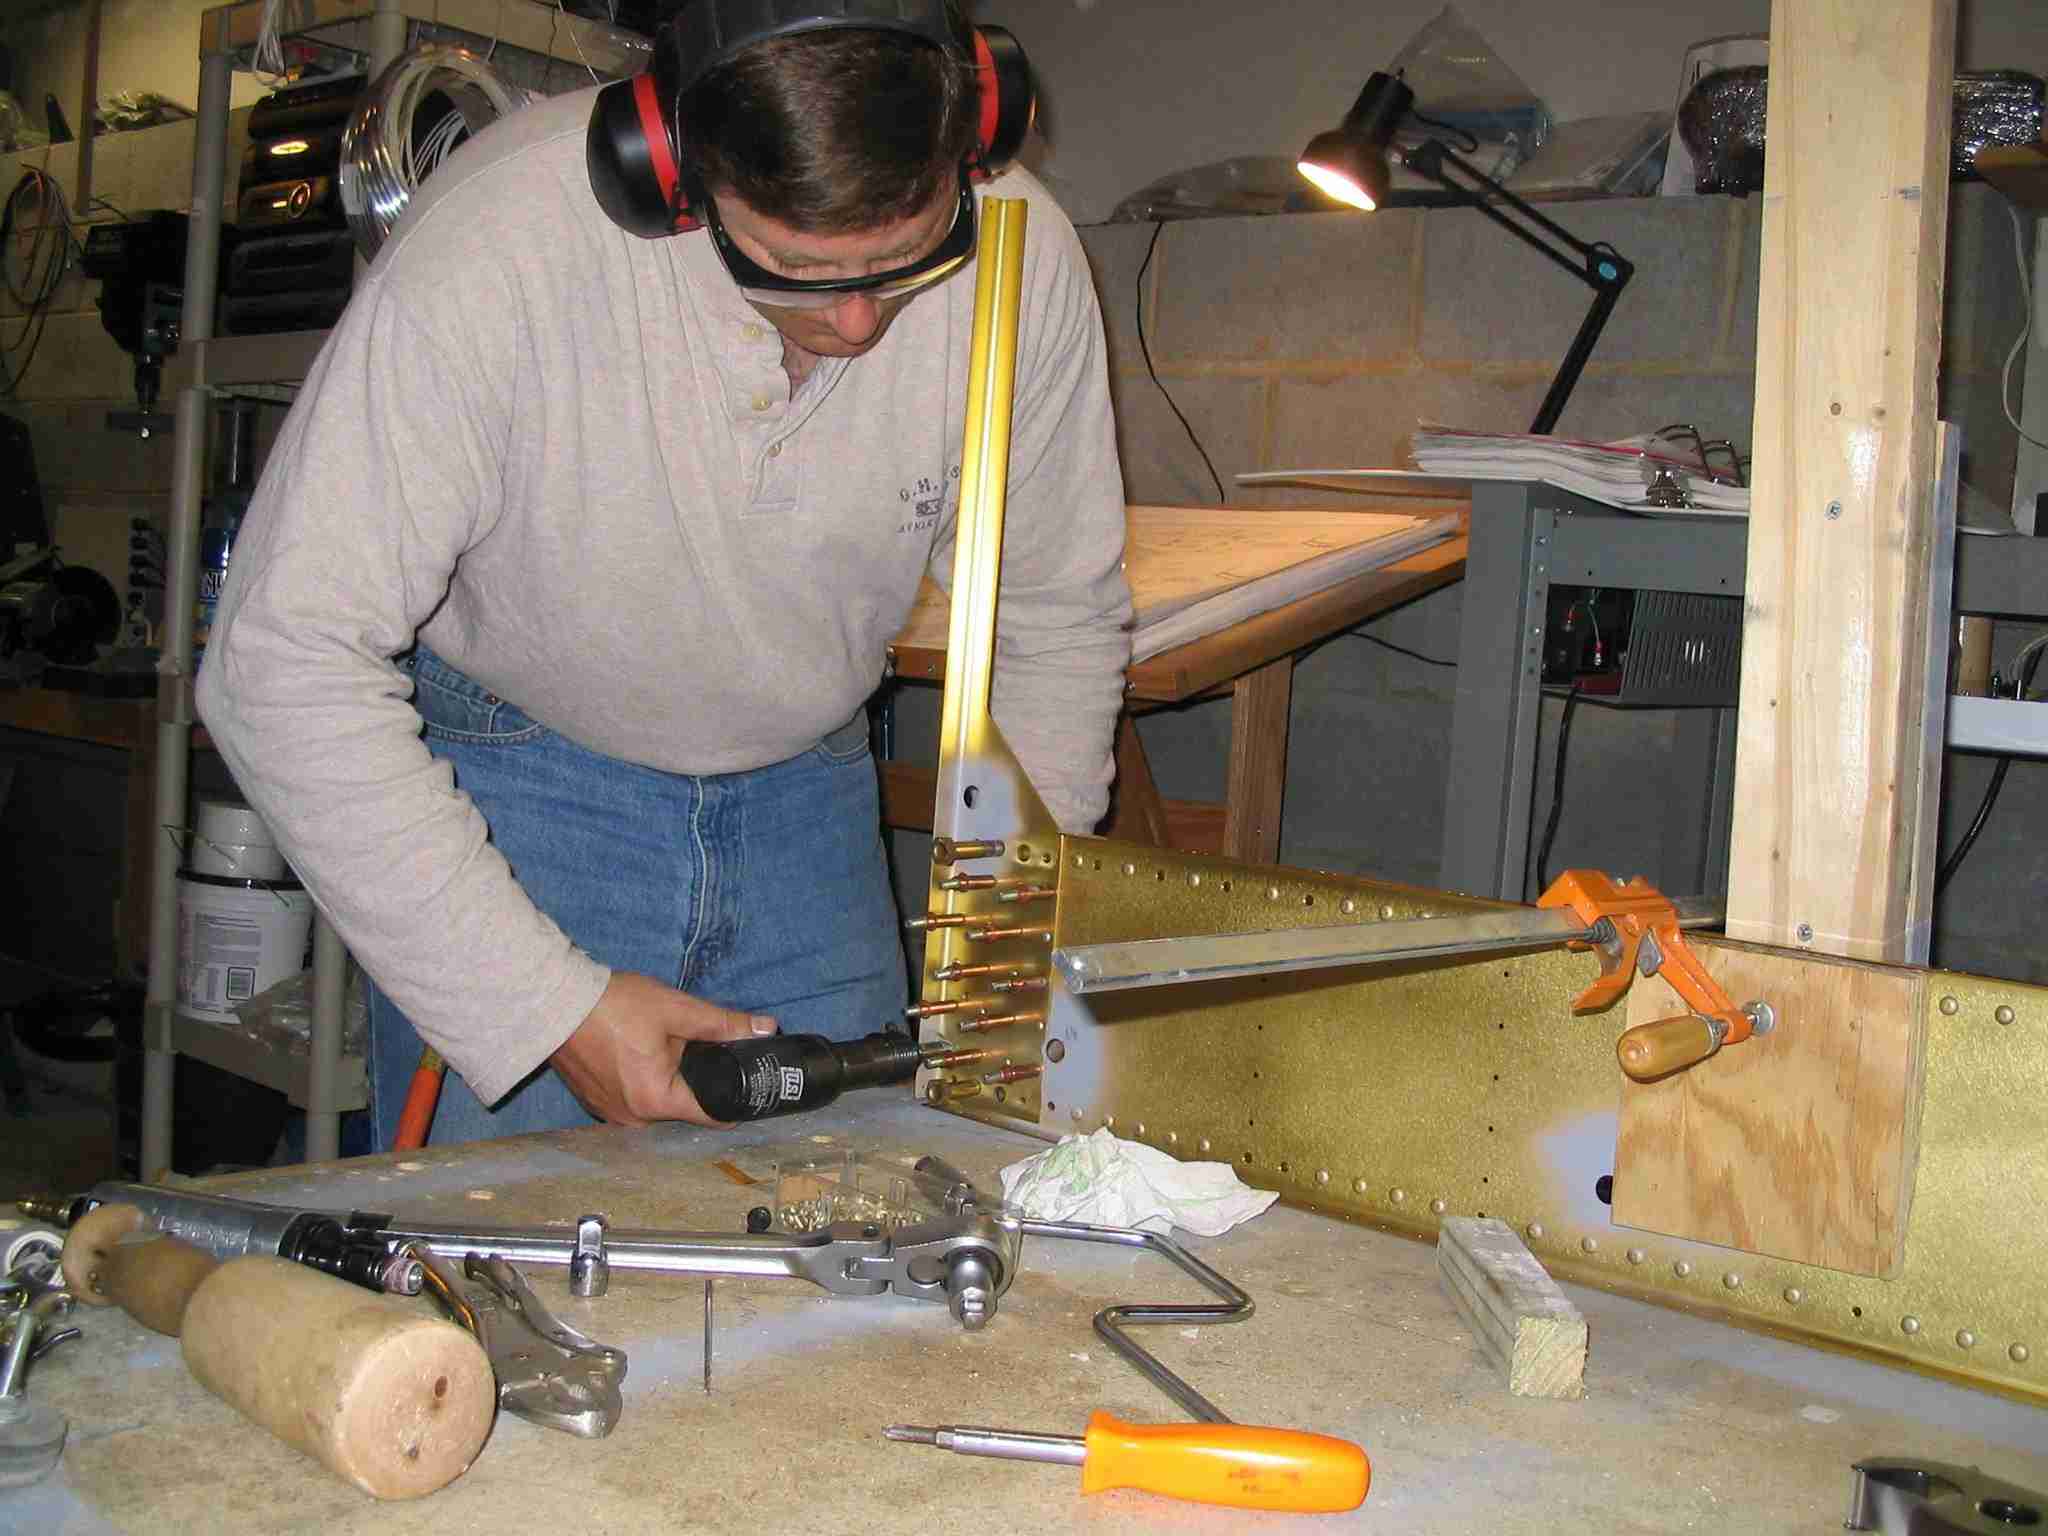 E
When working alone, it helps to get creative. Here
I am riveting the center section together. To hold the
thing in place I screwed a long 2x4 vertically to the end of
my work table and then clamped the center section to it.
This worked out great and meant I didn't have to interrupt my
wonderful wife. (12/7/04)
E
When working alone, it helps to get creative. Here
I am riveting the center section together. To hold the
thing in place I screwed a long 2x4 vertically to the end of
my work table and then clamped the center section to it.
This worked out great and meant I didn't have to interrupt my
wonderful wife. (12/7/04)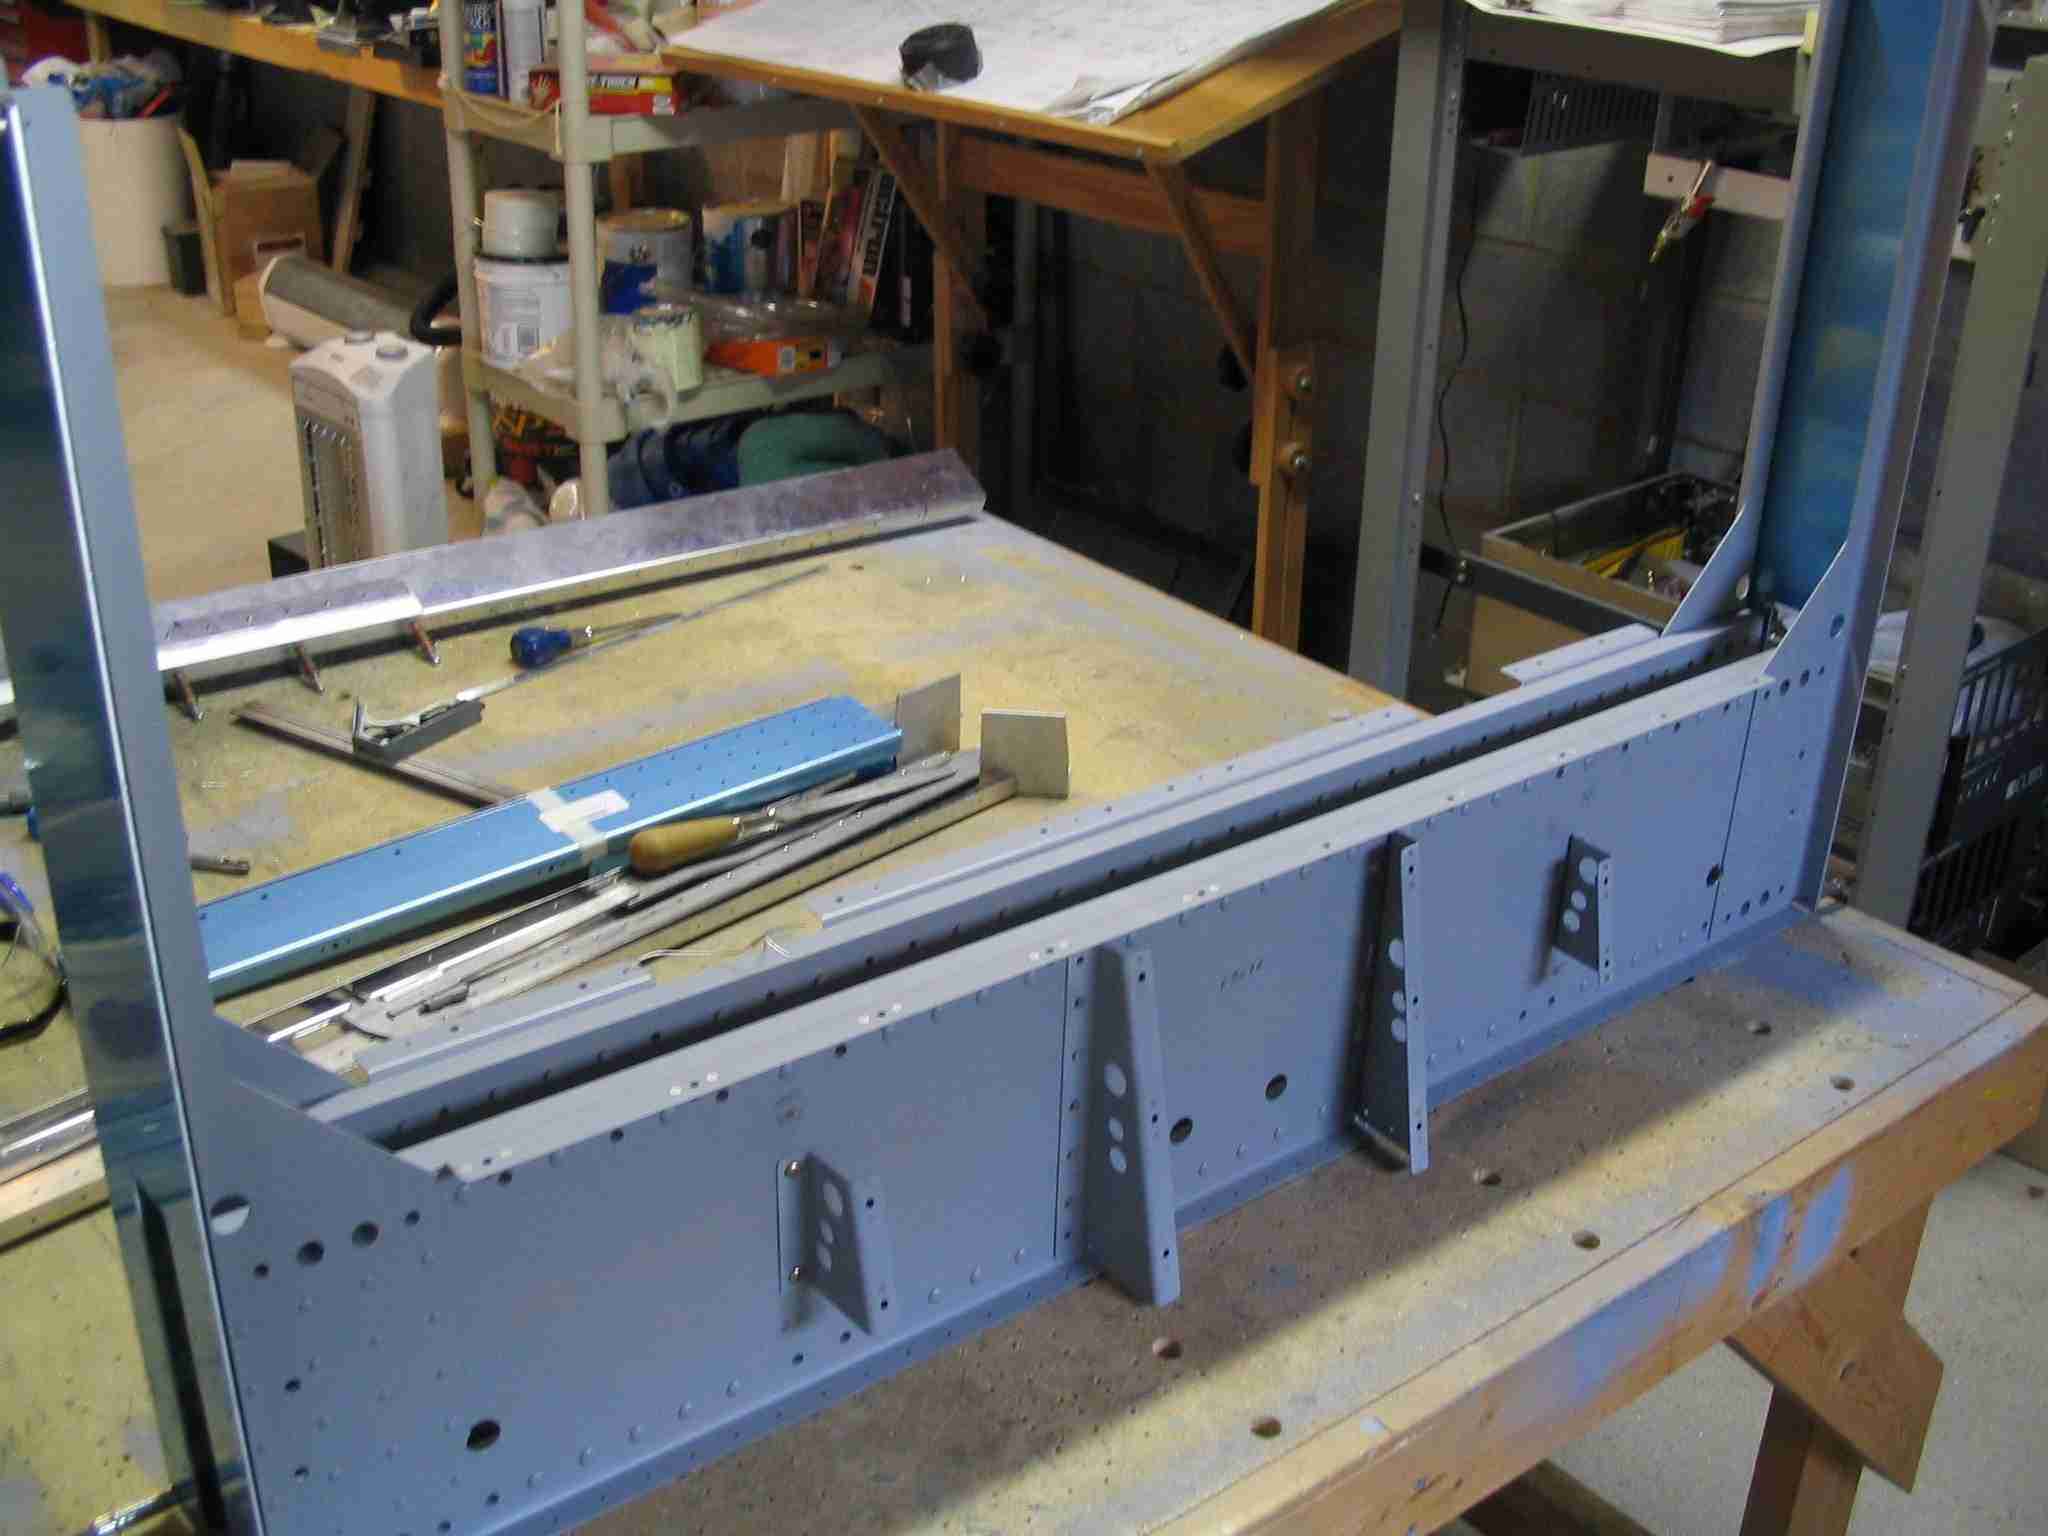 E
Test fitting the center section. (12/12/04)
E
Test fitting the center section. (12/12/04)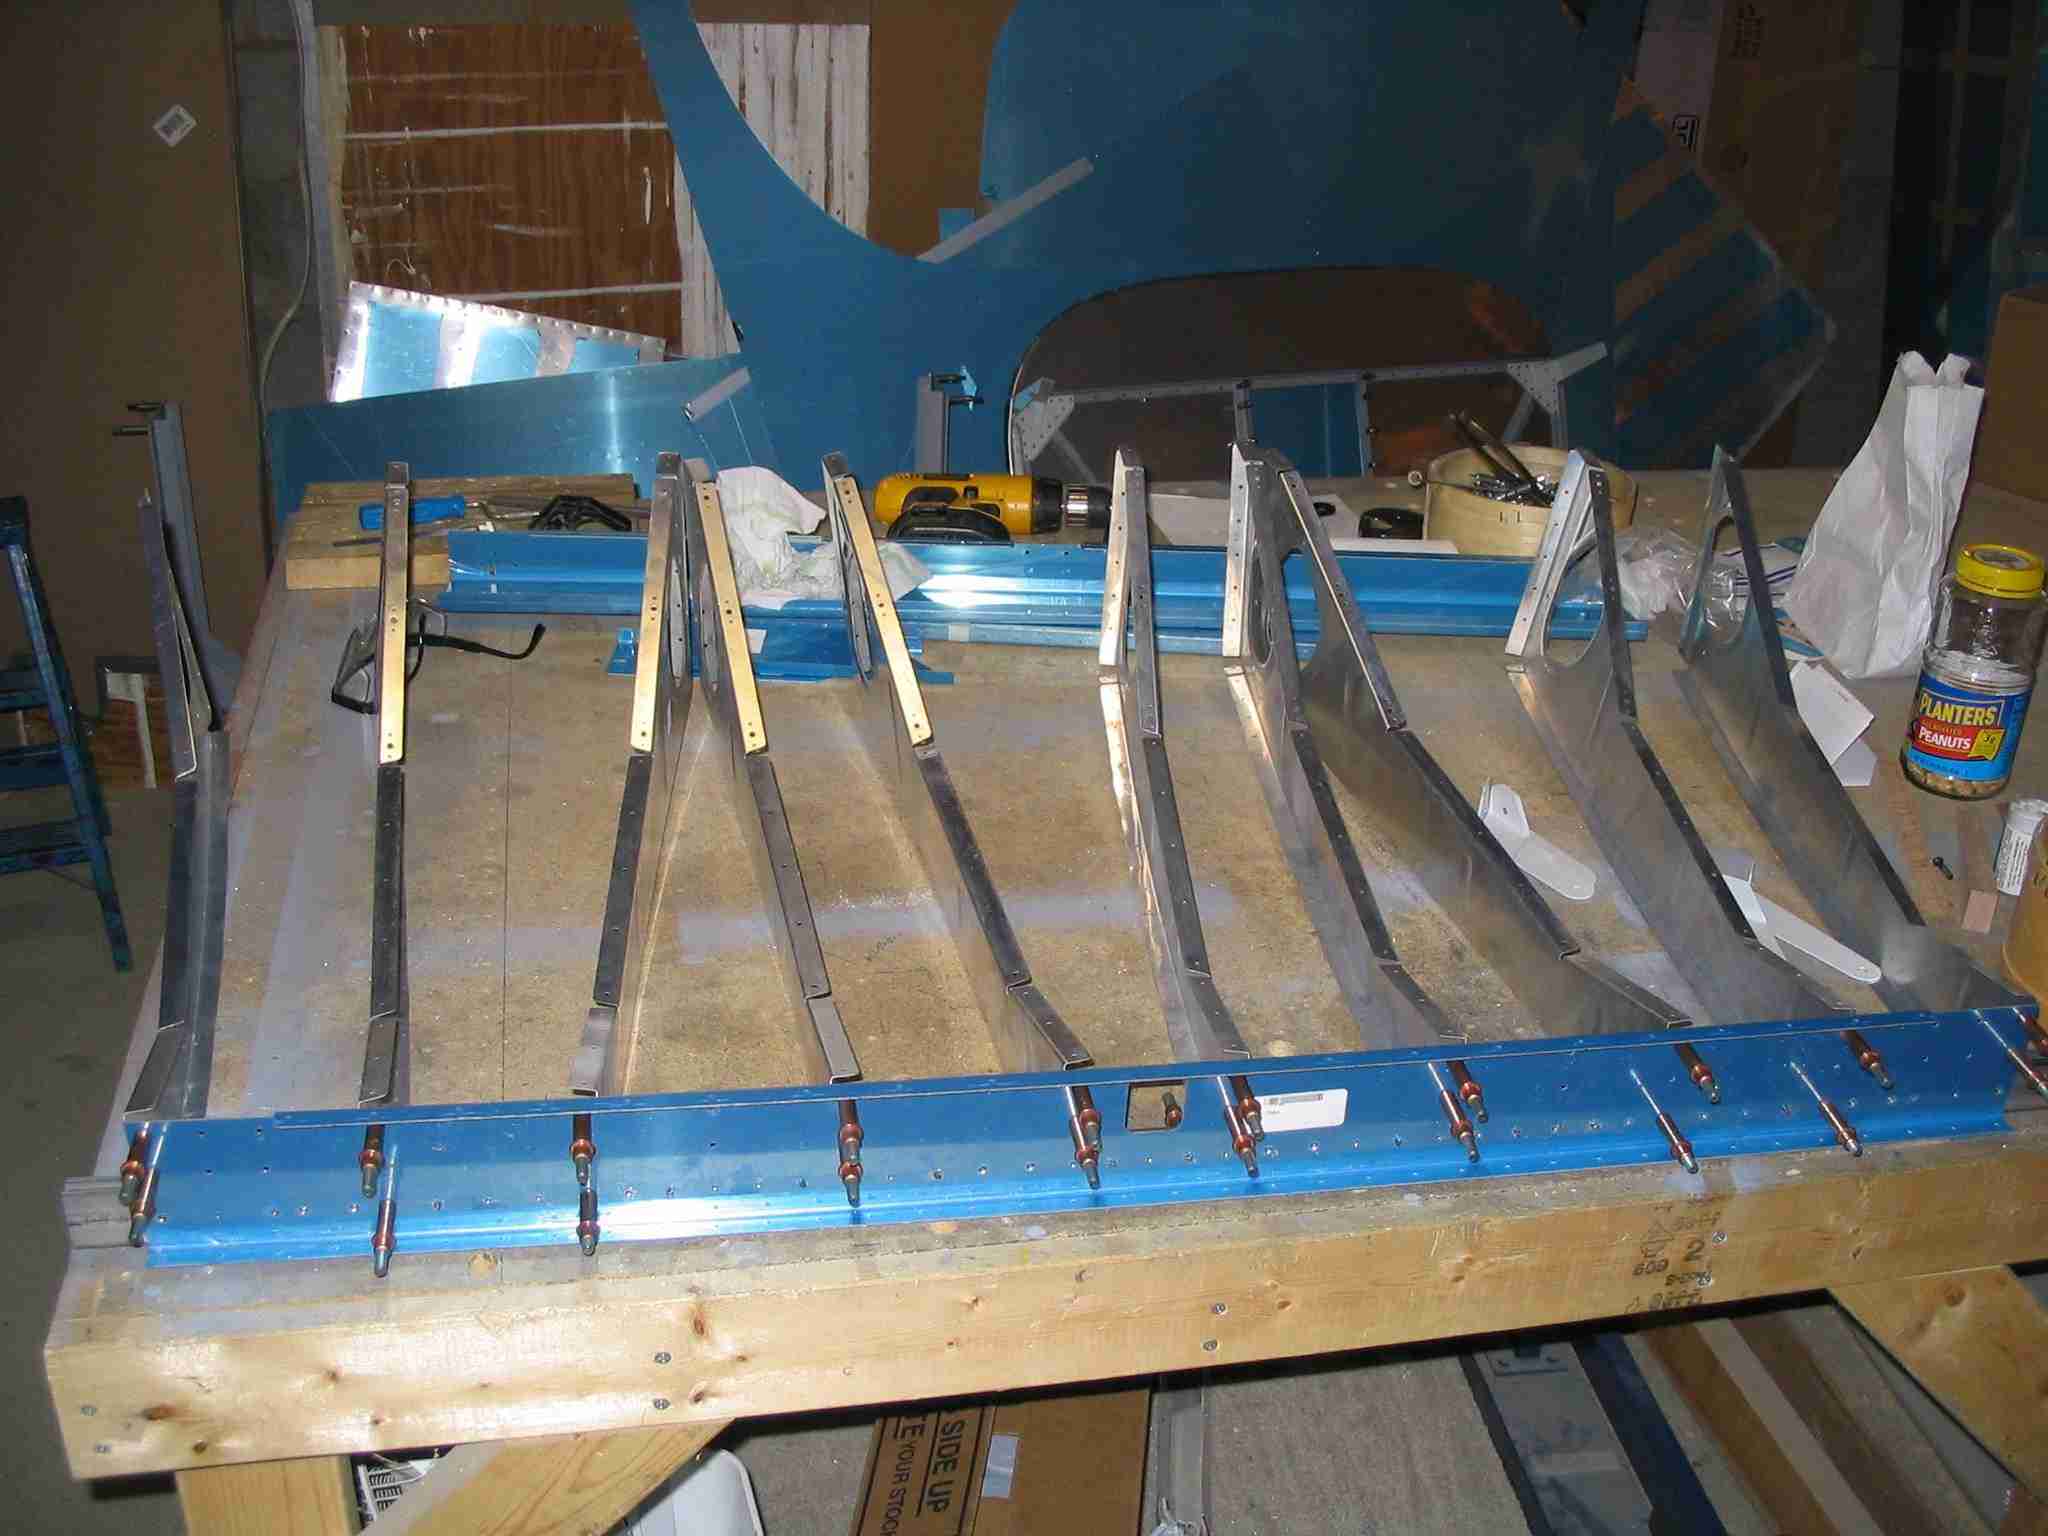 F
The seat pan together for the first time. This was required
to test fit the seatbelt anchors. The blue bar in the
foreground is the rear spar carry through and is part of the
705 bulkhead. Get ready to fabricate a lot of small
parts because there are a lot of small parts required for the
firewall and the two spar carry throughs. (12/18/04)
F
The seat pan together for the first time. This was required
to test fit the seatbelt anchors. The blue bar in the
foreground is the rear spar carry through and is part of the
705 bulkhead. Get ready to fabricate a lot of small
parts because there are a lot of small parts required for the
firewall and the two spar carry throughs. (12/18/04)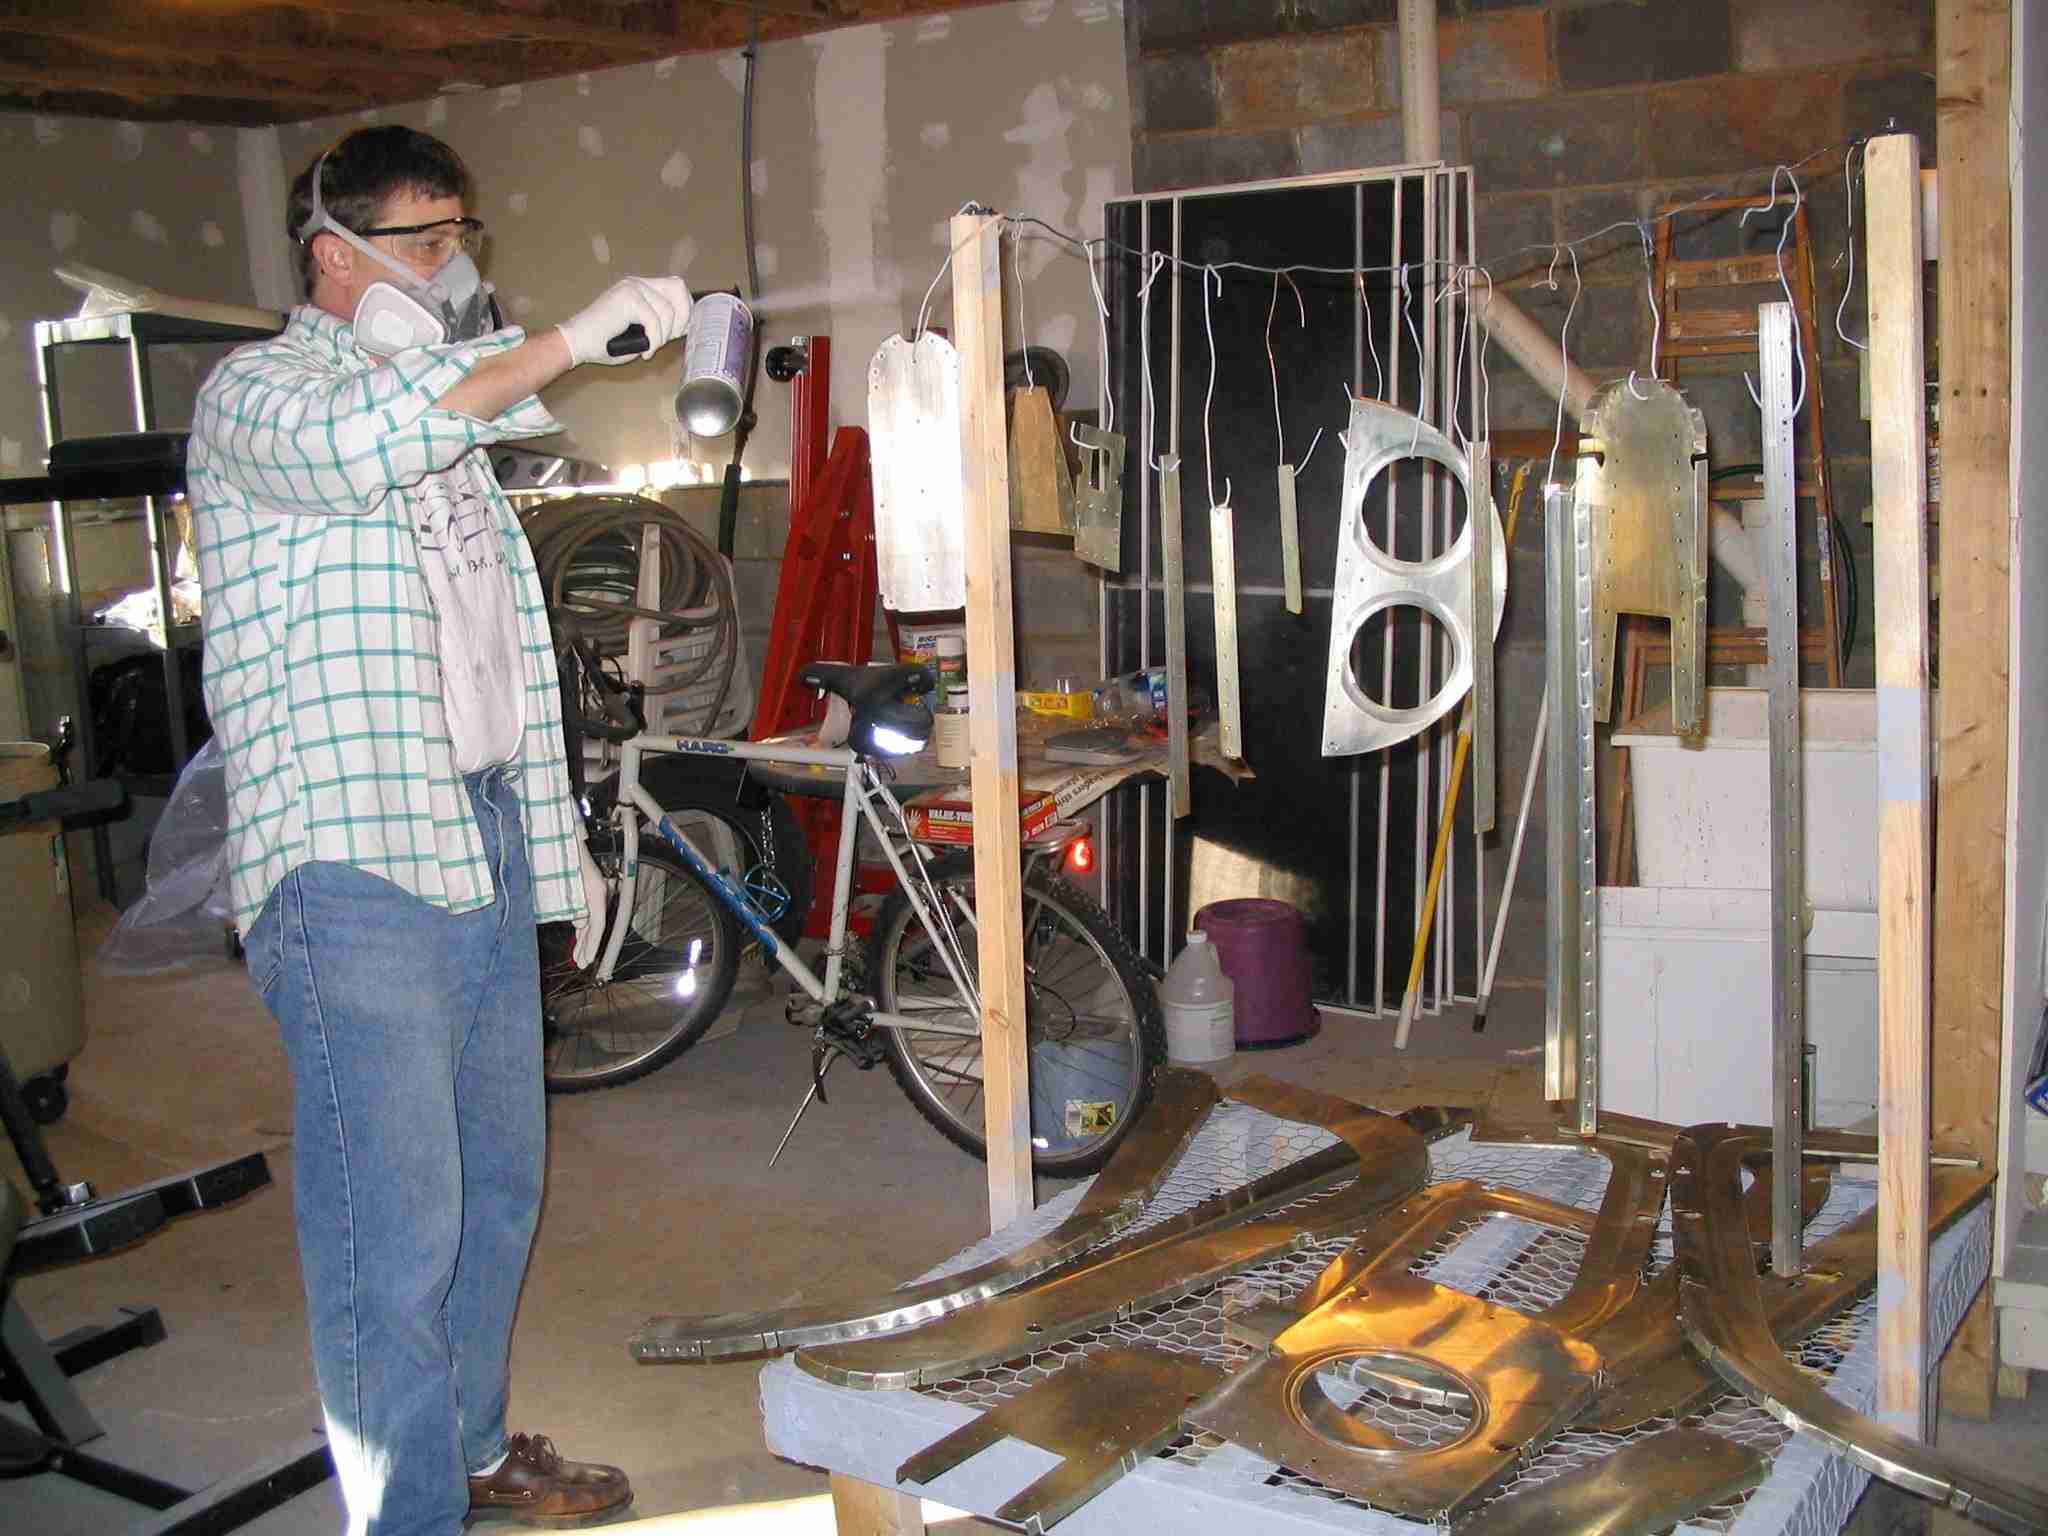 F
There sure are a lot of bulkhead parts to prep and prim!
(1/23/05)
F
There sure are a lot of bulkhead parts to prep and prim!
(1/23/05)